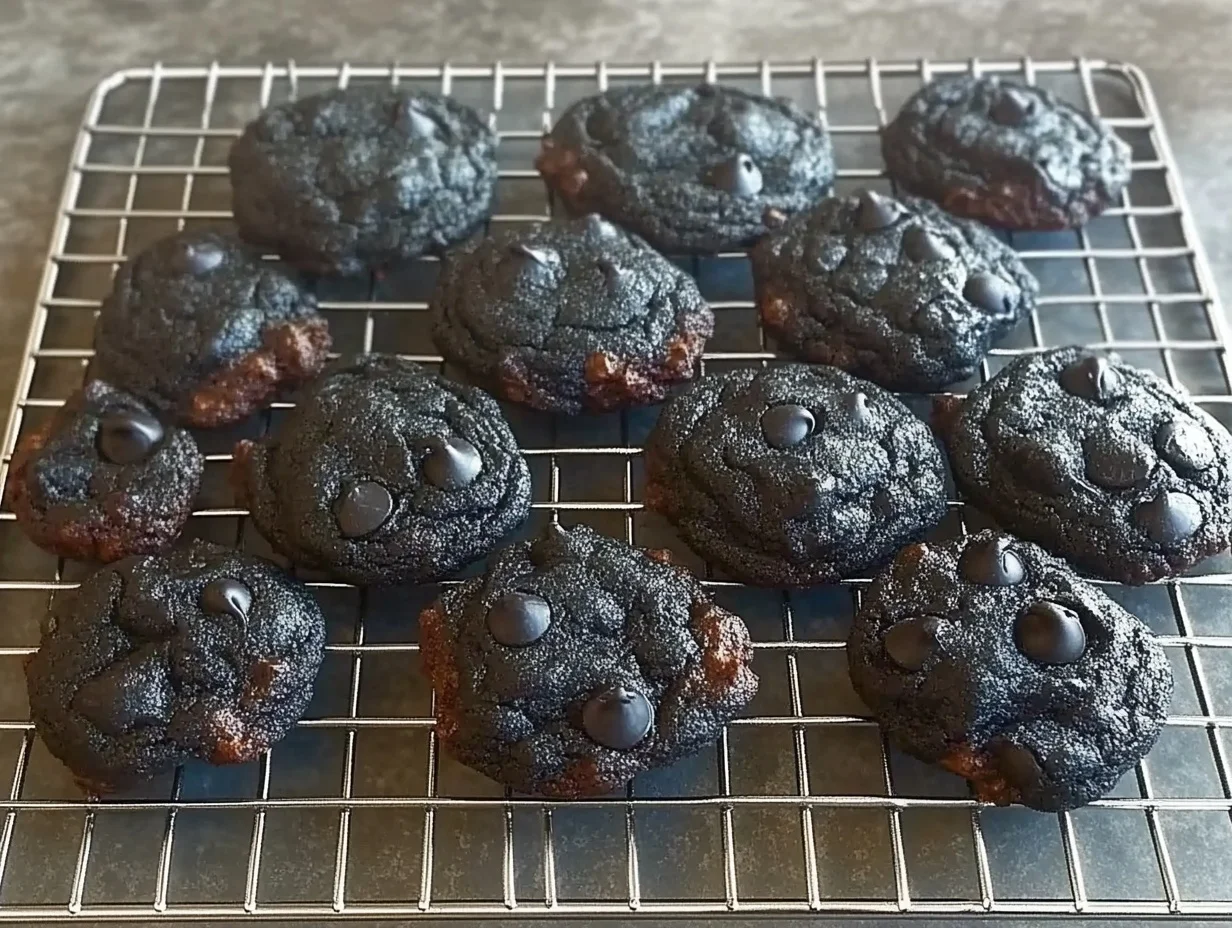
Remember those childhood days, the smell of freshly baked cookies wafting through the house, filling you with pure joy? We’re going back to that feeling today with a cookie that’s not just delicious, but downright enchanting. Get ready to whip up a batch of Black Magic Chocolate Chip Cookies, and trust me, they’re as easy to make as they are mesmerizing to look at. These aren’t your average chocolate chip cookies; they’re a little bit mysterious, a whole lot decadent, and guaranteed to disappear in a flash.
Why You’ll Love Black Magic Chocolate Chip Cookies
- Fast: From start to finish, these cookies come together in a snap. Perfect for those last-minute cravings!
- Easy: No fancy techniques needed here, just simple steps that anyone can follow.
- Giftable: Imagine gifting a tin of these dark beauties. They make for a truly unique and thoughtful present.
- Crowd-pleasing: Everyone loves a chocolate chip cookie, and the unique black color of these makes them a guaranteed conversation starter.
Ingredients
Here’s what you’ll need to conjure up these magical cookies:
- 1 cup unsalted butter, softened: Make sure it’s nice and soft so it creams up beautifully.
- 1 cup white sugar: For that classic sweetness.
- 1/2 cup light brown sugar: Adds a lovely depth of flavor and helps with chewiness.
- 1 large egg: The binder that holds everything together.
- 1 tablespoon activated charcoal powder: This is our secret ingredient for that dramatic black color! It’s food-grade and totally safe.
- 1 1/4 teaspoons vanilla extract: The quintessential cookie flavor enhancer.
- 2 tablespoons milk: Just a touch to ensure the perfect dough consistency.
- 1 1/4 teaspoons kosher salt: Balances the sweetness and brings out all the flavors.
- 1 teaspoon baking soda: Our leavening agent for that perfect rise.
- 2 1/4 cups all-purpose flour: The backbone of our cookie dough.
- 1 1/2 cups chocolate chips: Because what’s a chocolate chip cookie without plenty of chocolate?
How to Make Black Magic Chocolate Chip Cookies
Ready to get your hands a little messy (in the best way possible)? Let’s do this!
- Cream the Sugars and Butter: In a large bowl, use an electric mixer to beat together the softened butter, white sugar, and light brown sugar. You’re looking for a light, fluffy, creamy mixture. This usually takes a few minutes.
- Add the Wet Ingredients and Magic: Now, add your large egg, the star of our show, activated charcoal powder, vanilla extract, milk, kosher salt, and baking soda. Beat everything together until it’s all wonderfully combined and you have a dark, mysterious batter.
- Bring on the Flour: Gently add the all-purpose flour. Mix with a spatula or your mixer on low speed until just combined. Be careful not to overmix here – we want tender cookies, not tough ones! Scrape down the sides of the bowl to make sure there are no pockets of dry flour.
- Fold in the Chocolatey Goodness: Now for the best part! Fold in your chocolate chips with a spatula until they’re evenly distributed throughout the dough. Imagine tiny dark galaxies swirling in your cookie universe!
- Chill Out: Wrap the dough tightly in plastic wrap and pop it in the refrigerator for at least 1 hour. This chilling step is important – it helps the cookies keep their shape and prevents them from spreading too much.
- Get the Oven Ready: Preheat your oven to 375 degrees F (190 degrees C). Line a baking sheet with parchment paper. This will prevent any sticking and make clean-up a breeze.
- Scoop and Space: Scoop slightly more than a tablespoon of dough for each cookie. I like to use a cookie scoop for consistency. Place them on your prepared baking sheet, leaving about 2 inches between each one. They will spread out as they bake, so giving them space is key. I usually get about 8 cookies per sheet.
- Bake to Perfection: Bake for 12 to 13 minutes. You want the edges to be set, but the centers might still look a little soft. They’ll continue to bake slightly on the hot baking sheet after you pull them out.
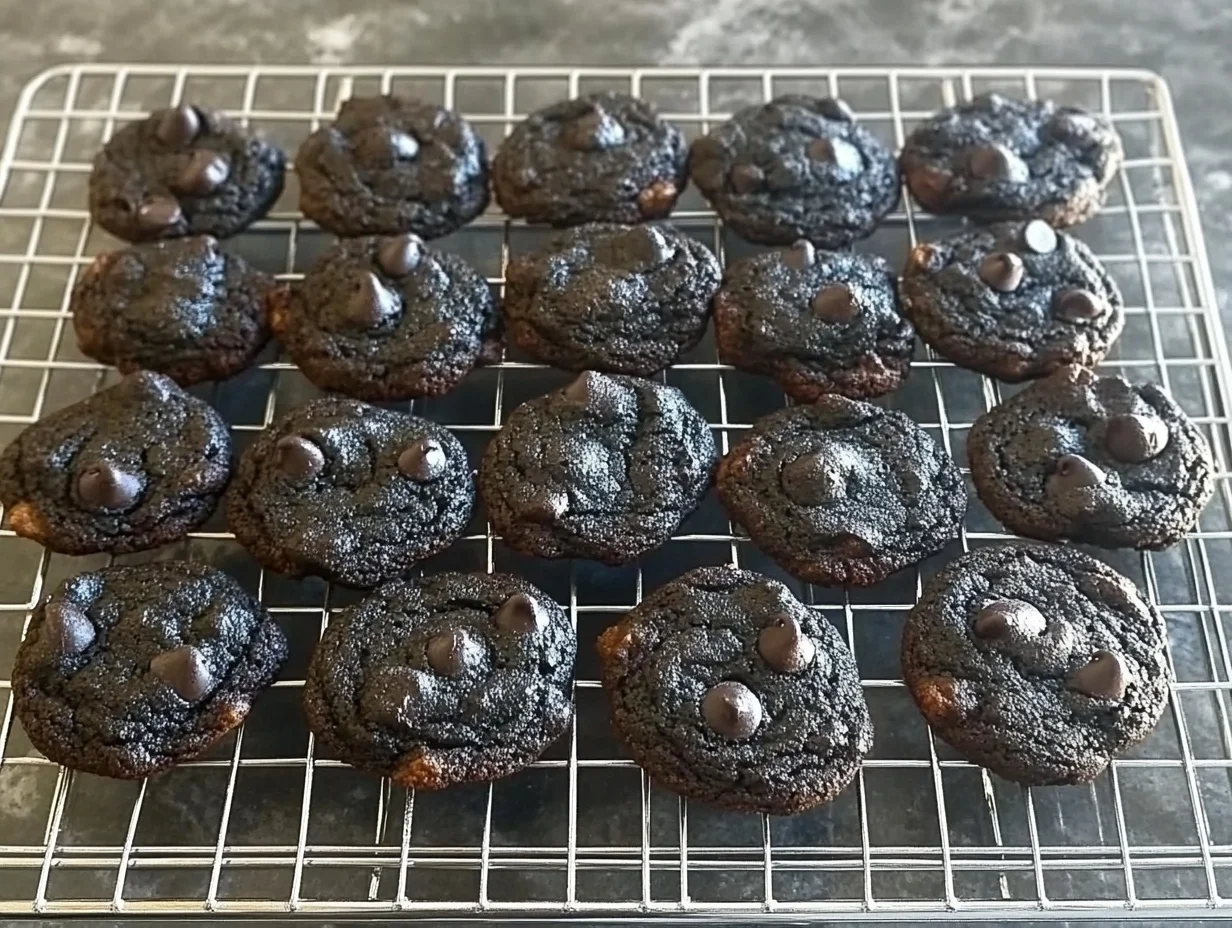
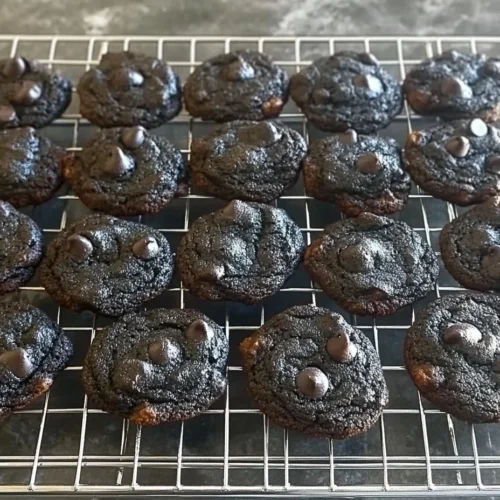
- Cool Down: Let the cookies cool on the baking sheet for a few minutes before carefully transferring them to a wire rack to cool completely. This is probably the hardest part – resisting the urge to eat them warm! But trust me, they are even better once fully cooled.
Substitutions & Additions
Want to make these Black Magic Chocolate Chip Cookies even more special? Here are a few ideas:
- Chocolate Variations: Don’t be afraid to mix up the chocolate chips! Try dark chocolate chunks, white chocolate chips, or even a swirl of both. For a truly decadent cookie, you could even add some chopped chocolate bars.
- Nutty Delight: If you love nuts in your cookies, fold in about 1/2 cup of chopped walnuts or pecans. They add a lovely crunch and flavor contrast.
- A Hint of Spice: A tiny pinch of cinnamon or espresso powder can really enhance the chocolate flavor. Just a little goes a long way!
- Salted Caramel: For an extra layer of flavor, try adding some caramel bits or a sprinkle of flaky sea salt on top right after they come out of the oven.
Tips for Success
Making perfect cookies is all about a few little tricks. Here are my go-to tips:
- Room Temperature Butter is Key: Make sure your butter is truly softened, not melted. This is crucial for achieving that light and creamy texture when you beat it with the sugars.
- Don’t Overmix the Flour: Overmixing develops the gluten in the flour, which can lead to tough cookies. Mix until just combined.
- Chill Time Matters: Resist the urge to skip the chilling step! It really does make a difference in the final cookie texture and prevents excessive spreading.
- Oven Temperature Accuracy: Make sure your oven is preheated to the correct temperature. An oven thermometer can be a lifesaver to ensure accuracy.
- Watch Them Closely: Ovens can be finicky! Keep an eye on your cookies during the last few minutes of baking. You want them golden brown around the edges but still soft in the center.
- Cooling is Crucial: Let them cool on the baking sheet for a few minutes before transferring them. This allows them to set up properly.
How to Store Black Magic Chocolate Chip Cookies
Once your Black Magic Chocolate Chip Cookies have cooled completely, you’ll want to store them properly to keep them tasting their best.
- Airtight Container: Store them in an airtight container at room temperature.
- Room Temperature Shelf Life: They’ll stay deliciously chewy for about 3-4 days.
- Freezing Dough: You can also freeze the cookie dough! Scoop them into balls, place them on a baking sheet, freeze until solid, then transfer to a freezer-safe bag or container. Bake from frozen, adding a minute or two to the baking time.
- Freezing Baked Cookies: Baked and cooled cookies can also be frozen for up to 3 months. Wrap them well to prevent freezer burn.
FAQs
Here are some common questions you might have about these enchanting cookies:
Q: Can I use regular salt instead of kosher salt?
A: Yes, you can, but use about half the amount of table salt as kosher salt, as it’s more concentrated.
Q: Will the activated charcoal affect the taste?
A: Not at all! Activated charcoal is flavorless, so it only adds color to your cookies.
Q: My cookies spread too much. What went wrong?
A: This can happen if your butter was too soft, your oven wasn’t hot enough, or you skipped the chilling step. Ensure your butter is just softened and definitely chill the dough!
Q: Can I make these vegan?
A: You can try substituting the butter with vegan butter and the egg with a flax egg (1 tablespoon flaxseed meal + 3 tablespoons water, let sit for 5 minutes). You may need to adjust the milk amount slightly.
These Black Magic Chocolate Chip Cookies are sure to be a hit! They’re perfect for a spooky-themed party, a special occasion, or just because you deserve a little magic in your life. Don’t forget to share your cookie creations with us on Pinterest!
Black Magic Chocolate Chip Cookies
Equipment
- large bowl
- Electric mixer
- Spatula
- baking sheet
- parchment paper
- Cookie scoop
- Wire rack
Ingredients
- cup 1 unsalted butter, softened
- cup 1 white sugar
- cup 1/2 light brown sugar
- large 1 egg
- tablespoon 1 activated charcoal powder
- teaspoons 1 1/4 vanilla extract
- tablespoons 2 milk
- teaspoons 1 1/4 kosher salt
- teaspoon 1 baking soda
- cups 2 1/4 all-purpose flour
- cups 1 1/2 chocolate chips
Instructions
- Step 1: In a large bowl, use an electric mixer to beat together the softened butter, white sugar, and light brown sugar. You’re looking for a light, fluffy, creamy mixture. This usually takes a few minutes.
- Step 2: Now, add your large egg, the star of our show, activated charcoal powder, vanilla extract, milk, kosher salt, and baking soda. Beat everything together until it’s all wonderfully combined and you have a dark, mysterious batter.
- Step 3: Gently add the all-purpose flour. Mix with a spatula or your mixer on low speed until just combined. Be careful not to overmix here – we want tender cookies, not tough ones! Scrape down the sides of the bowl to make sure there are no pockets of dry flour.
- Step 4: Now for the best part! Fold in your chocolate chips with a spatula until they’re evenly distributed throughout the dough. Imagine tiny dark galaxies swirling in your cookie universe!
- Step 5: Wrap the dough tightly in plastic wrap and pop it in the refrigerator for at least 1 hour. This chilling step is important – it helps the cookies keep their shape and prevents them from spreading too much.
- Step 6: Preheat your oven to 375 degrees F (190 degrees C). Line a baking sheet with parchment paper. This will prevent any sticking and make clean-up a breeze.
- Step 7: Scoop slightly more than a tablespoon of dough for each cookie. I like to use a cookie scoop for consistency. Place them on your prepared baking sheet, leaving about 2 inches between each one. They will spread out as they bake, so giving them space is key. I usually get about 8 cookies per sheet.
- Step 8: Bake for 12 to 13 minutes. You want the edges to be set, but the centers might still look a little soft. They’ll continue to bake slightly on the hot baking sheet after you pull them out.
- Step 9: Let the cookies cool on the baking sheet for a few minutes before carefully transferring them to a wire rack to cool completely. This is probably the hardest part – resisting the urge to eat them warm! But trust me, they are even better once fully cooled.