
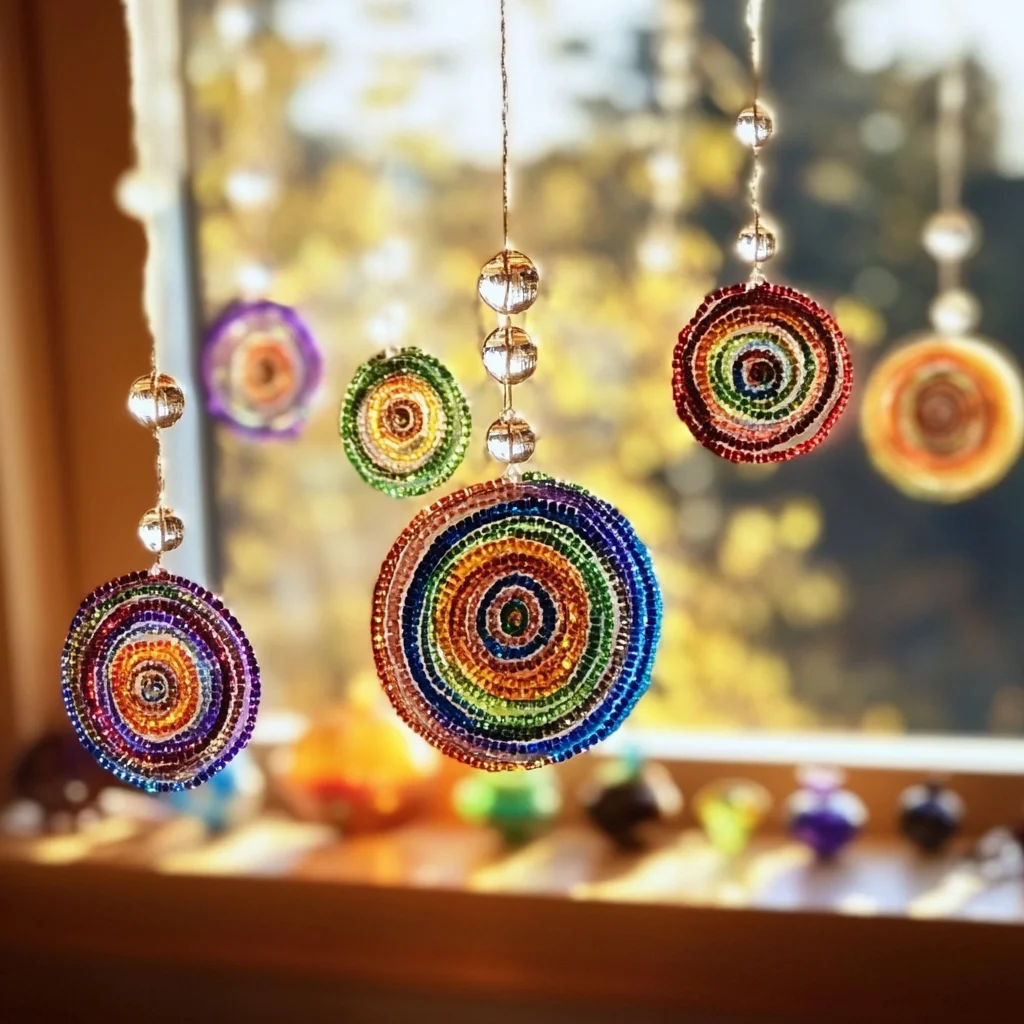
Remember those sunny afternoons when the light would catch a special treasure, scattering rainbows across your room? There’s something truly magical about that, isn’t there? Today, we’re going to recreate that feeling with a super simple and utterly charming craft: the Cool Beads Suncatcher! This project is so easy, you’ll be making them in no time, and they’re perfect for a quick afternoon activity that yields beautiful results.
Why You’ll Love Cool Beads Suncatcher
- Fast: You can whip these up in under an hour, from start to finish!
- Easy: Seriously, if you can use an oven, you can make these. It’s a fantastic craft for all ages.
- Giftable: Imagine gifting these little bursts of sunshine to friends and family. They make the most thoughtful handmade presents!
- Crowd-pleasing: Whether it’s for a rainy day craft with the kids or a fun activity with friends, everyone will love creating their own unique designs.
Ingredients
Gathering your supplies is half the fun! Here’s what you’ll need:
- Translucent plastic pony beads (assorted colors): These are the magic makers! The translucent ones really catch the light beautifully.
- Metal baking molds (muffin tins, cookie cutters, or mason jar lids): This is where your creativity takes shape. Muffin tins are great for larger suncatchers, while cookie cutters offer fun forms. Even mason jar lids work in a pinch!
- Nonstick spray (optional): A little spritz can make removing your suncatchers a breeze.
- String, fishing line, or ribbon: For hanging your masterpieces! Fishing line is great because it’s nearly invisible.
- Foil-lined baking sheet: This makes clean-up a snap, which is always a win in my book!
- Glitter beads or glow-in-the-dark pony beads (optional): Want to add some extra sparkle or a spooky glow? These are your go-to! You can find so many fun variations of beads, much like the colorful options you’d find for Kool-Aid gummy treats.
How to Make Cool Beads Suncatcher
Ready to create some sunshine? Let’s get crafting!
- Prep Your Station: Start by lining a baking sheet with aluminum foil. This is your trusty sidekick for easy cleanup. Then, place your metal molds (muffin tins, cookie cutters, etc.) onto the foil-lined sheet. If you’re using them, give the molds a quick spray with nonstick spray.
- Design Time: Now for the fun part – filling your molds with beads! Arrange the pony beads in a single, flat layer within each mold. Get creative with your patterns and color combinations! I love making swirling designs or even trying to spell out simple words. Make sure the beads are touching each other, as this helps them melt together smoothly. If you’re feeling adventurous, you could even try adding some crayon shavings for extra color variation, similar to how we might experiment with flavors in recipes like homemade watermelon lemonade.
- Bake to Perfection: Preheat your oven to a cozy 400°F (200°C). Carefully place the baking sheet with your bead-filled molds into the preheated oven. Bake for about 15 to 25 minutes. Keep a close eye on them – you want the beads to be completely melted and fused together, but not burnt! They’ll look like a colorful puddle of molten plastic.
- Cool Down: Once they’re beautifully melted, carefully remove the baking sheet from the oven. Let your suncatchers cool down in their molds for about 15 to 20 minutes. This is important because they’ll be very hot and still a bit soft. Once they’re cool enough to handle, gently pop them out of the molds.
- Add a Hanger: To make your suncatcher ready to hang, you’ll need a little hole. You can carefully use a drill on a low setting, or even a heated skewer (ask an adult for help with this!). Make a small hole near the edge of your cooled suncatcher. Then, thread your string, fishing line, or ribbon through the hole and tie it securely.
Substitutions & Additions
Don’t be afraid to play around with this recipe! Here are some ideas:
- Different Beads: While translucent pony beads are great, feel free to use opaque beads, glitter beads, or even those fun glow-in-the-dark ones for a magical nighttime effect.
- Molds: If you don’t have specific metal molds, you can try using silicone molds (though they might be a bit trickier to remove from).
- Shape It Up: Experiment with different cookie cutters to create unique shapes. Just make sure they are metal and oven-safe!
- Add a Charm: Before the beads completely cool, you could press a small metal charm into the melted plastic for an extra special touch.
- Layering: For a more marbled look, try layering different colored beads without mixing them too much before baking.
Tips for Success
A few little tricks can ensure your suncatchers turn out perfectly:
- Even Layering is Key: Try your best to keep the bead layer as even as possible in the mold. This helps them melt uniformly.
- Don’t Overbake: Watching the oven closely is crucial. Overbaking can lead to discolored or burnt beads, which won’t look as vibrant.
- Patience with Cooling: Resist the urge to pull them out of the molds too soon. Let them cool completely for a cleaner release.
- Adult Supervision: Always have an adult present when using the oven or any tools for making the hanging hole.
- Prep Ahead: You can pre-sort your beads into color combinations for different suncatchers if you’re planning a crafting party or want to make several at once.
How to Store Cool Beads Suncatcher
Once your beautiful suncatchers are made, you’ll want to keep them looking their best. Store them flat in a box or container to prevent them from scratching or getting tangled if you’re hanging them together. They are quite durable, but it’s always good to handle them with care!
FAQs
- Can I use any type of plastic beads? It’s best to use plastic pony beads (like those used for kids’ crafts) as they are designed to melt. Other plastics might release harmful fumes or not melt properly.
- How long do they take to melt? Baking time can vary depending on your oven and the thickness of your bead layer, but usually 15-25 minutes is a good range. Keep an eye on them!
- Can I make these without metal molds? Yes! You can also use oven-safe silicone molds, or even just place beads directly onto a foil-lined baking sheet in a desired shape (though they might spread out more).
We hope you have as much fun making these Cool Beads Suncatchers as we do! They’re a simple way to bring a little bit of handmade magic into your home. If you love crafting and finding creative projects, be sure to follow us on Pinterest!
DIY Cool Beads Suncatcher
Equipment
- baking sheet
- Aluminum foil
- Metal baking molds (muffin tins, cookie cutters, or mason jar lids)
- Nonstick spray (optional)
- Drill or heated skewer (for hole)
Ingredients
- Translucent plastic pony beads (assorted colors) The magic makers! The translucent ones really catch the light beautifully.
- Metal baking molds (muffin tins, cookie cutters, or mason jar lids) This is where your creativity takes shape. Muffin tins are great for larger suncatchers, while cookie cutters offer fun forms. Even mason jar lids work in a pinch!
- Nonstick spray Optional. A little spritz can make removing your suncatchers a breeze.
- String, fishing line, or ribbon For hanging your masterpieces! Fishing line is great because it's nearly invisible.
- Foil-lined baking sheet This makes clean-up a snap, which is always a win in my book!
- Glitter beads or glow-in-the-dark pony beads Optional. Want to add some extra sparkle or a spooky glow? These are your go-to!
Instructions
- Step 1: Prep Your Station: Start by lining a baking sheet with aluminum foil. This is your trusty sidekick for easy cleanup. Then, place your metal molds (muffin tins, cookie cutters, etc.) onto the foil-lined sheet. If you're using them, give the molds a quick spray with nonstick spray.
- Step 2: Design Time: Now for the fun part – filling your molds with beads! Arrange the pony beads in a single, flat layer within each mold. Get creative with your patterns and color combinations! Make sure the beads are touching each other, as this helps them melt together smoothly.
- Step 3: Bake to Perfection: Preheat your oven to a cozy 400°F (200°C). Carefully place the baking sheet with your bead-filled molds into the preheated oven. Bake for about 15 to 25 minutes. Keep a close eye on them – you want the beads to be completely melted and fused together, but not burnt!
- Step 4: Cool Down: Once they’re beautifully melted, carefully remove the baking sheet from the oven. Let your suncatchers cool down in their molds for about 15 to 20 minutes. Once they’re cool enough to handle, gently pop them out of the molds.
- Step 5: Add a Hanger: To make your suncatcher ready to hang, you’ll need a little hole. You can carefully use a drill on a low setting, or even a heated skewer (ask an adult for help with this!). Make a small hole near the edge of your cooled suncatcher. Then, thread your string, fishing line, or ribbon through the hole and tie it securely.