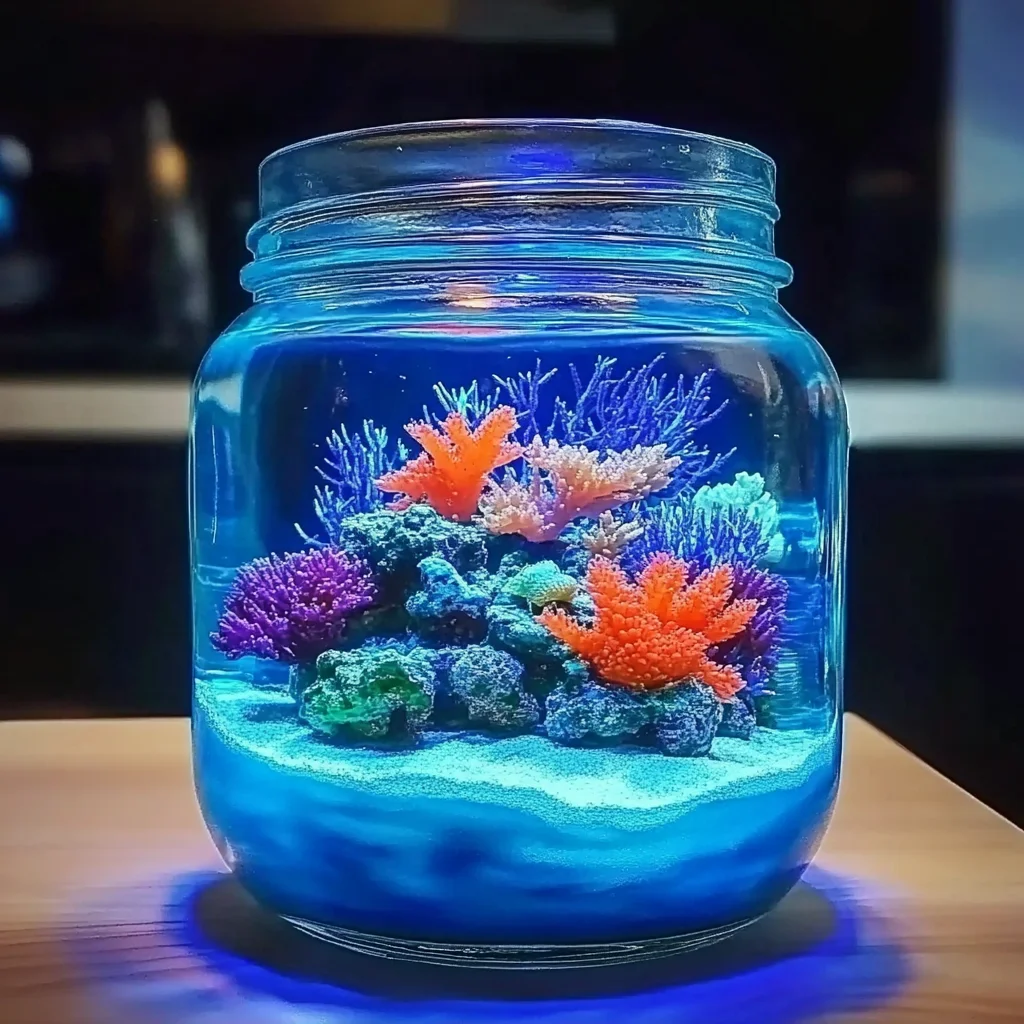
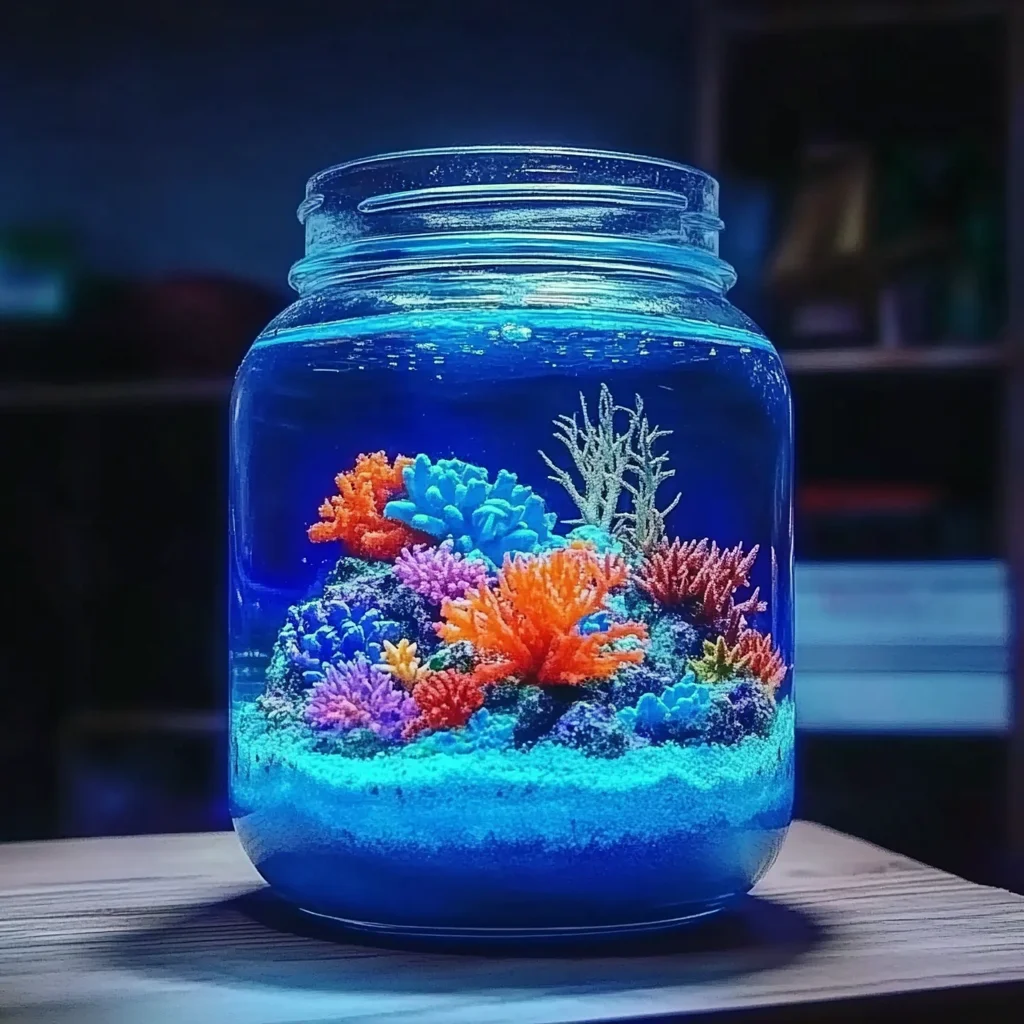
Remember those magical snow globes you loved as a kid? The ones where you shook them and a winter wonderland appeared? Well, get ready to create a little bit of that same enchantment, but this time, we’re bringing the calming vibes of the ocean right into your home! Making an Ocean in a Jar is one of those incredibly simple yet surprisingly captivating crafts that instantly brings a smile to your face. It’s perfect for a rainy afternoon, a fun activity with the kids, or even a thoughtful, handmade gift. You’ll be amazed at how easily you can capture a tiny piece of the sea in a jar!
Why You’ll Love Ocean in a Jar
- Fast: Seriously, this comes together in a flash!
- Easy: No complicated steps here, just pure crafting joy.
- Giftable: Imagine giving these as party favors or little tokens of appreciation.
- Crowd-pleasing: From toddlers to adults, everyone is fascinated by this little world.
Ingredients
Gathering your supplies is as easy as a walk on the beach! Here’s what you’ll need:
- 1 mason jar with lid (pint or quart size): Your blank canvas for aquatic wonders. Any clean glass jar with a secure lid will work beautifully.
- 1-2 drops blue food coloring or watercolor paint: This gives your water that perfect ocean hue. Start with a little; you can always add more!
- 1 cup filtered or distilled water (adjust as needed): Using filtered or distilled water helps keep your creation clear.
- 1-2 tsp glycerin (optional): This is the secret ingredient for that lovely slow-motion effect when you tilt the jar! It makes the little figures and glitter drift down gracefully.
- 2-3 small plastic sea figurines: Think starfish, little fish, crabs – whatever makes your heart sing!
- 1-2 pieces of plastic aquarium plants: These add a lovely touch of underwater greenery.
- 2 tbsp aquarium gravel or colored pebbles: This forms the seabed and adds a bit of texture.
- 1 pinch glitter or iridescent confetti (optional): For that extra sparkle and magic, like sunlight dancing on the waves.
- Hot glue gun (optional for sealing lid): If you want to make it extra secure and permanent, especially for younger kids.
How to Make Ocean in a Jar
Alright, let’s get crafting! This is where the magic happens.
- Lay the Foundation: Start by pouring your aquarium gravel or colored pebbles into the bottom of your clean mason jar. This creates a realistic seabed.
- Bring in the Life: Now, carefully place your little plastic sea figurines and aquarium plants inside the jar. Arrange them so they look like they’re swimming or resting in their underwater home. I like to position a plant leaning against the side and place a little fish or two peeking out from behind it.
- Mix Your Ocean Water: In a separate small bowl or cup, gently mix your filtered or distilled water with the blue food coloring or watercolor paint. Add the glycerin now if you’re using it. Give it a good stir until the color is evenly distributed. Remember, start with just one or two drops of color – you can always add more if you want a deeper blue, but it’s hard to take it away!
- Pour with Care: Slowly and carefully pour the colored water mixture into your mason jar. Be sure to leave about an inch of space at the top of the jar. This is important to prevent overflow when you put the lid on.
- Add a Touch of Sparkle: If you’re feeling extra fancy, sprinkle a pinch of glitter or iridescent confetti on top of the water. This is totally optional, but I find it adds such a dreamy, shimmering effect.
- Seal the Deal: Screw the lid on tightly. For extra security, especially if this jar will be handled by little ones, you can use a hot glue gun to seal the lid in place. Just run a bead of glue around the rim before screwing the lid on.
And there you have it! Your very own Ocean in a Jar, ready to transport you to a tranquil underwater world with just a gentle tilt.
Substitutions & Additions
The beauty of this craft is its versatility! Feel free to get creative:
- Different Colors: Want a tropical lagoon? Try a touch of green food coloring. For a deeper, mysterious ocean, go for a darker blue.
- More Sparkle: Experiment with different types of glitter, iridescent flakes, or even tiny plastic seashells if you can find them!
- Glow-in-the-Dark Fun: For a magical nighttime display, consider using glow-in-the-dark paint or glitter. You could even try a DIY Glow-in-the-Dark Ocean Jar Craft for an extra special touch.
- Natural Elements: If you have access to clean, small seashells or smooth, tiny pebbles from a beach, you can use those too! Just make sure they are thoroughly cleaned and dried.
- No Glycerin? If you don’t have glycerin, you can still make a lovely jar. The figures and glitter might just settle a bit faster, but it will still be beautiful.
Tips for Success
Here are a few things I’ve learned to make your Ocean in a Jar turn out perfectly:
- Water Clarity is Key: Always use filtered or distilled water. Tap water can sometimes have minerals that cloud up over time.
- Don’t Overfill: Leaving that inch of space at the top is crucial to avoid a watery mess.
- Test Your Color: Before adding it to the jar, test your colored water on a white paper towel to see the true shade.
- Secure the Lid: Make sure the lid is on TIGHTLY, especially if it’s for a child. Sealing it with hot glue adds an extra layer of security.
- Prep Ahead: You can gather all your figurines and plants beforehand and arrange them in the jar before you mix the water. This makes the pouring step even smoother.
How to Store Ocean in a Jar
Your beautiful creation will last quite a while if stored properly. Keep it out of direct sunlight, as this can cause the colors to fade over time and potentially affect the plastic figurines. Store it at room temperature. If you sealed the lid, it should last for months, even years!
FAQs
- Can I use regular tap water? While you can, filtered or distilled water is recommended for the clearest, longest-lasting results. Tap water can sometimes contain minerals that might make the water cloudy.
- What if I don’t have glycerin? Your Ocean in a Jar will still be lovely! Glycerin just helps create a slower, more mesmerizing descent for the glitter and figurines.
- Can kids make this themselves? Yes, with adult supervision, especially when using the hot glue gun! It’s a fantastic craft for little hands to help with.
- How long will the water stay clear? With distilled water and no glycerin, it might settle a bit. With glycerin, it should stay clear and mesmerizing for a good long while!
This craft is so much fun, and it reminds me a bit of the simple joy found in treats like easy cake mix toffee bars or the vibrant colors in Kool-Aid gummy treats. It’s a little piece of calm that you can hold in your hands.
If you enjoyed making this Ocean in a Jar, we have tons of other fun DIYs and delicious recipes on our blog. Don’t forget to follow our Pinterest for even more inspiration!

DIY Ocean in a Jar
Equipment
- Mason jar with lid
- Small bowl or cup
- Hot glue gun (optional)
Ingredients
- Mason jar with lid (pint or quart size) Your blank canvas for aquatic wonders. Any clean glass jar with a secure lid will work beautifully.
- 1-2 drops blue food coloring or watercolor paint This gives your water that perfect ocean hue. Start with a little; you can always add more!
- 1 cup filtered or distilled water Using filtered or distilled water helps keep your creation clear.
- 1-2 tsp glycerin (optional) This is the secret ingredient for that lovely slow-motion effect when you tilt the jar! It makes the little figures and glitter drift down gracefully.
- 2-3 small plastic sea figurines Think starfish, little fish, crabs – whatever makes your heart sing!
- 1-2 pieces plastic aquarium plants These add a lovely touch of underwater greenery.
- 2 tbsp aquarium gravel or colored pebbles This forms the seabed and adds a bit of texture.
- 1 pinch glitter or iridescent confetti (optional) For that extra sparkle and magic, like sunlight dancing on the waves.
- Hot glue gun (optional for sealing lid) If you want to make it extra secure and permanent, especially for younger kids.
Instructions
- Step 1: Lay the Foundation: Start by pouring your aquarium gravel or colored pebbles into the bottom of your clean mason jar. This creates a realistic seabed.
- Step 2: Bring in the Life: Now, carefully place your little plastic sea figurines and aquarium plants inside the jar. Arrange them so they look like they're swimming or resting in their underwater home. I like to position a plant leaning against the side and place a little fish or two peeking out from behind it.
- Step 3: Mix Your Ocean Water: In a separate small bowl or cup, gently mix your filtered or distilled water with the blue food coloring or watercolor paint. Add the glycerin now if you're using it. Give it a good stir until the color is evenly distributed. Remember, start with just one or two drops of color – you can always add more if you want a deeper blue, but it's hard to take it away!
- Step 4: Pour with Care: Slowly and carefully pour the colored water mixture into your mason jar. Be sure to leave about an inch of space at the top of the jar. This is important to prevent overflow when you put the lid on.
- Step 5: Add a Touch of Sparkle: If you're feeling extra fancy, sprinkle a pinch of glitter or iridescent confetti on top of the water. This is totally optional, but I find it adds such a dreamy, shimmering effect.
- Step 6: Seal the Deal: Screw the lid on tightly. For extra security, especially if this jar will be handled by little ones, you can use a hot glue gun to seal the lid in place. Just run a bead of glue around the rim before screwing the lid on.