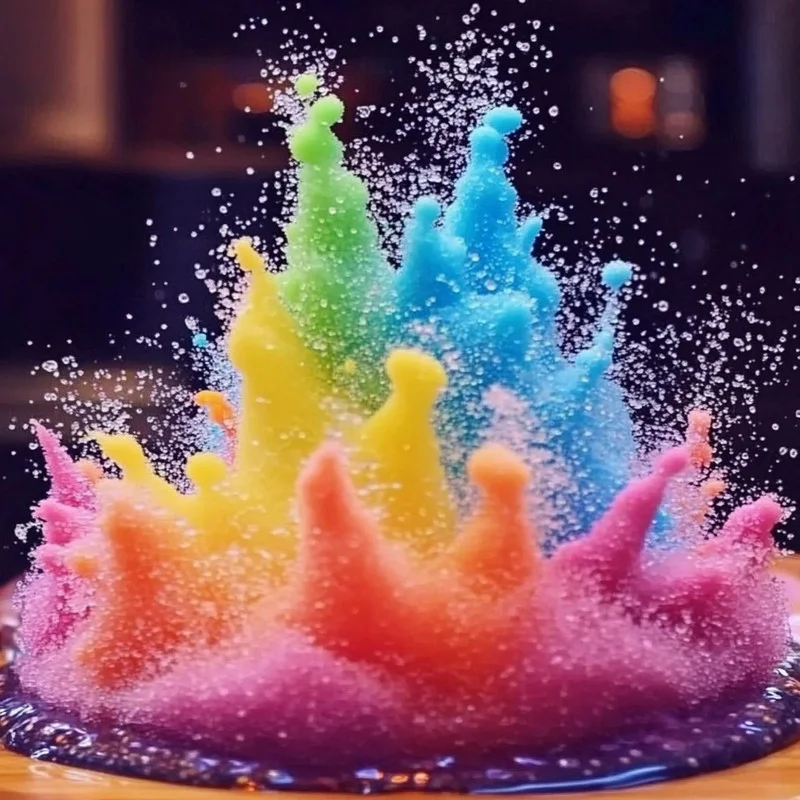
Do you remember those magical moments as a kid, filled with simple joys and endless wonder? For me, it often involved a little bit of kitchen science and a whole lot of giggles. Today, I’m bringing back that pure, unadulterated fun with a recipe that’s so easy, so vibrant, and so satisfyingly fizzy: Rainbow Sugar Explosions! Seriously, these little guys are a blast from the past and guaranteed to bring a smile to anyone’s face, big or small. They’re perfect for a rainy afternoon, a science-themed party, or just because you want to add a little sparkle to your day.
Why You’ll Love Rainbow Sugar Explosions
- Fast: You can whip up a batch in just a few minutes!
- Easy: Even the littlest helpers can get involved.
- Giftable: Package them up in cute little jars for a unique present.
- Crowd-pleasing: Kids and adults alike are mesmerized by the fizz!
Ingredients
Gather ’round, my friends! You won’t believe how few ingredients you need for this delightful creation. It’s all about simple pantry staples that come together for something truly magical.
- 1/2 cup baking soda: This is our fizzy base, the powerhouse behind the magic!
- 1/4 cup cornstarch: It helps bind everything together and gives our little explosions their shape.
- Food coloring (various colors): Get creative here! The more colors, the merrier the explosion.
- 1/4 cup water: Just enough to bring our dry ingredients to life.
- 1 tablespoon white vinegar: The secret ingredient that causes the spectacular fizzing reaction!
- Mixing bowl: Your trusty sidekick for bringing it all together.
- Spoons: For mixing and measuring.
- Small containers or muffin tins: To hold our colorful creations while they dry.
How to Make Rainbow Sugar Explosions
Alright, let’s get our hands a little colorful and make some magic happen! This process is so straightforward, you’ll be amazed at how quickly you go from pantry staples to dazzling displays.
Step 1: The Base Mix
First things first, grab your mixing bowl. Pour in your baking soda and cornstarch. Give them a good stir with your spoon until they’re perfectly combined. Think of this as the canvas for your colorful masterpiece!
Step 2: Divide and Conquer the Colors
Now, here’s where the fun really begins! Divide your baking soda and cornstarch mixture equally into as many small containers or muffin tin cups as you like. I like to use different small bowls so I can easily add colors. The more divisions, the more colors you can have!
Step 3: Add a Splash of Color
To each of your little piles, add just a few drops of your chosen food coloring. Start with a little – you can always add more! Gently stir each portion with a separate spoon until the color is evenly distributed. Don’t be afraid to get a little messy; it’s part of the charm!
Step 4: The Damp Sand Consistency
This is a crucial step! You want to add the water very gradually, about one tablespoon at a time, to each colored mixture. As you add the water, mix it in thoroughly. You’re aiming for a consistency that feels like damp sand – it should hold together when you squeeze it but not be too wet or sticky. If it gets too wet, just add a tiny pinch more baking soda and cornstarch to balance it out.
Step 5: Shape Your Explosions
Once you have that perfect damp sand texture, it’s time to shape your Rainbow Sugar Explosions! Take small amounts of the mixture and roll them into little balls, about the size of a marble or slightly smaller. Place these colorful little spheres onto a tray or plate. You can let them air dry for a few hours, or if you’re impatient like me, pop them in the fridge for about 30 minutes to firm up a bit.
Step 6: The Grand Finale!
Now for the moment you’ve been waiting for! Grab a small cup or tray and pour in about 1 tablespoon of white vinegar. Carefully drop one of your colored sugar balls into the vinegar.
Step 7: Watch the Magic Unfold!
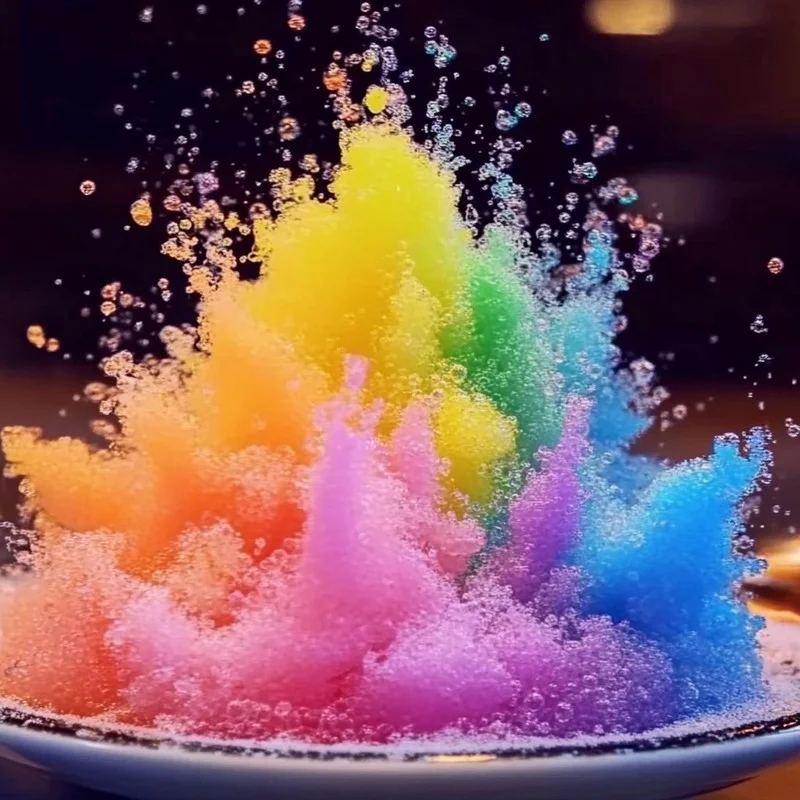
Get ready for the show! Your Rainbow Sugar Explosion will immediately start to fizz, pop, and dance around in the vinegar. It’s like a miniature volcano erupting right before your eyes! It’s fascinating to watch, and so satisfying.
Step 8: Experiment and Enjoy!
Repeat this process with your other colored balls. Try dropping two different colors in at the same time to see what happens! You can also experiment with different sizes of balls or even flatten them out a bit. It’s all about playing and discovering what creates the best reaction. If you love colorful, science-y fun, you might also enjoy our easy rainbow crystal jelly cake recipe or the super cool DIY swirl glow bouncy ball!
Substitutions & Additions
While these are wonderful just as they are, you can totally have fun with variations! For a different kind of sweet treat, you might want to check out our easy cake mix toffee bars for a delicious baked good.
- Glitter: For extra sparkle, add a pinch of edible glitter to your mixture before shaping.
- Scent: A drop or two of food-grade essential oil (like lemon or peppermint) can add a lovely scent.
- More Fizz: For an even bigger reaction, try using a bit more vinegar, or even a splash of lemon juice.
- Different Shapes: Instead of balls, try pressing the mixture into small cookie cutters before they dry.
Tips for Success
A few little tricks can make your Rainbow Sugar Explosions even more fantastic!
- Don’t Oversaturate: The key to a good fizz is not making the mixture too wet. Add water slowly and only until it forms a nice, moldable texture.
- Patience with Drying: Letting them dry properly will help them hold their shape better when they hit the vinegar.
- Vinegar Quality: Standard white vinegar works best.
- Prep Ahead: You can make the colored balls a day or two in advance and store them in an airtight container at room temperature.
How to Store Rainbow Sugar Explosions
Once your Rainbow Sugar Explosions are completely dry, store them in an airtight container at room temperature. They should stay good for a good few weeks, though they are best when used within a month for maximum fizzing power.
FAQs
- Are these edible? While the ingredients are food-grade, the primary purpose is for the fizzy reaction, not consumption. We don’t recommend eating them.
- Why aren’t mine fizzing? Make sure your baking soda and cornstarch are fresh. Also, ensure you’re using white vinegar and that the balls aren’t too wet.
- Can I use other liquids for the reaction? While vinegar is the most effective, you can experiment with other acids like lemon juice, but the fizz might be less pronounced.
We hope you have as much fun making and playing with these Rainbow Sugar Explosions as we do! Don’t forget to share your colorful creations and tag us on Pinterest – we love seeing your kitchen adventures!
Rainbow Sugar Explosions
Equipment
- Mixing Bowl
- Spoons
- Small containers or muffin tins
- Tray or plate
- Small cup or tray
Ingredients
For the Rainbow Sugar Explosions
- 1/2 cup baking soda our fizzy base
- 1/4 cup cornstarch to bind and shape
- food coloring various colors
- 1/4 cup water to bring dry ingredients to life
- 1 tablespoon white vinegar the secret ingredient for fizz
Instructions
- Step 1: The Base Mix
First things first, grab your mixing bowl. Pour in your baking soda and cornstarch. Give them a good stir with your spoon until they're perfectly combined. Think of this as the canvas for your colorful masterpiece! - Step 2: Divide and Conquer the Colors
Now, here’s where the fun really begins! Divide your baking soda and cornstarch mixture equally into as many small containers or muffin tin cups as you like. I like to use different small bowls so I can easily add colors. The more divisions, the more colors you can have! - Step 3: Add a Splash of Color
To each of your little piles, add just a few drops of your chosen food coloring. Start with a little – you can always add more! Gently stir each portion with a separate spoon until the color is evenly distributed. Don't be afraid to get a little messy; it's part of the charm! - Step 4: The Damp Sand Consistency
This is a crucial step! You want to add the water very gradually, about one tablespoon at a time, to each colored mixture. As you add the water, mix it in thoroughly. You're aiming for a consistency that feels like damp sand – it should hold together when you squeeze it but not be too wet or sticky. If it gets too wet, just add a tiny pinch more baking soda and cornstarch to balance it out. - Step 5: Shape Your Explosions
Once you have that perfect damp sand texture, it's time to shape your Rainbow Sugar Explosions! Take small amounts of the mixture and roll them into little balls, about the size of a marble or slightly smaller. Place these colorful little spheres onto a tray or plate. You can let them air dry for a few hours, or if you're impatient like me, pop them in the fridge for about 30 minutes to firm up a bit. - Step 6: The Grand Finale!
Now for the moment you've been waiting for! Grab a small cup or tray and pour in about 1 tablespoon of white vinegar. Carefully drop one of your colored sugar balls into the vinegar. - Step 7: Watch the Magic Unfold!
Get ready for the show! Your Rainbow Sugar Explosion will immediately start to fizz, pop, and dance around in the vinegar. It's like a miniature volcano erupting right before your eyes! It’s fascinating to watch, and so satisfying. - Step 8: Experiment and Enjoy!
Repeat this process with your other colored balls. Try dropping two different colors in at the same time to see what happens! You can also experiment with different sizes of balls or even flatten them out a bit. It’s all about playing and discovering what creates the best reaction.