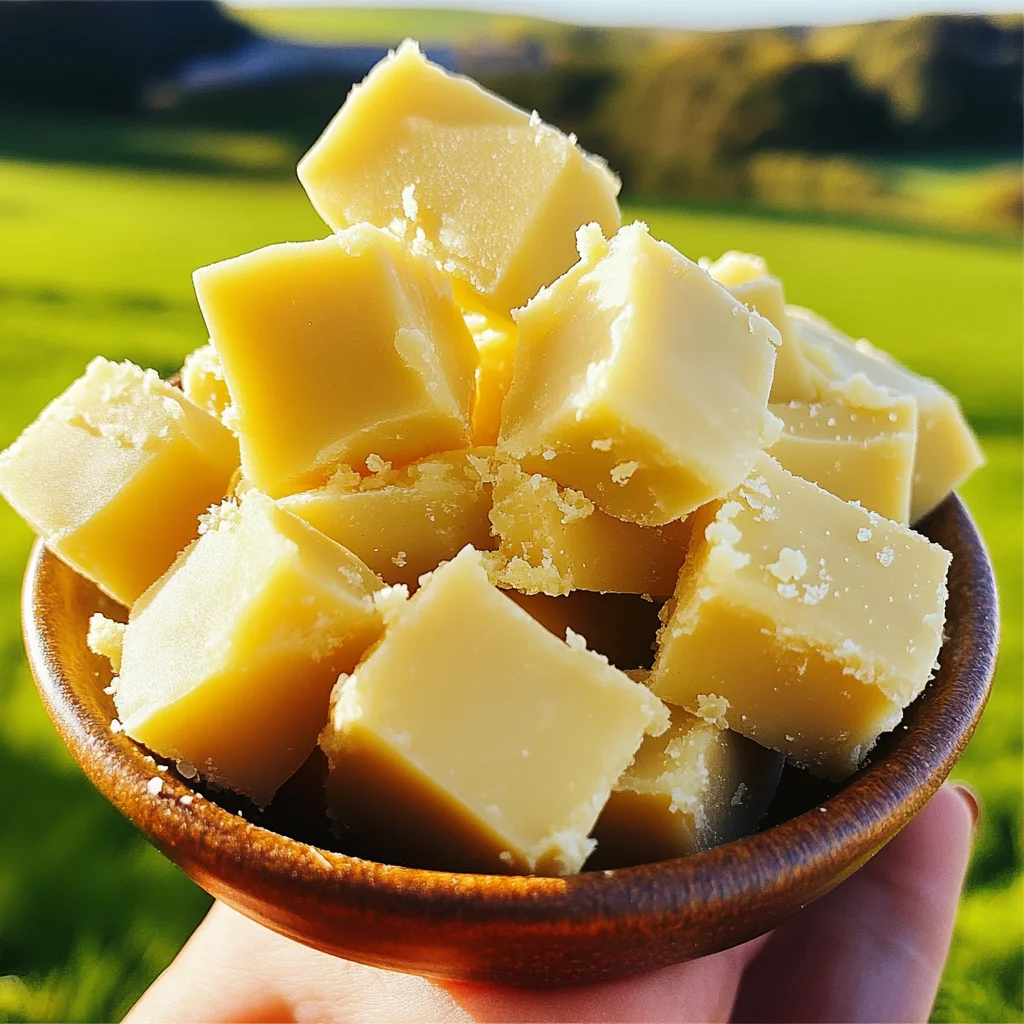
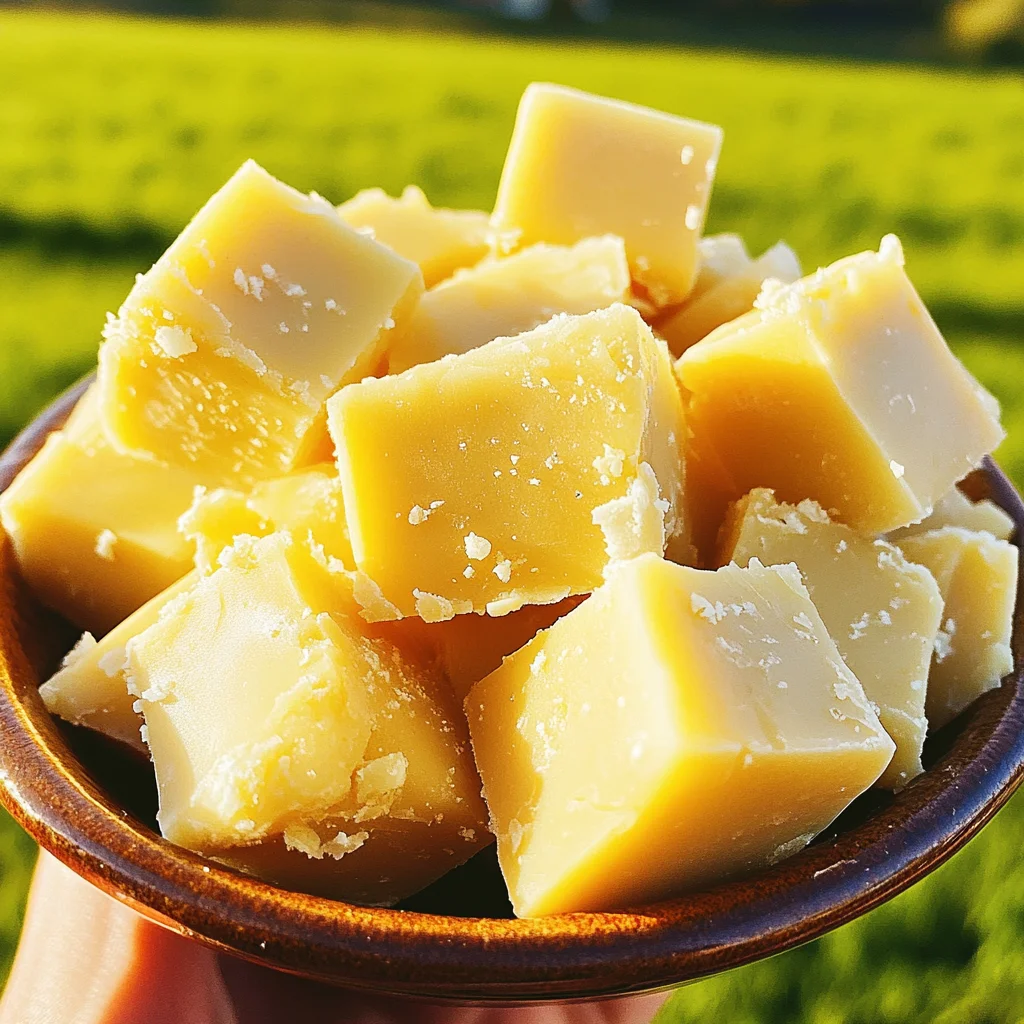
Hey there, fellow dessert lovers! Does the thought of bright, zesty lemon just make you happy? Like sunshine on a cloudy day, or the first hint of spring? For me, a pop of lemon flavor is pure joy. And you know what else is pure joy? Really, truly easy recipes that make you look like a kitchen rockstar with minimal effort. That’s exactly what this 3-ingredient lemon fudge is all about! It’s so simple, so quick, and the result is this dreamy, smooth, and vibrantly flavored fudge that practically melts in your mouth. Seriously, you won’t believe how little work goes into creating this little piece of edible happiness. It’s the perfect treat when you need something sweet in a flash, or when you want to whip up a beautiful gift without spending hours in the kitchen.
Why You’ll Love This Recipe
- Fast: We’re talking minutes of active prep time here. Most of the work is done by your fridge!
- Easy: If you can melt chocolate and stir, you can make this fudge. No candy thermometer needed!
- Giftable: This fudge is gorgeous and travels well, making it perfect for holiday tins, hostess gifts, or just sharing a little joy.
- Crowd-Pleasing: The bright lemon flavor is a refreshing change from traditional chocolate fudge and is always a hit!
- Minimal Mess: Only one bowl and a pan? Yes, please!
Ingredients
You only need THREE simple ingredients for this lemon fudge magic! How amazing is that?
- 24 oz White Candy Melts or White Chocolate Bark: This is your base! Candy melts are specifically designed for melting smoothly, which makes them super forgiving and easy to work with for fudge. White chocolate bark works great too!
- 14 oz Sweetened Condensed Milk: This is the magical ingredient that gives the fudge its creamy texture and helps it set up beautifully. Make sure it’s sweetened condensed milk, not evaporated milk!
- 1 Box Instant Lemon Pudding Mix (dry mix, not prepared): This is where all that wonderful lemon flavor comes from! You need the dry powder right out of the box. Don’t prepare it according to the package directions.
How to Make It
Okay, let’s get this sunshine-y goodness started! You’re going to be amazed at how quickly this comes together.
- Prep Your Pan: First things first, grab an 8×8-inch baking pan. Line it with aluminum foil or parchment paper, making sure to leave some overhang on the sides. This overhang is like little handles that will make lifting the set fudge out of the pan SO much easier later. Trust me on this one!
- Melt Your Base: Get out a large, microwave-safe bowl. Add your white candy melts or white chocolate bark to the bowl. Now, you’re going to microwave them on high power, but here’s the key: do it in short bursts, about 30 seconds at a time. After each 30 seconds, take the bowl out and give everything a really good stir. Keep doing this until the melts are completely smooth and there are no lumps left. Go slow and stir often – it prevents the chocolate from seizing up or burning!
- Add the Good Stuff: Once your melts are perfectly smooth and melted, it’s time to add the rest of the magic! Pour in the can of sweetened condensed milk and sprinkle in the dry instant lemon pudding mix. Now, grab a sturdy spoon or spatula and stir, stir, stir! You need to stir vigorously until everything is completely combined and the mixture is smooth and uniform. Make sure there are no pockets of dry pudding mix lurking around! It will be thick, and that’s exactly what you want.
- Pour and Set: Pour the thick, glorious lemon fudge mixture into your prepared 8×8-inch pan. Use a spatula to spread it out evenly into the corners. To get a really nice, smooth top, you can gently tap or shake the pan on the counter a few times. This helps level it out and get rid of any air bubbles.
- Chill Out: Pop the pan into the refrigerator. Now comes the hard part: waiting! You need to let the fudge chill for at least 2 hours, or until it’s nice and firm all the way through. You can tell it’s ready when it’s solid to the touch and doesn’t give when you press on it gently.
- Cut and Enjoy: Once it’s totally set, use those handy foil or parchment overhang handles to lift the whole slab of fudge out of the pan. Place it on a cutting board. Now, use a sharp knife to cut the fudge into squares or any shape you like! Cleaning the knife between cuts with a hot, damp cloth can help get cleaner edges. And that’s it! You’ve made beautiful, delicious lemon fudge!
Substitutions & Additions
This recipe is wonderfully simple as is, but there are always fun ways to play around! Think of these as ways to make it uniquely yours.
- Swap the Base: While candy melts are the easiest, you can use good quality white chocolate chips. However, white chocolate chips can sometimes be trickier to melt smoothly and can result in a slightly softer fudge. If you use chips, you might try adding a teaspoon or two of vegetable shortening or coconut oil when melting to help it become silkier.
- Extra Lemon Zing: For an even more intense lemon flavor and beautiful flecks of yellow, stir in 1-2 teaspoons of fresh lemon zest along with the condensed milk and pudding mix. Or, a few drops of pure lemon extract can really boost the flavor!
- Add Some Crunch: Mix in some finely chopped nuts (like macadamia nuts) or white chocolate chips just before pouring the mixture into the pan.
- Get Colorful: Stir in a few drops of yellow food coloring with the pudding mix for a brighter yellow fudge. Or, sprinkle with lemon-colored sprinkles or nonpareils before it sets for a festive look!
- Other Flavors: Want to experiment? You could try this recipe with other instant pudding flavors like cheesecake, vanilla, or even pistachio (though the color will be different!). Just make sure it’s an instant mix!
Tips for Success
Making this fudge is pretty foolproof, but here are a few little tips I’ve picked up that will help ensure yours turns out perfectly every time:
- Don’t Overheat the Chocolate: This is the most crucial step. Melting slowly in short intervals and stirring constantly prevents the white chocolate or candy melts from seizing (turning into a stiff, clumpy mess) or burning. Patience is key here!
- Stir Vigorously: When you add the condensed milk and pudding mix, you need to stir really well. You want every single bit of that dry pudding mix incorporated. Keep scraping the sides and bottom of the bowl until the mixture is completely smooth and uniform in color and texture. Any dry pockets can make your fudge grainy or not set properly.
- Use Instant Pudding: This recipe relies specifically on the ingredients in instant pudding mix to help set the fudge. Using cook-and-serve pudding won’t work the same way. Double-check the box!
- Line the Pan Well: Those overhangs aren’t just for looks! They truly make lifting the fudge out a breeze and prevent you from having to dig it out, which can mess up the edges.
- Chill Completely: Don’t rush the chilling time. If you try to cut the fudge before it’s fully set, it will be too soft and messy. Give it the full 2 hours (or even longer if needed, depending on your fridge) to firm up properly.
- For Clean Cuts: Use a sharp knife. For the neatest squares, wipe your knife blade clean with a hot, damp cloth between each cut.
How to Store It
So you’ve made this delicious lemon fudge (and hopefully saved some for later!). How do you keep it fresh?
Store the fudge in an airtight container at room temperature for up to a week. For slightly longer storage, or if your kitchen is warm, you can keep it in an airtight container in the refrigerator for up to 2-3 weeks. If refrigerating, you might want to let it sit at room temperature for a few minutes before serving for the best texture.
You can also freeze this fudge! Place cut pieces in a single layer on a baking sheet and freeze until firm, then transfer to a freezer-safe airtight container or bag. It should keep well for 2-3 months. Thaw in the refrigerator or at room temperature.
FAQs
Got questions? I’ve got answers!
Q: Why didn’t my fudge set properly?
A: The most common reasons are not using instant pudding mix (make sure it says “instant”!), not chilling it long enough, or potentially using a different type of white chocolate base that doesn’t firm up as well as candy melts/bark.
Q: Can I use real white chocolate instead of candy melts?
A: Yes, but choose a good quality brand and be extra careful when melting as real chocolate is more prone to seizing if overheated or if any moisture gets into it. As mentioned in the tips, a little shortening can help with smoothness.
Q: Can I use a different size pan?
A: An 8×8-inch pan gives you a nice thickness. You could use a slightly larger pan (like 9×9), but your fudge will be thinner and may set faster. A smaller pan will result in very thick fudge which might take longer to set.
Q: Can I double this recipe?
A: Yes, you can double it! Use a 9×13-inch pan and follow the same melting and mixing steps, potentially doing the melting in batches if your bowl isn’t large enough.
There you have it! An incredibly easy, super delicious, and wonderfully bright lemon fudge recipe that’s sure to become a favorite. Give it a try and let that sunshine-y flavor brighten your day!

3-Ingredient Lemon Fudge
Equipment
- 8x8-inch baking pan
- Large microwave-safe bowl
- spoon or spatula
- sharp knife
- Cutting board
Ingredients
- 24 oz White Candy Melts or White Chocolate Bark
- 14 oz Sweetened Condensed Milk not evaporated milk
- 1 box Instant Lemon Pudding Mix dry mix, not prepared
Instructions
- Step 1: Prep Your Pan: Grab an 8x8-inch baking pan. Line it with aluminum foil or parchment paper, leaving some overhang on the sides to use as handles later.
- Step 2: Melt Your Base: In a large, microwave-safe bowl, add the white candy melts or white chocolate bark. Microwave on high power in 30-second bursts, stirring well after each interval, until completely smooth and no lumps remain. Go slow and stir often to prevent seizing or burning.
- Step 3: Add the Good Stuff: Once the melts are smooth, pour in the sweetened condensed milk and sprinkle in the dry instant lemon pudding mix. Stir vigorously with a sturdy spoon or spatula until everything is completely combined, smooth, and uniform. Ensure there are no pockets of dry pudding mix.
- Step 4: Pour and Set: Pour the thick lemon fudge mixture into your prepared 8x8-inch pan. Use a spatula to spread it out evenly. Gently tap or shake the pan on the counter a few times to level the top and remove air bubbles.
- Step 5: Chill Out: Place the pan in the refrigerator and chill for at least 2 hours, or until the fudge is nice and firm all the way through and doesn't give when gently pressed.
- Step 6: Cut and Enjoy: Use the foil or parchment overhang handles to lift the set fudge out of the pan. Place it on a cutting board and use a sharp knife to cut it into squares. Wipe the knife clean with a hot, damp cloth between cuts for cleaner edges. Serve immediately or store.