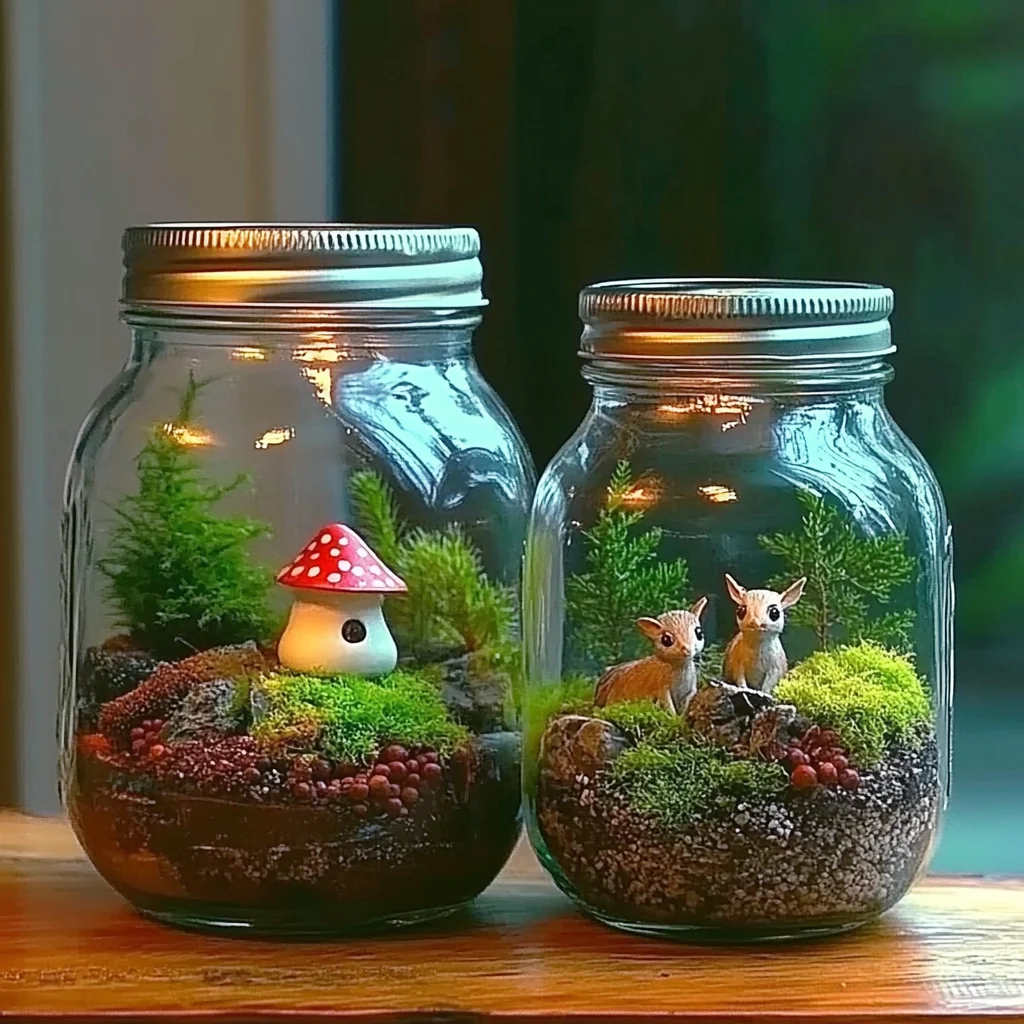
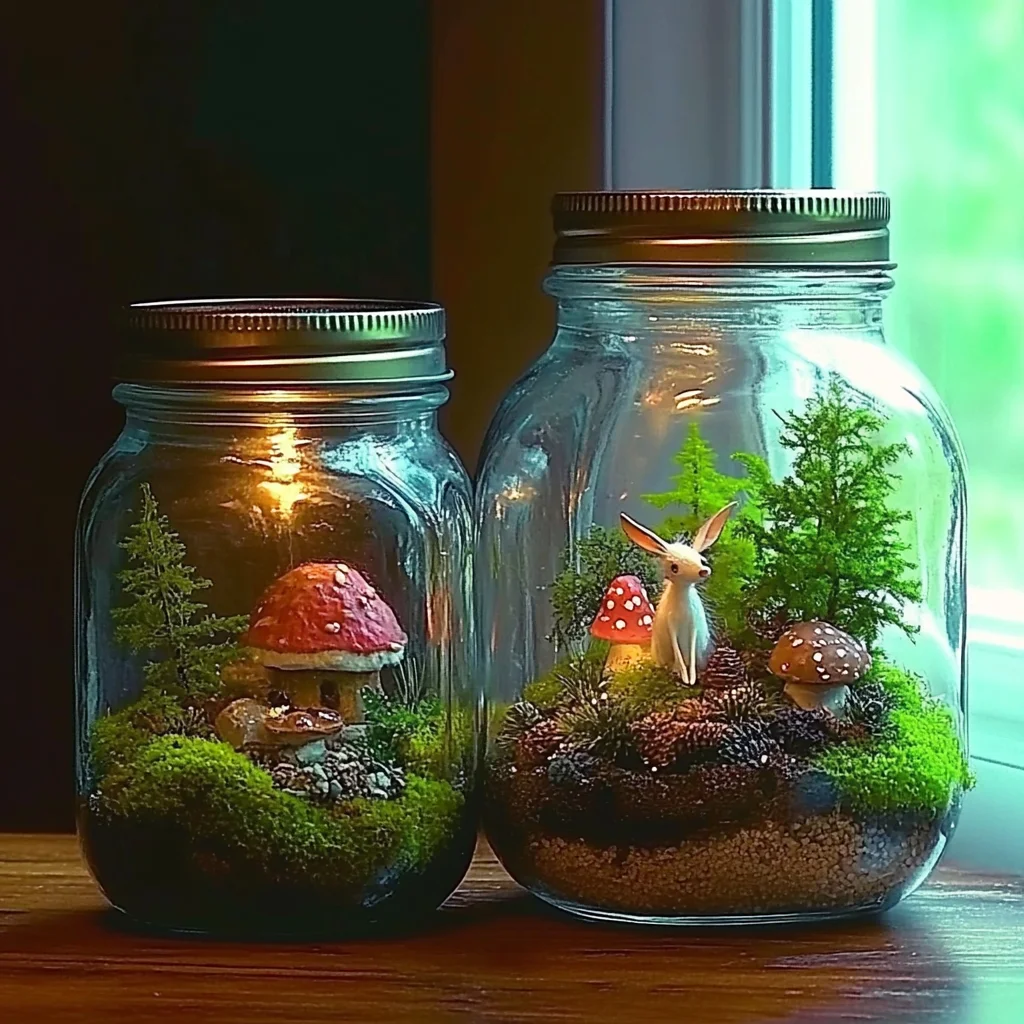
Remember those magical childhood days, building tiny worlds in the backyard, dreaming up enchanted forests and secret fairy hideaways? Well, get ready to bring that pure joy and wonder right into your home with this absolutely delightful DIY Whimsical Fairy Garden in a Mason Jar! It’s like bottling a little bit of fairy dust, and trust me, it’s so much easier than you might think.
This project is perfect for a rainy afternoon, a fun activity with the kids, or even just a charming way to add a touch of whimsical magic to your decor. You don’t need a green thumb or a whole lot of space – just a mason jar and a sprinkle of imagination! I just love how these little gardens bring such a smile to my face, and they make the most adorable, thoughtful gifts too. Imagine gifting someone their very own miniature enchanted realm!
Why You’ll Love This Whimsical Fairy Garden in a Mason Jar
- Fast: You can whip this up in no time!
- Easy: No complicated steps, just pure crafting fun.
- Giftable: It’s a handmade treasure that anyone would adore.
- Crowd-pleasing: Who can resist a tiny, magical world?
Ingredients
Gathering your supplies is part of the adventure! Here’s what you’ll need to create your little slice of fairy heaven:
- Mason Jars: Any size works, but the wider mouth ones are a bit easier to work with.
- Rocks: Small ones for the base. Think pebbles or aquarium gravel.
- Moss: Fresh or preserved, it’s the perfect natural carpeting.
- Miniatures: Tiny fairy figurines, mushrooms, benches, little houses – whatever sparks your imagination! You can find these at craft stores or even online.
- Hot Glue & Glue Gun: Our trusty companions for assembling everything.
- Craft Sticks: For building our enchanting fairy door.
- Ink (Brown): For staining the fairy door for that rustic, woodland look. An old ink pad works perfectly.
- Clay or Small Wood Bead: To create a cute little doorknob.
- Scissors: For shaping our fairy door.
How to Make Whimsical Fairy Garden in a Mason Jar
Alright, let’s get our hands a little crafty and bring this magical garden to life! It’s a straightforward process, and the results are simply enchanting.
Step 1: Craft the Fairy Door
This is where the magic really begins! Take two to three craft sticks and lay them side-by-side. Then, grab another craft stick and glue it across the back, horizontally, to hold them all together. This creates a sturdy little door frame.
Step 2: Add Rustic Charm
Now, using your scissors, carefully cut out a charming door shape from your craft stick panel. You can make it arched or a simple rectangle – whatever feels most fairy-like to you! For an extra touch of authenticity, gently “stain” the door by rubbing a brown ink pad over the wood. This gives it a lovely weathered, natural look.
Step 3: The Doorknob Detail
Every door needs a doorknob! Take a tiny ball of clay or a small wood bead and secure it to your fairy door with a dab of hot glue. It’s these little details that make your fairy garden truly special.
Step 4: Building the Base
Grab your mason jar. Start by pouring a layer of rocks into the bottom. This not only adds a nice visual texture but also helps with drainage if you decide to add any live elements later (though this version is perfectly fine without them!).
Step 5: A Blanket of Moss
Now, gently place your moss over the rocks. You want to create a soft, natural carpet for your fairy inhabitants. Let some of the moss creep up the back of the jar too, giving it a more organic, overgrown feel. It looks so pretty when it trails a bit!
Step 6: Place Your Enchantments
Time to add the stars of the show! Carefully insert your adorable fairy door into the mossy landscape. Then, arrange your chosen miniatures – maybe a tiny bench, a whimsical mushroom, or a little fairy house. Use a dab of hot glue to secure each element in place so they don’t shift around.
And there you have it! Your very own whimsical fairy garden in a mason jar, ready to enchant your space. It’s a project that’s as enjoyable to create as it is to admire. If you’re looking for other fun craft ideas, you might enjoy creating some DIY Bioplastic Suncatchers or perhaps some DIY Lava Lamp Style Suncatchers for more crafty fun!
Substitutions & Additions
Don’t be afraid to get creative and make this fairy garden your own! Here are a few ideas:
- Different Bases: Instead of just rocks, you could use small pebbles, sand, or even a bit of colored gravel for a different effect.
- Add Sparkle: Sprinkle a little bit of iridescent glitter over the moss for a magical, shimmering effect.
- Tiny Plants: If you’re feeling adventurous, a small air plant or a bit of preserved moss can add a touch of real greenery. Just make sure it’s suitable for a low-moisture environment.
- Fairy Lights: For an extra touch of enchantment, you could carefully weave some tiny LED fairy lights into your garden.
- Natural Elements: Small twigs, acorns, or dried flowers can add wonderful natural textures.
- Background Scene: You could glue a small picture or painted backdrop to the inside of the jar before adding the moss for a more detailed scene.
Tips for Success
A few little tricks can help make your fairy garden creation even smoother:
- Work in Layers: Building your garden from the bottom up is key.
- Test Your Glue: Make sure your hot glue is adhering well to the different materials, especially the moss and miniatures.
- Don’t Overcrowd: Give your little fairies and their homes a bit of space to breathe. Less can sometimes be more when it comes to creating a charming scene.
- Prepare Your Space: Lay down some newspaper or a craft mat to catch any stray glue or moss.
- Patience with Glue: Give the hot glue a moment to set before moving elements around too much.
How to Store Whimsical Fairy Garden in a Mason Jar
These little gardens are pretty low-maintenance! Since they don’t typically have live plants (unless you choose to add them), they can last for a long time. Simply keep your mason jar garden out of direct sunlight, as this can fade the colors of the miniatures and moss over time. A shelf, a windowsill (out of direct sun), or a side table would be perfect spots.
FAQs
- Q: Can I use real plants in my fairy garden?
A: Yes, you can! If you choose to use live plants like succulents or small mosses, make sure to research their light and watering needs. You might need to carefully water just the plants and avoid soaking the whole garden. - Q: Where can I find miniature fairy garden supplies?
A: Craft stores are a great place to start! You can also find a huge variety of miniatures online, from tiny furniture to fairy figurines. Hobby shops and even some dollar stores can have hidden gems too. - Q: Can children make this craft?
A: Absolutely! With adult supervision, especially when using the hot glue gun, this is a wonderful craft for kids. It encourages creativity and fine motor skills. - Q: How long does the moss last?
A: If you use preserved moss, it can last for years! Fresh moss might dry out over time but can often be revived with a light misting.
This DIY project is just one way to unleash your inner crafter! For more delightful projects that are sure to inspire, be sure to check out our amazing collection of recipes and crafts. We have everything from delicious treats like our Strawberry Cheesecake Dump Cake Recipe to fun DIYs like DIY Ocean in a Jar Craft. Happy crafting!
For more creative ideas and inspiration, follow us on Pinterest!

Whimsical Fairy Garden in a Mason Jar
Equipment
- Mason Jar
- Hot glue gun
- Scissors
- Craft Sticks
- Ink Pad (Brown)
Ingredients
- Mason Jars Any size works, but wider mouth ones are easier.
- Rocks Small ones for the base (e.g., pebbles, aquarium gravel).
- Moss Fresh or preserved, for carpeting.
- Miniatures Tiny fairy figurines, mushrooms, benches, little houses, etc.
- Hot Glue & Glue Gun
- Craft Sticks For building the fairy door.
- Ink (Brown) For staining the fairy door (an old ink pad works).
- Clay or Small Wood Bead To create a doorknob.
- Scissors For shaping the fairy door.
Instructions
- Step 1: Craft the Fairy Door
Lay 2-3 craft sticks side-by-side. Glue another craft stick horizontally across the back to hold them together, creating a door frame. - Step 2: Add Rustic Charm
Cut out a charming door shape from the craft stick panel using scissors. Optionally, rub a brown ink pad over the wood for a weathered look. - Step 3: The Doorknob Detail
Attach a tiny ball of clay or a small wood bead to the fairy door with a dab of hot glue for a doorknob. - Step 4: Building the Base
Pour a layer of rocks into the bottom of the mason jar for texture and drainage. - Step 5: A Blanket of Moss
Gently place moss over the rocks, creating a soft carpet. Let some moss creep up the back of the jar for an organic feel. - Step 6: Place Your Enchantments
Insert the fairy door into the moss. Arrange your chosen miniatures (like a bench, mushroom, or house) and secure them with dabs of hot glue.