
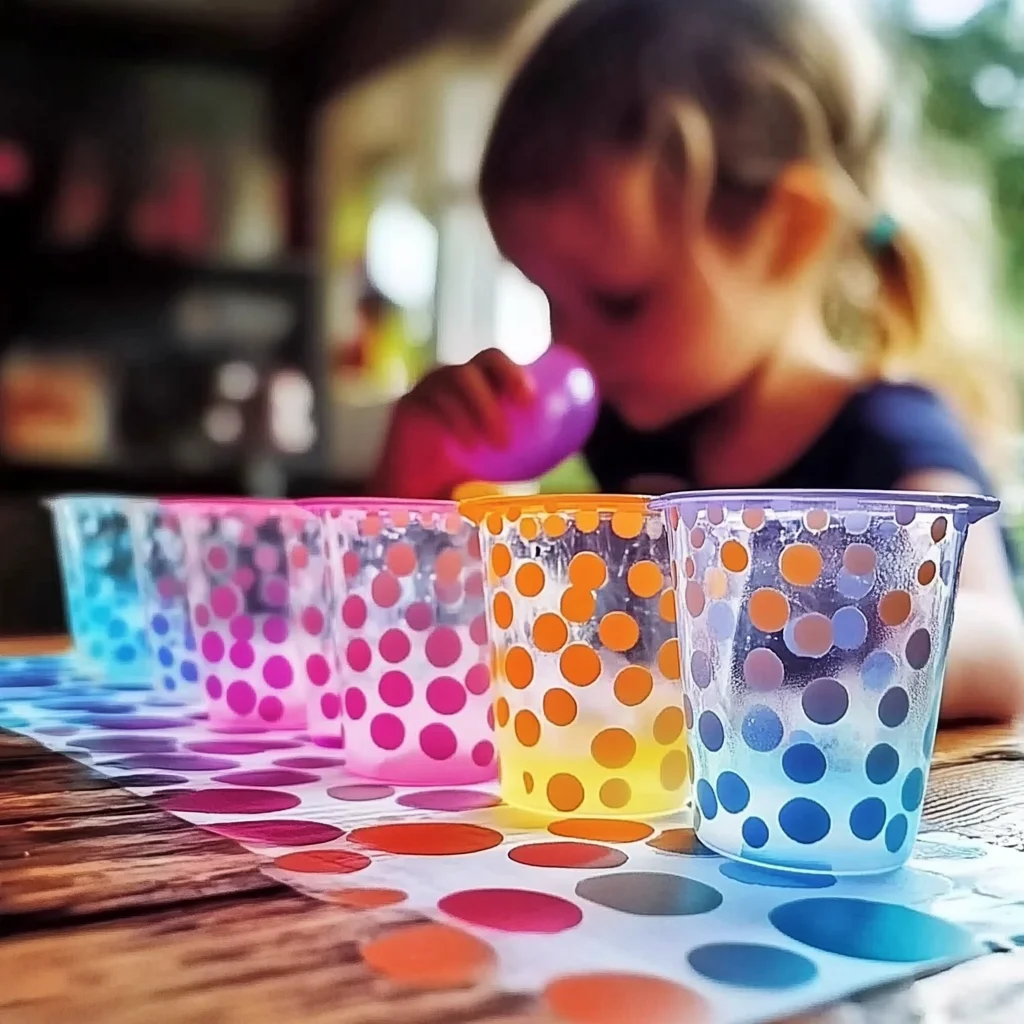
Imagine sitting in your backyard on a warm sunny day, the gentle hum of nature surrounding you, as you embark on a delightful DIY adventure. Fun bubble art is not just a project; it’s a joyful experience that will awaken your inner child and spark creativity like never before. The beauty of this craft lies in its simplicity and the magical transformations that unfold with each bubble you blow. Picture vibrant colors splashing across your paper, creating unique designs that are as unpredictable as they are beautiful. It’s a celebration of color, texture, and the sheer joy of making something with your own hands.
Why You’ll Love Fun Bubble Art
- Beginner-friendly
- Budget-friendly
- Creative and fun
- Great for kids and families
- Perfect for gifts or decorations
- Customizable
The Heart Behind This DIY
There’s something deeply satisfying about crafting, and fun bubble art embodies that spirit perfectly. This project invites you to slow down, breathe, and immerse yourself in the moment. As you mix your colors and blow your bubbles, you’ll find that crafting not only allows for self-expression but also promotes mindfulness and relaxation. It’s a wonderful way to connect with your loved ones, creating memories that will last a lifetime. Each bubble that bursts sends a little spark of joy, reminding us that beauty often lies in the unexpected.
A Gentle Look at the Process
As you embark on this bubble art journey, you can expect a delightful experience filled with laughter and creativity. The process begins with a simple mixture of ingredients, followed by the thrill of blowing bubbles and watching them dance on the paper. The anticipation builds as you place your paper over the bubbles, waiting for that satisfying pop that reveals a masterpiece. Each step is an invitation to explore your imagination and embrace the joy of creation.
Materials You’ll Need
- 1 cup of water – The base for our bubble mix.
- 1 cup of dish soap – This helps create those lovely bubbles.
- 1/2 cup of corn syrup – Adds thickness for bigger bubbles.
- Food coloring – For vibrant and fun colors.
- Straws – To blow bubbles and have fun!
- Paper or cardstock – Your canvas for this colorful art.
Step-by-Step Directions
Step 1
In a mixing bowl, combine 1 cup of water, 1 cup of dish soap, and 1/2 cup of corn syrup. Stir gently to avoid creating too many bubbles. Enjoy the soothing sound of the mixture as it blends together, setting the stage for the magic to come.
Step 2
If you want to create different colors, divide the mixture into separate containers. This is where the fun begins! Adding a splash of color to each container will make your bubble art pop.
Step 3
Add a few drops of food coloring to each container and mix well. Watch as the colors swirl together, creating a beautiful palette just waiting to be transformed into art.
Step 4
Dip a straw into the colored bubble mixture and blow gently to create bubbles. The sound of bubbles forming and popping is music to the ears, filling the air with a sense of excitement.
Step 5
Position a piece of paper or cardstock over the bubbles to catch them as they pop, allowing the colors to land on your canvas. This is where the real magic happens, and you’ll be amazed at the unique designs that emerge.
Step 6
Allow the artwork to dry completely before handling. Take a moment to admire your work, the colors dancing on the page, each bubble a little burst of joy.
Creative Ways to Use Fun Bubble Art
Once your bubble art is complete, the possibilities are endless! You can frame your colorful creations to brighten up your home or use them as unique greeting cards for friends and family. They also make fantastic decorations for kids’ parties or fun gifts for loved ones. Let your imagination run wild—how about creating a whole gallery wall with different bubble art pieces?
How to Store, Preserve, or Reuse Fun Bubble Art
To preserve your beautiful bubble art, store it flat in a cool, dry place. If you want to reuse your bubble mixture, simply keep it in an airtight container. You can easily make more bubbles for another round of fun whenever creativity strikes!
Creative Variations and Customizations
- Color variations – Experiment with different color combinations.
- Theme ideas – Create seasonal artwork for holidays.
- Seasonal adaptations – Use pastel colors for spring or warm hues for fall.
- Kid-friendly modifications – Use larger straws for little hands.
- Advanced creative upgrades – Try layering colors for more complex designs.
Tips for Success
- Avoid over-mixing the bubble solution to keep it bubbly.
- Be mindful of the surface you are working on; cover it to prevent mess.
- Encourage kids to experiment with blowing bubbles of different sizes.
- Cleanup is easy with soap and water—just rinse everything off!
- Have fun with it! There are no wrong ways to create art.
FAQs About Fun Bubble Art
Can beginners make this?
Absolutely! Fun bubble art is perfect for beginners and requires no special skills.
Can children participate?
Yes! This project is great for kids and can be a fun family activity.
How long does it last?
Once dry, your bubble art can last for years if stored properly.
Can I customize it?
Definitely! Feel free to mix colors and create your own unique designs.
A Final Creative Note
As you wrap up your fun bubble art project, take a moment to celebrate your creativity and the joy of making something beautiful. Crafting is a wonderful way to express yourself and share moments with those you love. Remember, each piece of art is unique, just like you. So, gather your materials, invite your family, and let the bubbles guide you to a world of color and imagination. For more delicious recipes, check out the blueberry lemon ricotta pancakes or the blueberry cheesecake swirl rolls for treats you will love! And if you’re looking for more DIY inspiration, be sure to follow Pinterest.
Ingredients
Materials You'll Need
- 1 cup water The base for our bubble mix.
- 1 cup dish soap This helps create those lovely bubbles.
- 1/2 cup corn syrup Adds thickness for bigger bubbles.
- Food coloring
- Straws
- Paper or cardstock
Instructions
- Step 1: In a mixing bowl, combine 1 cup of water, 1 cup of dish soap, and 1/2 cup of corn syrup. Stir gently to avoid creating too many bubbles.
- Step 2: If you want to create different colors, divide the mixture into separate containers.
- Step 3: Add a few drops of food coloring to each container and mix well.
- Step 4: Dip a straw into the colored bubble mixture and blow gently to create bubbles.
- Step 5: Position a piece of paper or cardstock over the bubbles to catch them as they pop.
- Step 6: Allow the artwork to dry completely before handling.
