
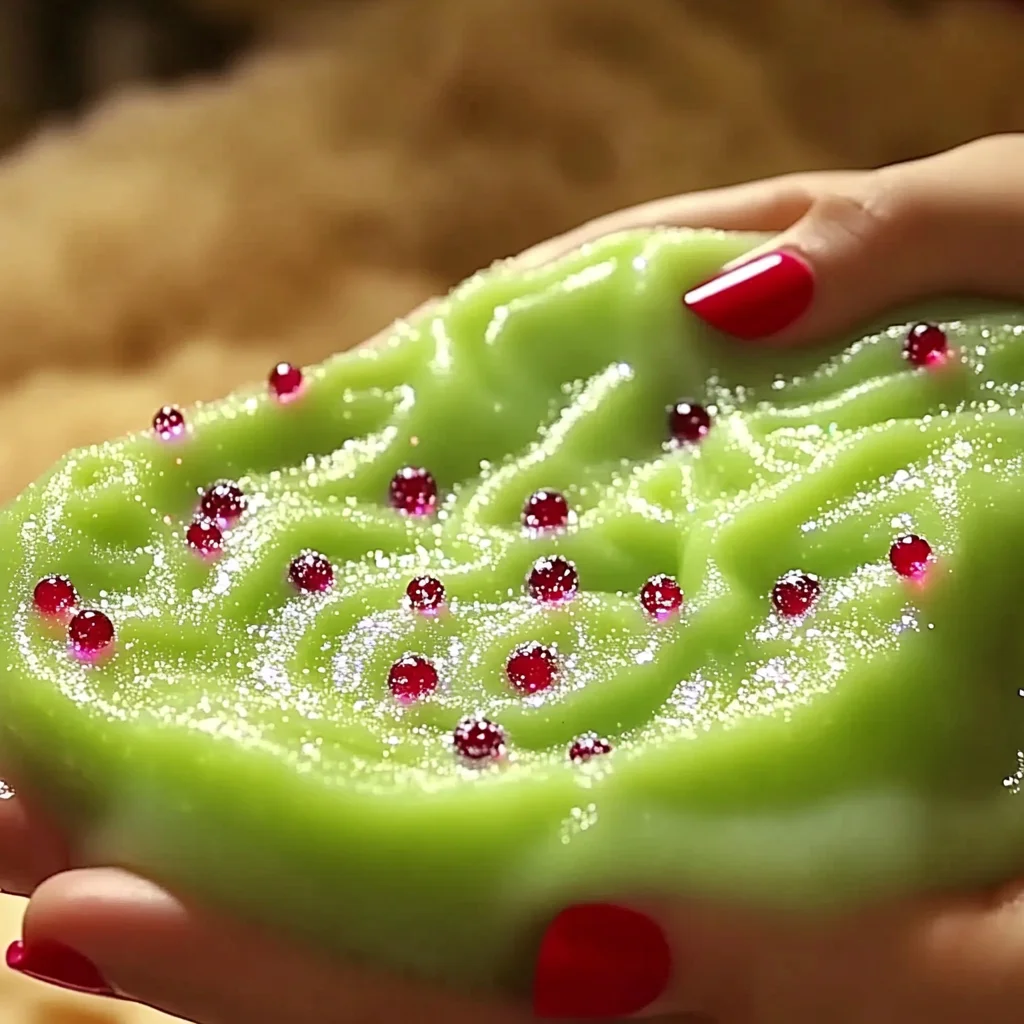
Imagine a cozy afternoon filled with laughter, creativity, and the delightful squish of slime between your fingers. Today, I invite you to embark on a whimsical adventure as we create Grinch Slime! This project not only brings a festive touch to your home but also serves as a delightful sensory experience. Picture the vibrant green hue, the sparkle of glitter, and the joy of making something uniquely yours. Whether you’re crafting with kids or enjoying some solo time, this DIY project is bound to spark joy and creativity in your heart.
Why You’ll Love Grinch Slime
- Beginner-friendly
- Budget-friendly
- Creative and fun
- Great for kids and families
- Perfect for gifts or decorations
- Customizable
The Heart Behind This DIY
Creating Grinch Slime is more than just a fun project; it’s a way to connect with your inner child and embrace the creative spirit. Crafting encourages mindfulness, allowing you to focus on the textures, colors, and movements as you mix and mold. It’s a wonderful opportunity to bond with family or friends, share stories, and simply enjoy the moment. Plus, there is something truly magical about watching your creation come to life, evoking feelings of joy, pride, and a sprinkle of holiday cheer.
A Gentle Look at the Process
As we dive into this project, expect to experience a delightful transformation. You will start with simple ingredients: glue, baking soda, and a splash of color. With each step, you will witness the mixture evolve into a stretchy, sparkly slime that captures the essence of the Grinch. Feel free to let your creativity flow as you adjust colors and add glitter. The process is just as important as the finished product, so take your time and savor each step.
Materials You’ll Need
- 1 cup white school glue – This is the base of your slime, providing that satisfying stretch.
- 1 tablespoon baking soda – This helps to firm up the slime and gives it a nice texture.
- 1 tablespoon contact lens solution – This magical ingredient is what brings your slime together!
- Green food coloring – Choose your favorite shade of green to make your Grinch slime truly special.
- Glitter (optional) – Add a touch of sparkle for that festive flair!
Step-by-Step Directions
Step 1
In a mixing bowl, combine 1 cup of white school glue and 1 tablespoon of baking soda. Stir well until the two ingredients are fully mixed. You should see a smooth, slightly thickened mixture.
Step 2
Add a few drops of green food coloring to the mixture. Adjust the color to your liking—whether you want a bright lime or a deep forest green, make it yours!
Step 3
If you’re feeling extra festive, mix in some glitter at this point for that added sparkle. It’s like the finishing touch that makes everything pop!
Step 4
Slowly add 1 tablespoon of contact lens solution to the mixture, stirring continuously. You’ll notice the slime beginning to form and pull away from the sides of the bowl. Exciting, right?
Step 5
Once the slime starts to come together, knead it with your hands. This is where the fun really begins! Keep kneading until it reaches your desired consistency—stretchy and fun to play with.
Step 6
When you’re done playing (or if you need to take a break), store your Grinch slime in an airtight container to keep it fresh and ready for your next session.
Creative Ways to Use Grinch Slime
Your Grinch slime is not just for squishing; it can add a festive touch to your holiday decor or serve as a fun gift! Here are some creative ideas:
- Display it in a clear jar with a festive ribbon for a charming decoration.
- Gift it in small containers to friends and family as a unique holiday treat.
- Use it for sensory play with children, allowing them to explore textures and colors.
- Add it to your holiday party as a fun activity for guests of all ages.
How to Store, Preserve, or Reuse Grinch Slime
To keep your Grinch slime fresh, store it in an airtight container. It can last for several weeks if properly maintained. If it starts to dry out, you can revive it by kneading in a few drops of water to restore its stretchy goodness.
Creative Variations and Customizations
- Try different color variations by mixing in red or white to create a peppermint-themed slime.
- Experiment with seasonal adaptations—think pastel colors for spring or spooky shades for Halloween!
- Incorporate scents, like peppermint or vanilla, for an added sensory experience.
- Make it more kid-friendly by adding in fun-shaped confetti or foam beads for texture.
- For advanced crafters, try incorporating essential oils or glow-in-the-dark elements for a unique twist!
Tips for Success
- Avoid adding too much contact lens solution at once; it’s easier to add more than to fix a too-stiff slime.
- Ensure that children are supervised when making slime, especially when using ingredients like contact lens solution.
- Prepare your workspace with a protective covering to make cleanup easier.
- When you’re done, wash your hands with soap and water to remove any residue.
- Don’t stress if your slime doesn’t turn out perfect; every creation is unique, just like you!
FAQs About Grinch Slime
Can beginners make this?
Absolutely! This project is perfect for beginners and anyone looking to explore their creativity.
Can children participate?
Yes! Kids will love making this slime with adult supervision, especially during the mixing and kneading steps.
How long does it last?
When stored properly in an airtight container, Grinch slime can last for several weeks.
Can I customize it?
Yes! Feel free to experiment with different colors, scents, and textures to make it uniquely yours.
A Final Creative Note
As you embark on this Grinch Slime adventure, remember to embrace the joy of creating something with your own hands. Each squish and stretch is a celebration of your creativity and imagination. I hope this project inspires you to explore more DIY crafts and activities. For more delicious recipes, check out Blueberry Lemon Ricotta Pancakes or Kool-Aid Gummy Treats for treats you will love!
Don’t forget to share your creations and inspire others. Happy crafting!
For more DIY inspiration, follow our Pinterest page!
Grinch Slime
Equipment
- Mixing Bowl
- spoon
- airtight container
Ingredients
For the Grinch Slime
- 1 cup white school glue provides stretch
- 1 tbsp baking soda firms up the slime
- 1 tbsp contact lens solution brings slime together
- Green food coloring
- Glitter (optional)
Instructions
- Step 1: In a mixing bowl, combine 1 cup of white school glue and 1 tablespoon of baking soda. Stir well until fully mixed.
- Step 2: Add a few drops of green food coloring to the mixture and adjust the color to your liking.
- Step 3: If desired, mix in some glitter for added sparkle.
- Step 4: Slowly add 1 tablespoon of contact lens solution, stirring continuously until the slime begins to form.
- Step 5: Knead the slime with your hands until it reaches your desired consistency.
- Step 6: Store your Grinch slime in an airtight container to keep it fresh.
