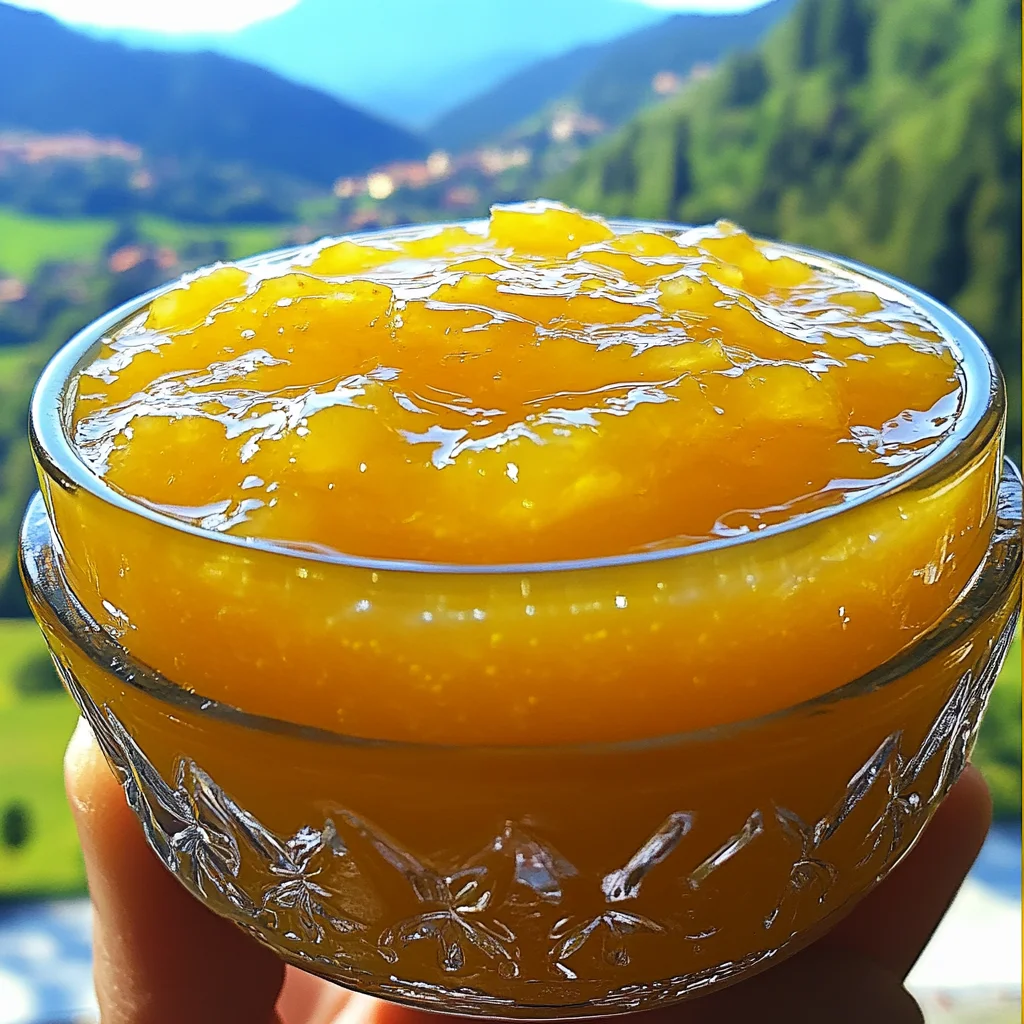
Oh, lemons! Just the thought of them brings a little sunshine into my kitchen. This Italian Lemon Jam recipe is one of those treasures that feels like a warm hug from a sun-drenched Italian grove, even on a cloudy day. Growing up, there was always a jar of something homemade bubbling on the stove or tucked away in the pantry, and this lemon jam? It captures that pure, simple joy perfectly.
Forget store-bought! This jam is incredibly easy, takes just a handful of ingredients you probably have right now, and turns out beautifully bright and zesty every single time. It’s sunshine in a jar, ready to spread on toast, swirl into yogurt, or just sneak spoonfuls straight from the jar (no judgment here!). Let’s make some kitchen magic!
Why You’ll Love This Recipe
Seriously, what’s not to love about homemade jam? Especially when it’s this simple!
- Fast: From start to jar, you’re looking at under an hour. Perfect for an afternoon project or a last-minute gift idea!
- Easy: No fancy equipment or techniques needed. If you can stir, you can make this jam.
- Giftable: Pour it into cute jars, tie a ribbon, and you’ve got the most thoughtful, delicious gift for friends, family, or neighbors.
- Crowd-pleasing: Its bright, tangy-sweet flavor is universally loved. It’s fantastic on everything!
Ingredients
Here’s what you’ll need to get that liquid sunshine into a jar. It’s a short and sweet list!
- 4 large lemons (preferably organic): Since we’re using the zest, organic is a great choice to avoid pesticides. Plus, good quality lemons mean great flavor!
- 2 cups granulated sugar: This is what gives the jam its sweetness and helps it set.
- 1 cup water: Just plain water to help everything cook down nicely.
- ½ teaspoon vanilla extract (optional): This is my little secret ingredient! It adds a lovely subtle warmth that just makes the lemon flavor sing. Trust me on this one.
How to Make It
Alright, apron on? Let’s turn these beautiful lemons into glorious jam. Follow along, and you’ll be a jam-making pro in no time!
First things first, grab those lemons. You’ll want to give them a good wash and dry them thoroughly. This is important because we’re using the zest! Now, get out your fine grater or microplane and carefully zest the yellow part of the peel, avoiding the bitter white pith underneath. Once they’re zested, cut those lemons in half and juice them, making sure to pick out any rogue seeds. Easy peasy, lemon squeezy!
Next, get a medium-sized saucepan. Pour in that fresh lemon juice, add the lovely zest, the granulated sugar, and the water. Give it a good stir over medium heat. Keep stirring until you see that all the sugar has completely dissolved. You want a smooth liquid base before things start heating up.
Now, turn the heat up to bring the mixture to a boil. Once it’s bubbling nicely, reduce the heat to a gentle simmer. You want it to be actively bubbling, but not so vigorously that it’s splattering everywhere. Let it simmer away, uncovered, for about 30 to 40 minutes. You’ll see it thicken and deepen in color. Remember to give it a stir occasionally, especially as it thickens, to make sure nothing sticks to the bottom of the pan.
After about 30 minutes, it’s time to test for readiness! This is the fun part. Before you start, pop a small plate or saucer in the freezer for a few minutes. When you think the jam is getting close, carefully spoon a tiny bit of the hot jam onto the cold plate. Let it sit for about 30 seconds, then gently push it with your finger. If the surface wrinkles or gels slightly, it’s ready! If it’s still runny and doesn’t wrinkle, just let it simmer for another 5 minutes and test again on a clean cold spot on the plate (or another cold plate).
Once your jam passes the wrinkle test, remove the saucepan from the heat. If you’re using the optional vanilla, stir it in now. Let the jam sit for just a few minutes to cool slightly – this helps the zest distribute nicely.
While the jam is simmering, this is a great time to get your jars ready! You need to use warm, sterilized jars. You can sterilize them by boiling them in water for 10 minutes, running them through a hot dishwasher cycle, or heating them in the oven. Pour the slightly cooled jam carefully into the warm jars, leaving about a ½ inch of headspace at the top. Wipe the rims clean with a damp cloth, place the lids on, and screw the bands on tightly.
Let the sealed jars cool completely at room temperature. As they cool, you’ll likely hear that satisfying pop as the lids seal. Once cool, they’re ready to store!
Substitutions & Additions
Want to get a little creative? Here are some ideas to play with this recipe:
Try adding a different citrus peel or juice along with the lemon – maybe a little orange or grapefruit zest for a twist. A cinnamon stick, a star anise pod, or a few cardamom pods added during the simmer can infuse a lovely warmth (remember to remove them before jarring!). For a less sweet jam, you could try reducing the sugar slightly, but be aware this might affect the set. You can also play with adding a tiny pinch of salt to enhance the flavors!
Tips for Success
Jam making is pretty straightforward, but a few pointers can make it even smoother sailing:
- Use a heavy-bottomed saucepan: This helps distribute the heat evenly and prevents scorching.
- Don’t rush the simmer: Let it cook down slowly. This develops the flavor and helps it set.
- Watch the heat: Keep it at a gentle simmer, not a rolling boil, especially as it thickens.
- The cold plate test is your friend: Trust the test! It’s a reliable way to know when your jam is ready to set.
- Sterilize your jars properly: This is crucial for safe, long-term storage.
How to Store It
Properly sealed jars of this delicious lemon jam can be stored in a cool, dark pantry for up to a year. Once you open a jar, be sure to keep it in the refrigerator. It should last for several weeks in the fridge, though honestly, it’s so good, it rarely lasts that long in my house!
FAQs
Got questions? Let’s tackle a few common ones:
Q: Will my jam be bitter because of the zest?
A: If you only zest the yellow part and avoid the white pith, it shouldn’t be bitter. The cooking process and sugar also help mellow any potential bitterness.
Q: My jam seems too thin after cooling, what happened?
A: It likely didn’t cook long enough to reach the setting point. Unfortunately, once it’s jarred and cooled, it’s hard to fix perfectly. You can enjoy it as a lovely lemon syrup! Next time, trust the cold plate test and simmer a little longer if needed.
Q: Can I use bottled lemon juice?
A: Fresh lemon juice will give you the brightest, best flavor, which is key in this simple recipe. Bottled juice might work in a pinch, but the result won’t be quite the same vibrant sunshine.
Q: Do I have to sterilize the jars?
A: Yes, absolutely! Sterilizing ensures your jam is safe to store at room temperature and prevents spoilage.
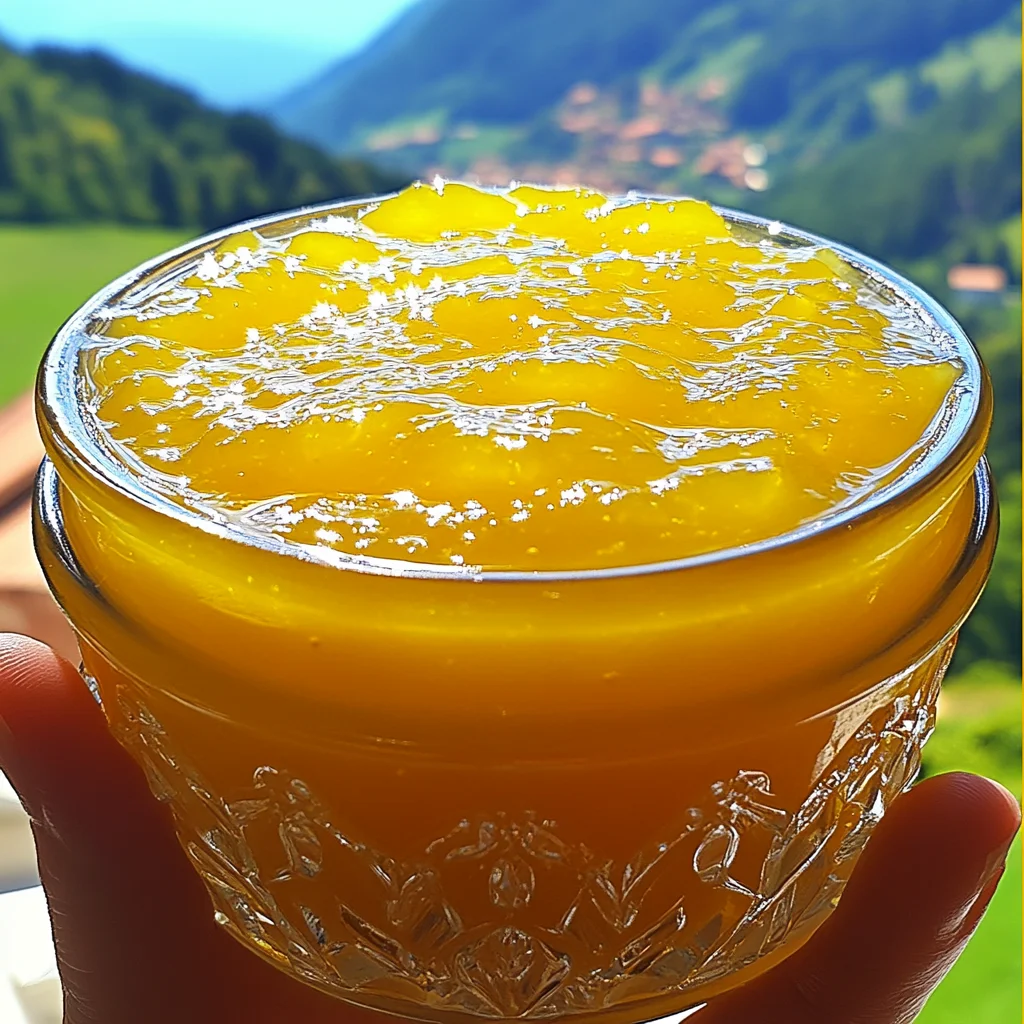
Making jam is such a rewarding process, and this Italian Lemon Jam is a perfect place to start (or continue!) your jamming adventures. I can’t wait for you to try it and bring a little bit of Italian sunshine into your home!

Homemade Italian Lemon Jam
Equipment
- Medium-sized Saucepan
- Fine Grater or Microplane
- Small Plate or Saucer
- Jars with lids and bands
Ingredients
- 4 large lemons preferably organic
- 2 cups granulated sugar
- 1 cup water
- 0.5 tsp vanilla extract optional
Instructions
- Step 1: Prepare Lemons. Wash and dry the lemons thoroughly. Zest the yellow part of the peel, avoiding the white pith. Cut the lemons in half and juice them, removing any seeds.
- Step 2: Combine Ingredients. In a medium-sized saucepan, combine the lemon juice, lemon zest, granulated sugar, and water. Stir over medium heat until all the sugar is completely dissolved.
- Step 3: Simmer the Jam. Increase the heat and bring the mixture to a boil. Reduce the heat to a gentle simmer and cook, uncovered, for about 30 to 40 minutes, stirring occasionally, until the jam thickens and deepens in color.
- Step 4: Test for Setting Point. Chill a small plate in the freezer. To test the jam, carefully spoon a small amount onto the cold plate. Let it sit for about 30 seconds, then gently push it with your finger. If the surface wrinkles or gels slightly, it's ready. If not, continue simmering for another 5 minutes and test again.
- Step 5: Finish and Cool. Once the jam is ready, remove the saucepan from the heat. Stir in the optional vanilla extract if using. Let the jam sit for a few minutes to cool slightly.
- Step 6: Jar the Jam. Pour the slightly cooled jam into warm, sterilized jars, leaving about ½ inch of headspace. Wipe the rims clean, place lids on, and screw bands on tightly. Let the sealed jars cool completely at room temperature. You should hear the lids pop as they seal.