
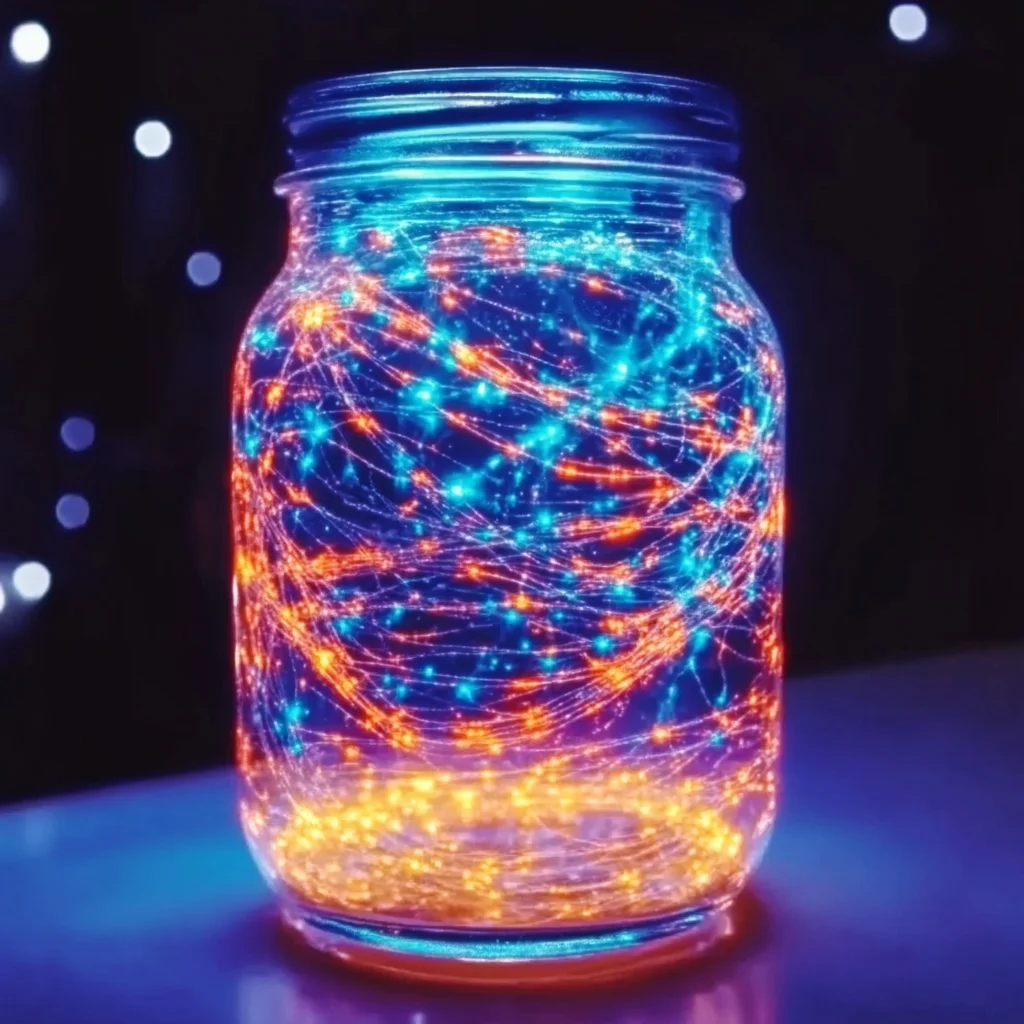
There’s something truly enchanting about a jar that glows softly in the dark, isn’t there? It takes me back to childhood nights spent camping under the stars, where fireflies danced around us, casting a magical light. Creating a Whimsical Glowing Jar is not just a fun DIY project; it’s a delightful way to add a touch of magic to your home or give a heartfelt gift to someone special. Imagine the soft glow illuminating your room, creating a warm, inviting atmosphere that wraps you in comfort. Let’s dive into this joyful crafting experience together!
Why You’ll Love Whimsical Glowing Jar
- Beginner-friendly
- Budget-friendly
- Creative and fun
- Great for kids and families
- Perfect for gifts or decorations
- Customizable
The Heart Behind This DIY
Crafting a Whimsical Glowing Jar is more than just creating a pretty decoration; it’s an opportunity to express creativity and enjoy the process of making something with your own hands. This project encourages mindfulness, as you focus on the colors and textures of your materials, letting your worries drift away. Plus, it’s a wonderful way to bond with your family or friends, sharing laughter and brainstorming ideas as you design together. The joy of crafting brings a sense of accomplishment and confidence, reminding us that we can create beauty in our everyday lives.
A Gentle Look at the Process
As you embark on this crafting adventure, expect to feel a mix of excitement and serenity. You will begin by preparing your materials, feeling the smoothness of the jar in your hands. Then, you will transform the inside of the jar with vibrant glow-in-the-dark paint, letting your imagination run wild as you create whimsical designs. Finally, you will add small decorations, watching as your creation comes to life. It’s a step-by-step journey filled with creativity and warmth.
Materials You’ll Need
- Mason jar or glass container – This will be the canvas for your creativity.
- Glow-in-the-dark paint – The magic ingredient that will make your jar shine!
- Paintbrush – To apply the paint smoothly and create beautiful patterns.
- Water – Optional, but it can enhance the glow effect.
- Small decorations (e.g., glitter, small figurines, or colored sand) – To add whimsy and personality.
- Optional: LED tea light candle – For an extra touch of glow when displayed.
Step-by-Step Directions
Step 1
Begin by cleaning and drying your mason jar or glass container thoroughly. This ensures that the glow-in-the-dark paint adheres well and creates a smooth finish.
Step 2
Using your paintbrush, apply the glow-in-the-dark paint to the inside of the jar. Let your creativity flow! You could create stars, swirls, or even a whimsical landscape. The beauty of this project is that there are no rules; just enjoy the painting process!
Step 3
Allow the paint to dry completely according to the manufacturer’s instructions. As you wait, take a moment to enjoy the colors and think about how you want to decorate your jar further.
Step 4
If you want to enhance the glow effect, add a small amount of water to the jar. It creates a lovely, shimmering effect that makes the glow even more magical.
Step 5
Now it’s time to add your small decorations! Sprinkle in some glitter, place tiny figurines, or pour colorful sand into the jar. Each addition adds a unique touch and makes your jar truly one-of-a-kind.
Step 6
For an extra glow effect, consider placing an LED tea light candle inside the jar. This will amplify the magical ambiance and make your creation shine even brighter.
Step 7
Finally, find the perfect spot to display your whimsical glowing jar. A dark area will allow it to shine beautifully, creating a cozy atmosphere that you can enjoy every evening.
Creative Ways to Use Whimsical Glowing Jar
Your Whimsical Glowing Jar can serve many purposes! Display it on a nightstand for a soothing bedtime glow, or use it as a centerpiece for a family gathering to add whimsy to your table. It also makes a thoughtful gift for friends or loved ones, especially when filled with personalized decorations. You could even create themed jars for different seasons or holidays to brighten up your home all year round.
How to Store, Preserve, or Reuse Whimsical Glowing Jar
To preserve your glowing jar, keep it in a cool, dry place away from direct sunlight. If you want to reuse it, simply clean out the decorations and paint to start fresh with a new design. The possibilities are endless, and you can recreate this project as many times as you like!
Creative Variations and Customizations
- Color variations – Experiment with different colors of glow-in-the-dark paint for unique effects.
- Theme ideas – Create seasonal jars, like Halloween with spooky designs or Christmas with festive elements.
- Seasonal adaptations – Switch out decorations to match the seasons, using leaves in fall or flowers in spring.
- Kid-friendly modifications – Let children add their favorite toys or drawings to personalize their jars.
- Advanced creative upgrades – Try layering different materials or using stencils for intricate designs.
Tips for Success
- Avoid common mistakes by ensuring the jar is clean and dry before painting.
- For safety, use non-toxic glow-in-the-dark paint if children are involved.
- Prepare your workspace with newspaper or a drop cloth to catch any paint spills.
- Cleanup is easy! Just wash your brushes with soap and water before the paint dries.
- Expert tip: Let your painted jar “charge” in natural light for a brighter glow at night!
FAQs About Whimsical Glowing Jar
Can beginners make this?
Absolutely! This project is perfect for beginners and requires no special skills—just a bit of creativity!
Can children participate?
Yes, kids can have a blast creating their own glowing jars! Just supervise them, especially while using the paint.
How long does it last?
The glow will last as long as the paint holds up, typically for several months. You can always refresh it with new paint if needed.
Can I customize it?
Definitely! Each jar can be personalized with different colors and decorations, making it uniquely yours.
A Final Creative Note
As you finish your Whimsical Glowing Jar, take a moment to appreciate your creation. Each glow represents your creativity and the joy of crafting something beautiful with your own hands. I hope this project inspires you to explore more DIY adventures in your home. For more delicious recipes, check out the delightful blueberry cheesecake swirl rolls or the easy key lime pie cookies for treats you will love! Remember, the magic of crafting lies not only in the final product but in the journey of making it. Happy crafting!
For more DIY inspiration, follow our Pinterest account!
Whimsical Glowing Jar
Equipment
- Mason jar or glass container
- Paintbrush
Ingredients
Materials You'll Need
- Mason jar or glass container
- Glow-in-the-dark paint
- Paintbrush
- Water Optional, can enhance glow effect.
- Small decorations (e.g., glitter, small figurines, or colored sand)
- Optional: LED tea light candle
Instructions
- Step 1: Begin by cleaning and drying your mason jar or glass container thoroughly.
- Step 2: Using your paintbrush, apply the glow-in-the-dark paint to the inside of the jar.
- Step 3: Allow the paint to dry completely according to the manufacturer's instructions.
- Step 4: If you want to enhance the glow effect, add a small amount of water to the jar.
- Step 5: Now it’s time to add your small decorations!
- Step 6: For an extra glow effect, consider placing an LED tea light candle inside the jar.
- Step 7: Finally, find the perfect spot to display your whimsical glowing jar.
