Remember those magical moments as a kid, creating something colorful and exciting with just a few simple ingredients? There’s something truly special about turning everyday items into works of art, and today, we’re diving into a craft that’s bursting with creativity and a touch of science magic: Baking Soda Painting! Get ready to unleash your inner artist and have a blast with this wonderfully simple yet captivating activity. It’s perfect for a rainy afternoon, a fun playdate, or even as a unique gift idea!
Why You’ll Love Baking Soda Painting
- Fast: You can set up and start painting in just minutes!
- Easy: The steps are super straightforward, making it accessible for everyone.
- Giftable: Frame your creations for a heartfelt, handmade present.
- Crowd-pleasing: Kids and adults alike will be mesmerized by the fizzy reaction!
Ingredients You’ll Need
Gathering your supplies is a breeze! You probably have most of these hiding in your kitchen or craft drawer already. This recipe is wonderfully adaptable, so don’t worry if you don’t have every single item.
- 1/2 cup baking soda: The star of our show! This common kitchen staple is what gives our paint its unique texture and reaction.
- 2–4 tablespoons water: Just enough to get our baking soda to that perfect paint-like consistency. Start with less and add more as needed.
- Food coloring or liquid watercolors: This is where the color comes in! Use your favorite vibrant shades to make your paintings pop.
- Small bowls or muffin tin: Perfect for dividing your baking soda mixture and adding different colors.
- Thick paper (cardstock or watercolor paper): You’ll want something sturdy to hold up to the paint and the fizzy fun.
- Brushes, spoons, or popsicle sticks: Get creative with your application tools!
- White vinegar: This is our secret ingredient for the amazing fizzy reaction!
- Pipettes, droppers, or small spoons: For precisely adding the vinegar to create those dazzling effects.
- Tray or baking sheet: To catch any drips and make cleanup a breeze.
How to Make Baking Soda Painting: Step-by-Step!
Alright, let’s get our hands a little messy and create some magic! This process is so satisfying, and the results are truly delightful.
Prepare Your Baking Soda Paint
In your small bowls or the cups of your muffin tin, combine the baking soda. Add water, starting with about 2 tablespoons per bowl, and stir until you have a smooth, thick paste. You want it to be like thick frosting – spreadable but not too runny. If it’s too thick, add a tiny bit more water; if it’s too thin, a pinch more baking soda will do the trick. Now, it’s time for color! Add a few drops of food coloring or liquid watercolors to each bowl and stir until the color is evenly distributed. Get creative with your color combinations!
Set Up Your Canvas
Lay down your tray or baking sheet and place your thick paper on top. This will protect your workspace and make it super easy to move your artwork to dry.
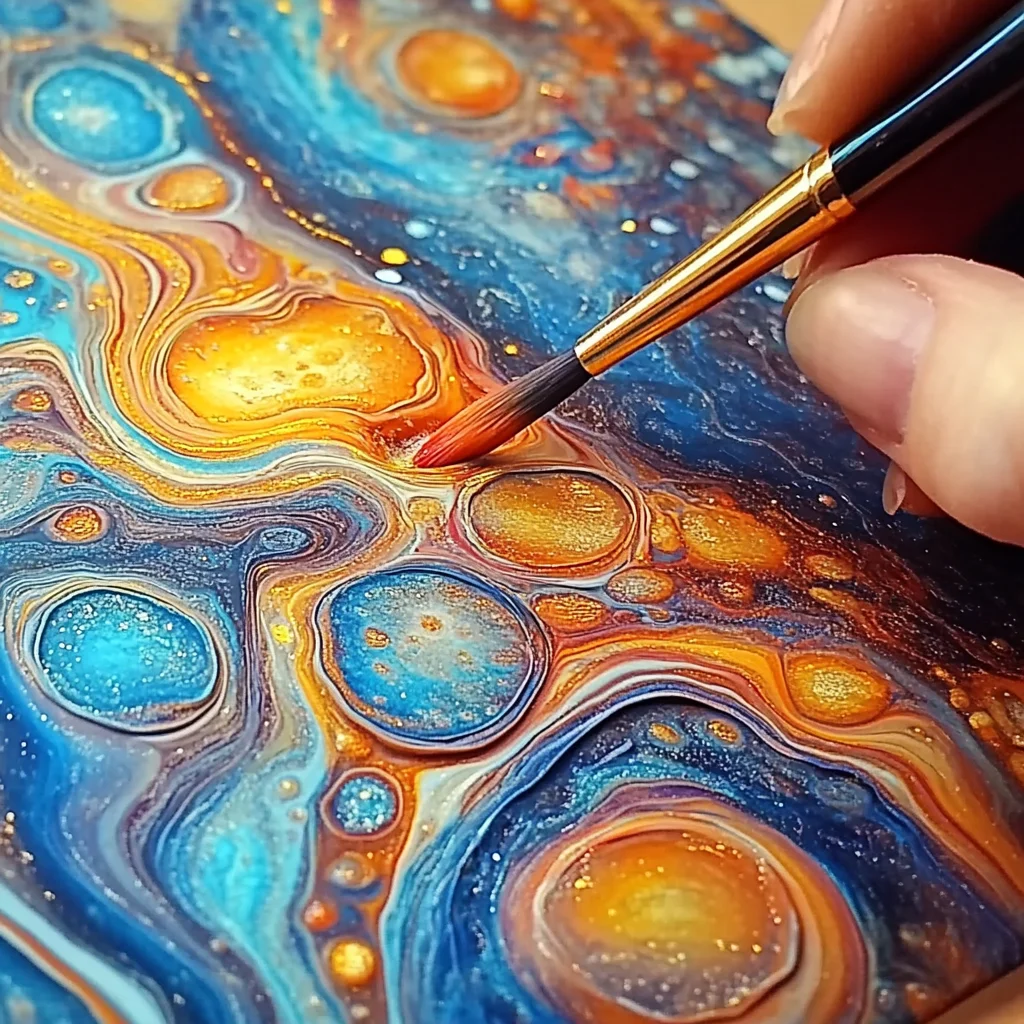
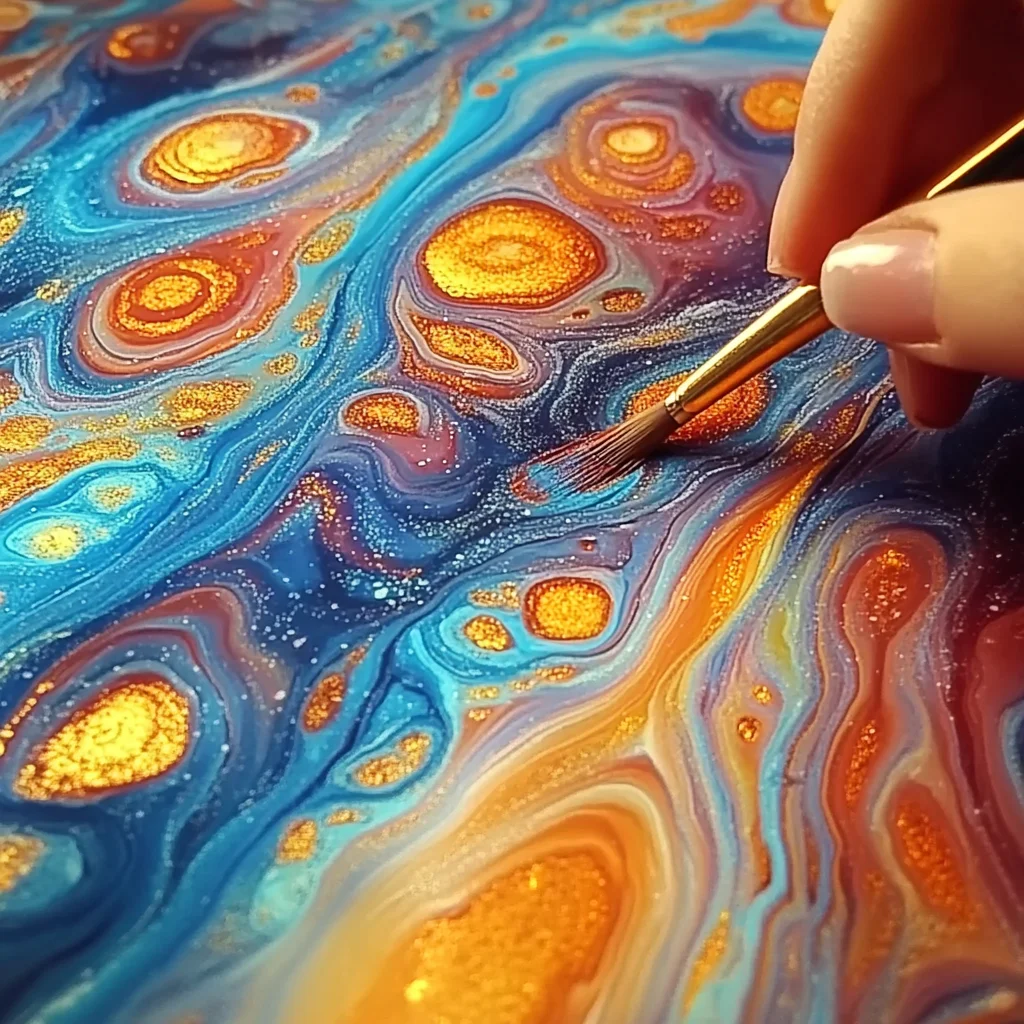
Paint Away!
Now for the fun part – painting! Grab your brushes, spoons, or even popsicle sticks and start applying the colorful baking soda paint to your paper. You can paint patterns, pictures, or just swirl the colors together. Don’t be afraid to use a good amount of paint; it creates a lovely texture.
Bring on the Fizz!
This is where the real magic happens! Pour your white vinegar into small cups or a larger container. Give your painters their pipettes, droppers, or small spoons. Now, let them drip, drizzle, or spoon the vinegar onto the painted areas. Watch as the baking soda and vinegar react, creating a wonderful, bubbly, fizzy explosion of color! You can target specific areas for concentrated fizz or drizzle it all over for a general bubbly effect.
Let It Dry
Once you’re done with the fizzy fun, carefully move your painted paper to a flat surface to dry. This can take several hours, or even overnight, depending on how much vinegar you used and the humidity. Resist the urge to touch it while it’s drying – let the magic set!
Substitutions & Additions
Want to switch things up or add your own special flair? This craft is wonderfully versatile!
- Glitter: For an extra touch of sparkle, add some craft glitter to your baking soda paint mixture before applying it to the paper.
- Scented Paint: Add a drop or two of essential oils (like lavender or lemon) to your paint for a pleasant aroma.
- Different Surfaces: While thick paper is best, you could experiment with painting on cardboard or even thicker cardstock.
- Vinegar Variations: You could color your vinegar with a touch of food coloring too, though the baking soda paint will provide most of the color!
- Experiment with Tools: Try using sponges, cotton balls, or even your fingers (with supervision!) for unique application styles.
Tips for Success
A few little tricks can make your baking soda painting experience even smoother and more enjoyable!
- Consistency is Key: Make sure your baking soda paste isn’t too wet. A thicker consistency will hold the color better and give you more control.
- Don’t Over-Mix the Vinegar: Adding the vinegar gradually allows you to control the fizzing reaction better.
- Ventilation: While the reaction is safe, it’s always a good idea to have good ventilation, especially if using multiple colors or a lot of vinegar.
- Prep Ahead: You can mix up the baking soda and water paste a little ahead of time, but add the color just before painting to keep the colors vibrant.
- Protect Your Surfaces: Always use a tray or newspaper to catch any potential drips. This craft is generally mess-free with proper preparation!
- Kid Supervision: Always supervise young children during this activity, especially when using pipettes and vinegar.
How to Store Baking Soda Painting
Once your beautiful artwork is completely dry, you have a few options!
- Display: You can frame your creations and hang them up as colorful decorations.
- Gift: Package them nicely for a thoughtful handmade gift.
- Long-Term Storage: Store them flat in a portfolio or between sheets of cardboard to prevent bending or damage. The artwork should last for years if kept dry and out of direct sunlight.
FAQs
Q: What is baking soda painting?
A: Baking soda painting is a fun craft where you create a colorful paste from baking soda and water, paint with it, and then trigger a fizzy reaction by adding vinegar.
Q: Is baking soda painting safe for kids?
A: Yes, it’s very safe for kids with adult supervision. The ingredients are non-toxic, and the reaction is a gentle fizz.
Q: Can I use regular paint instead of food coloring?
A: You can, but liquid watercolors or food coloring tend to create a more vibrant and pure color effect with the baking soda reaction.
Q: How long does the fizzing last?
A: The most vigorous fizzing happens immediately after adding the vinegar, but the reaction will continue for a few minutes, slowly subsiding.
This baking soda painting craft is such a delightful way to spend an afternoon, blending art and science in the most colorful way. It’s a fantastic alternative to other crafts like making your own bioplastic suncatchers or trying out firework salt painting. For more fun and creative DIY projects and delicious recipes, don’t forget to follow us on Pinterest!

DIY Baking Soda Painting
Equipment
- Small bowls or muffin tin
- Thick paper (cardstock or watercolor paper)
- Brushes, spoons, or popsicle sticks
- Pipettes, droppers, or small spoons
- Tray or baking sheet
- Small cups or a larger container for vinegar
Ingredients
For the Baking Soda Paint
- 1/2 cup baking soda The star of our show! This common kitchen staple is what gives our paint its unique texture and reaction.
- 2–4 tablespoons water Just enough to get our baking soda to that perfect paint-like consistency. Start with less and add more as needed.
- few drops food coloring or liquid watercolors This is where the color comes in! Use your favorite vibrant shades to make your paintings pop.
For the Fizzy Reaction
- white vinegar This is our secret ingredient for the amazing fizzy reaction!
Instructions
- Step 1: In your small bowls or the cups of your muffin tin, combine the baking soda. Add water, starting with about 2 tablespoons per bowl, and stir until you have a smooth, thick paste. You want it to be like thick frosting – spreadable but not too runny. If it’s too thick, add a tiny bit more water; if it’s too thin, a pinch more baking soda will do the trick. Now, it's time for color! Add a few drops of food coloring or liquid watercolors to each bowl and stir until the color is evenly distributed. Get creative with your color combinations!
- Step 2: Lay down your tray or baking sheet and place your thick paper on top. This will protect your workspace and make it super easy to move your artwork to dry.
- Step 3: Now for the fun part – painting! Grab your brushes, spoons, or even popsicle sticks and start applying the colorful baking soda paint to your paper. You can paint patterns, pictures, or just swirl the colors together. Don't be afraid to use a good amount of paint; it creates a lovely texture.
- Step 4: This is where the real magic happens! Pour your white vinegar into small cups or a larger container. Give your painters their pipettes, droppers, or small spoons. Now, let them drip, drizzle, or spoon the vinegar onto the painted areas. Watch as the baking soda and vinegar react, creating a wonderful, bubbly, fizzy explosion of color! You can target specific areas for concentrated fizz or drizzle it all over for a general bubbly effect.
- Step 5: Once you're done with the fizzy fun, carefully move your painted paper to a flat surface to dry. This can take several hours, or even overnight, depending on how much vinegar you used and the humidity. Resist the urge to touch it while it's drying – let the magic set!
Notes
Scented Paint: Add a drop or two of essential oils (like lavender or lemon) to your paint for a pleasant aroma.
Different Surfaces: While thick paper is best, you could experiment with painting on cardboard or even thicker cardstock.
Vinegar Variations: You could color your vinegar with a touch of food coloring too, though the baking soda paint will provide most of the color!
Experiment with Tools: Try using sponges, cotton balls, or even your fingers (with supervision!) for unique application styles. Consistency is Key: Make sure your baking soda paste isn't too wet. A thicker consistency will hold the color better and give you more control.
Don't Over-Mix the Vinegar: Adding the vinegar gradually allows you to control the fizzing reaction better.
Ventilation: While the reaction is safe, it's always a good idea to have good ventilation, especially if using multiple colors or a lot of vinegar.
Prep Ahead: You can mix up the baking soda and water paste a little ahead of time, but add the color just before painting to keep the colors vibrant.
Protect Your Surfaces: Always use a tray or newspaper to catch any potential drips. This craft is generally mess-free with proper preparation!
Kid Supervision: Always supervise young children during this activity, especially when using pipettes and vinegar.