Hey there, food lovers! Do you ever have those days where you just crave something incredibly comforting, a little bit decadent, and bursting with flavor? I know I do! Today, I want to share a recipe that’s been a quiet superstar in my kitchen for years – MRS J’s Crunchy Bacon Chicken. It’s the kind of dish that instantly brings smiles to faces and fills your home with the most amazing aroma. This recipe is so simple, it feels like a warm hug, and the results? Absolutely fantastic. Get ready to impress yourself and everyone around you!
Why You’ll Love MRS J’s Crunchy Bacon Chicken
- Fast: Perfect for weeknights when you’re short on time.
- Easy: Simple steps that anyone can follow, even beginner cooks!
- Giftable: Imagine making a batch for a neighbor or friend – they’ll be so grateful!
- Crowd-pleasing: Bacon, chicken, cheese, and that satisfying crunch – what’s not to love?
Ingredients
Gathering your ingredients is the first step to culinary success. Here’s what you’ll need:
For the Wrap Filling:
- 1/4 cup butter: The base for our creamy sauce.
- 2 cloves garlic, minced: For that essential savory kick.
- 1/4 cup all-purpose flour: To thicken our delicious sauce.
- 1 cup milk: Adds creaminess and helps create that smooth texture.
- 1/2 cup heavy cream: For an extra layer of richness and indulgence.
- 1 cup shredded cheddar cheese: Because cheese makes everything better!
- 1 cup cooked bacon, crumbled: The star of the show – crispy, salty perfection!
- 1/2 cup ranch dressing: Adds a tangy, herby brightness.
- 2 green onions, chopped: For a pop of fresh, mild onion flavor.
- 2 cups cooked chicken, shredded: Use rotisserie chicken for a super quick meal!
- Salt, pepper, and parsley to taste: To season everything just right.
For the Wraps:
- 4 large flour tortillas: The perfect vessel for our flavorful filling.
How to Make MRS J’s Crunchy Bacon Chicken
Alright, let’s get cooking! Follow these simple steps and you’ll have this delightful dish ready in no time.
- Start the Sauce Base: First things first, melt the butter in a medium saucepan over medium heat. Once it’s nice and melty, add your minced garlic and let it sauté for just about 1 minute until it’s fragrant. Be careful not to let it burn!
- Create the Roux: Now, whisk in the flour. Keep whisking and cook for another minute. This step is important for creating a smooth, lump-free sauce.
- Add the Liquids: Slowly, and I mean slowly, whisk in the milk and heavy cream. Keep stirring constantly for about 3-4 minutes. You’ll notice it starts to thicken up beautifully.
- Bring on the Good Stuff: Once your sauce has thickened, it’s time to add the stars! Stir in the shredded cheddar cheese until it’s all melty and smooth. Then, add the crumbled bacon, ranch dressing, chopped green onions, and your seasonings – salt, pepper, and a pinch of parsley. Stir everything together until it’s one glorious, creamy mixture.
- Incorporate the Chicken: Now, add your shredded cooked chicken to the saucepan. Gently stir it into the cheesy, bacony sauce until every piece of chicken is coated. Oh, the aroma at this stage is just heavenly!
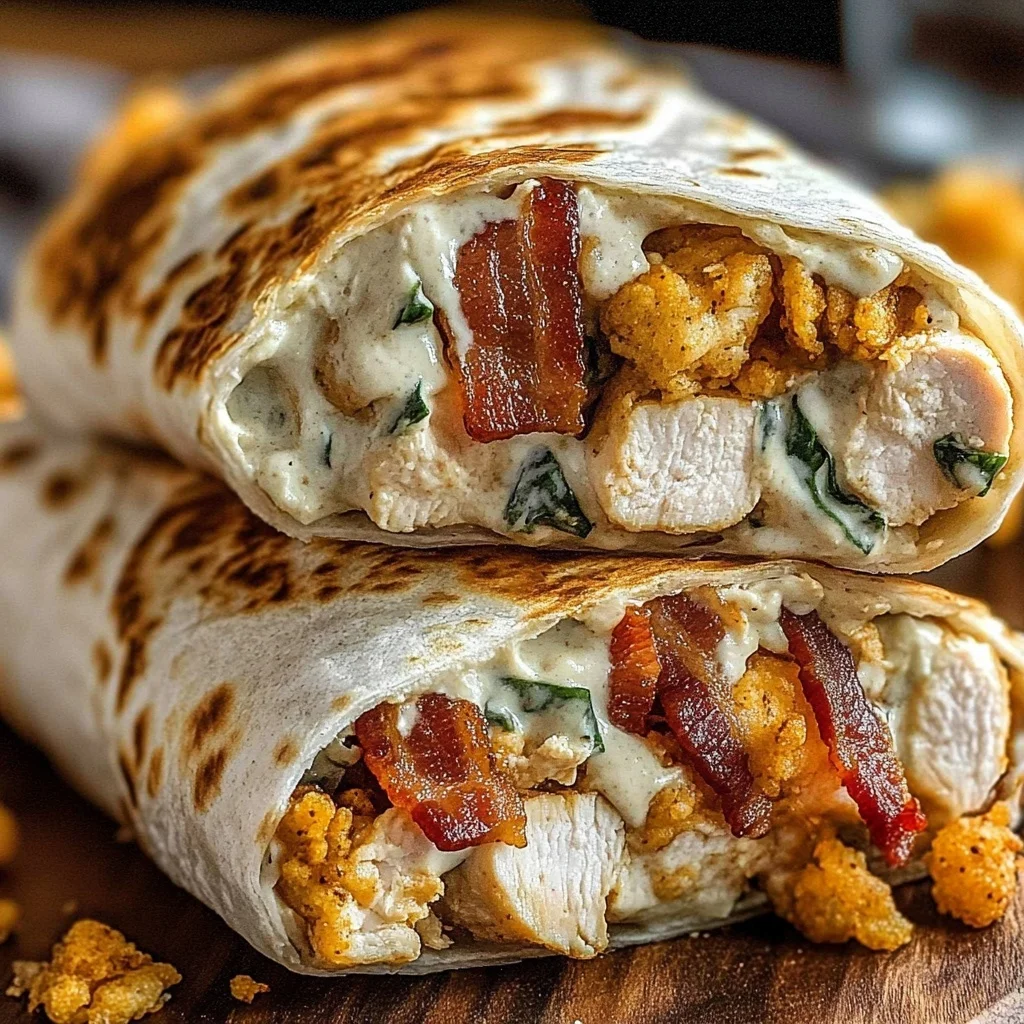
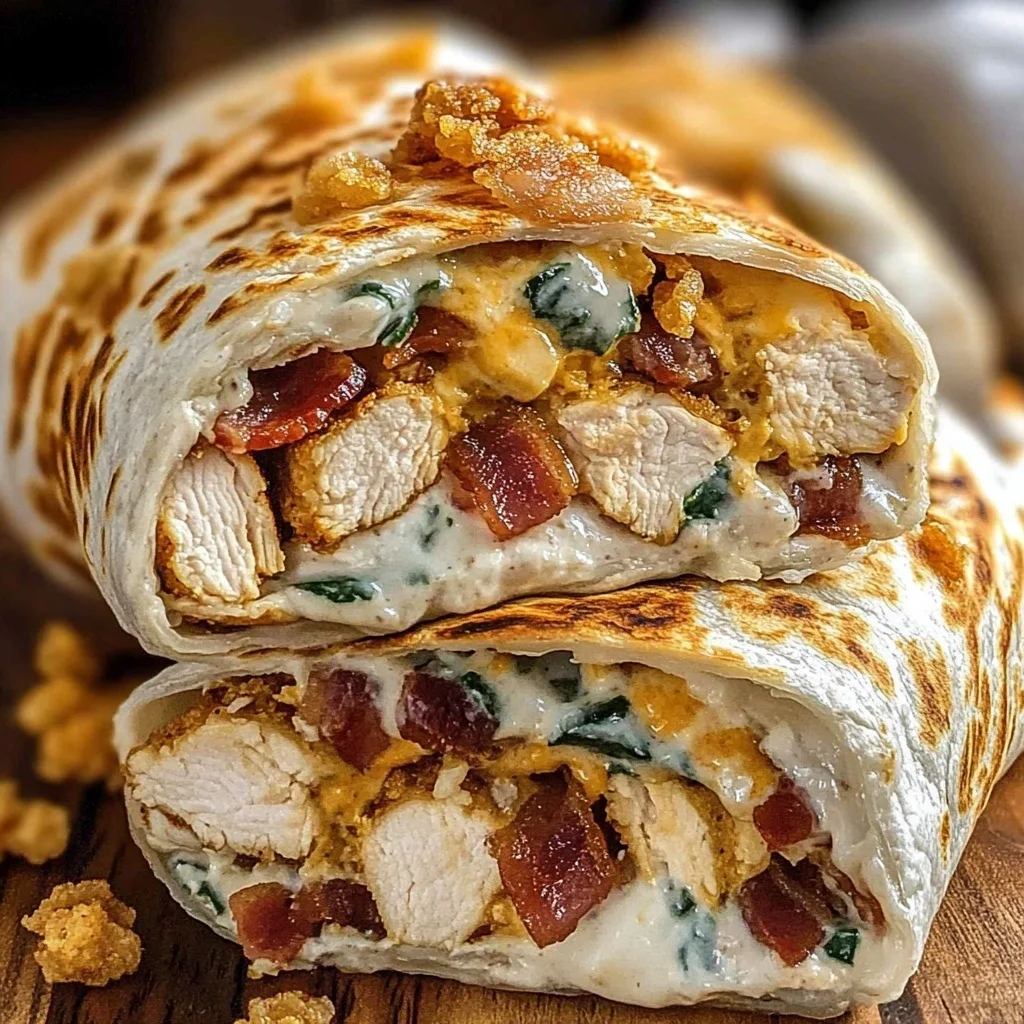
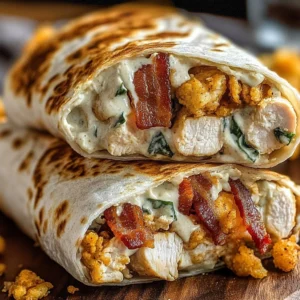
- Assemble the Wraps: Lay out your large flour tortillas. Spoon a generous amount of the chicken and sauce mixture right into the center of each tortilla. Fold in the sides to create a neat package, and then roll them up tightly.
- Get Them Crunchy: Heat a nonstick skillet over medium heat. Carefully place your rolled wraps seam-side down in the hot skillet. Let them toast for about 2-3 minutes per side, or until they’re golden brown and wonderfully crispy. This is where the magic happens!
- Serve and Enjoy: Once they’re perfectly toasted, slice each wrap in half. Serve them warm, perhaps with a little extra ranch dressing for dipping. They’re truly irresistible!
Substitutions & Additions
While this recipe is fantastic as is, feel free to get a little creative! Here are some ideas:
- Cheese Swap: Not a cheddar fan? Try Monterey Jack, Pepper Jack for a little heat, or even a Colby Jack blend.
- Spice it Up: For a kick, add a pinch of cayenne pepper to the sauce or some finely diced jalapeños. If you love that bacon flavor, why not try out these Bacon Jalapeno Popper Stuffed Burgers for another bacon-centric meal?
- Veggie Boost: Feel free to toss in some sautéed mushrooms, bell peppers, or even some cooked broccoli florets for added nutrients and flavor.
- Different Protein: While this is chicken, you could easily adapt it with shredded turkey or even pulled pork!
- Sauce Variations: Instead of ranch, a creamy Dijon mustard or even a bit of BBQ sauce could offer a delightful twist.
Tips for Success
A few little tricks can make your MRS J’s Crunchy Bacon Chicken even better:
- Don’t Overcook the Garlic: Burnt garlic can turn bitter. Just a quick sauté is all it needs.
- Shredded Chicken Hack: Using a rotisserie chicken is a massive time-saver! If you’re cooking chicken breasts from scratch, make sure they’re fully cooked before shredding.
- Achieving the Crunch: Make sure your skillet is properly heated before adding the wraps. This helps them crisp up rather than steam. If you prefer a super crispy exterior, you can even pop them under the broiler for a minute or two, watching them very closely!
- Prep Ahead: You can totally make the chicken and sauce mixture ahead of time and store it in the fridge. When you’re ready to eat, just spoon it into fresh tortillas and toast them up. This is a lifesaver for busy evenings.
How to Store MRS J’s Crunchy Bacon Chicken
Leftovers? Lucky you! Store any leftover wraps in an airtight container or wrap them tightly in plastic wrap and then foil. They’ll stay good in the refrigerator for about 2-3 days. When you’re ready to enjoy them again, you can reheat them in a skillet over medium heat until warm and crispy, or pop them in a toaster oven or air fryer for that best crunch.
FAQs
Got questions? I’ve got answers!
Can I make the filling ahead of time?
Absolutely! The filling can be made a day in advance and stored in the refrigerator. Just warm it up slightly before filling your tortillas.
Are these wraps good for freezing?
While the filling freezes well, the tortillas might get a bit soggy upon reheating after freezing. It’s best to enjoy them fresh or reheat leftovers as mentioned above.
Can I bake these instead of pan-frying?
Yes, you can! Place the rolled wraps seam-side down on a baking sheet and bake at 375°F (190°C) for about 15-20 minutes, flipping halfway through, until golden brown and heated through. They might not get as uniformly crispy as pan-frying, but they’ll still be delicious!
I hope you give MRS J’s Crunchy Bacon Chicken a try! It’s a recipe that’s sure to become a family favorite. Happy cooking, and don’t forget to check out all our other delicious recipes on Pinterest!
MRS J's Crunchy Bacon Chicken
Equipment
- Medium saucepan
- whisk
- Nonstick Skillet
Ingredients
For the Wrap Filling
- 1/4 cup butter The base for our creamy sauce.
- 2 cloves garlic minced
- 1/4 cup all-purpose flour To thicken our delicious sauce.
- 1 cup milk Adds creaminess and helps create that smooth texture.
- 1/2 cup heavy cream For an extra layer of richness and indulgence.
- 1 cup shredded cheddar cheese Because cheese makes everything better!
- 1 cup cooked bacon crumbled, The star of the show – crispy, salty perfection!
- 1/2 cup ranch dressing Adds a tangy, herby brightness.
- 2 green onions chopped
- 2 cups cooked chicken shredded, Use rotisserie chicken for a super quick meal!
- salt, pepper, and parsley to taste
For the Wraps
- 4 large flour tortillas The perfect vessel for our flavorful filling.
Instructions
- Step 1: First things first, melt the butter in a medium saucepan over medium heat. Once it’s nice and melty, add your minced garlic and let it sauté for just about 1 minute until it’s fragrant. Be careful not to let it burn!
- Step 2: Now, whisk in the flour. Keep whisking and cook for another minute. This step is important for creating a smooth, lump-free sauce.
- Step 3: Slowly, and I mean slowly, whisk in the milk and heavy cream. Keep stirring constantly for about 3-4 minutes. You’ll notice it starts to thicken up beautifully.
- Step 4: Once your sauce has thickened, it’s time to add the stars! Stir in the shredded cheddar cheese until it’s all melty and smooth. Then, add the crumbled bacon, ranch dressing, chopped green onions, and your seasonings – salt, pepper, and a pinch of parsley. Stir everything together until it’s one glorious, creamy mixture.
- Step 5: Now, add your shredded cooked chicken to the saucepan. Gently stir it into the cheesy, bacony sauce until every piece of chicken is coated. Oh, the aroma at this stage is just heavenly!
- Step 6: Lay out your large flour tortillas. Spoon a generous amount of the chicken and sauce mixture right into the center of each tortilla. Fold in the sides to create a neat package, and then roll them up tightly.
- Step 7: Heat a nonstick skillet over medium heat. Carefully place your rolled wraps seam-side down in the hot skillet. Let them toast for about 2-3 minutes per side, or until they’re golden brown and wonderfully crispy. This is where the magic happens!
- Step 8: Once they’re perfectly toasted, slice each wrap in half. Serve them warm, perhaps with a little extra ranch dressing for dipping. They’re truly irresistible!
Notes
* Cheese Swap: Not a cheddar fan? Try Monterey Jack, Pepper Jack for a little heat, or even a Colby Jack blend.
* Spice it Up: For a kick, add a pinch of cayenne pepper to the sauce or some finely diced jalapeños. If you love that bacon flavor, why not try out these Bacon Jalapeno Popper Stuffed Burgers for another bacon-centric meal?
* Veggie Boost: Feel free to toss in some sautéed mushrooms, bell peppers, or even some cooked broccoli florets for added nutrients and flavor.
* Different Protein: While this is chicken, you could easily adapt it with shredded turkey or even pulled pork!
* Sauce Variations: Instead of ranch, a creamy Dijon mustard or even a bit of BBQ sauce could offer a delightful twist. A few little tricks can make your MRS J's Crunchy Bacon Chicken even better:
* Don't Overcook the Garlic: Burnt garlic can turn bitter. Just a quick sauté is all it needs.
* Shredded Chicken Hack: Using a rotisserie chicken is a massive time-saver! If you're cooking chicken breasts from scratch, make sure they're fully cooked before shredding.
* Achieving the Crunch: Make sure your skillet is properly heated before adding the wraps. This helps them crisp up rather than steam. If you prefer a super crispy exterior, you can even pop them under the broiler for a minute or two, watching them very closely!
* Prep Ahead: You can totally make the chicken and sauce mixture ahead of time and store it in the fridge. When you’re ready to eat, just spoon it into fresh tortillas and toast them up. This is a lifesaver for busy evenings. Leftovers? Lucky you! Store any leftover wraps in an airtight container or wrap them tightly in plastic wrap and then foil. They'll stay good in the refrigerator for about 2-3 days. When you're ready to enjoy them again, you can reheat them in a skillet over medium heat until warm and crispy, or pop them in a toaster oven or air fryer for that best crunch.