Remember those dazzling summer nights filled with the crackle and pop of fireworks? Or maybe you have a special occasion coming up that calls for a bit of sparkle and fun? Well, get ready to bring a little bit of that magic right into your kitchen with this incredibly simple, yet utterly mesmerizing “Fireworks in a Cup” craft! It’s not just a craft; it’s a little science experiment disguised as pure joy, perfect for a rainy afternoon, a classroom activity, or just because you want to see something beautiful.
Why You’ll Love Fireworks in a Cup
- Fast: You can create this dazzling display in just a few minutes!
- Easy: Seriously, it’s one of the simplest crafts out there.
- Giftable: While you can’t exactly wrap this one, the experience is a gift in itself for kids and adults alike.
- Crowd-pleasing: Everyone, from toddlers to teens to even us grown-ups, is captivated by the colorful explosions.
Ingredients
Gathering your supplies is as easy as pie! Here’s what you’ll need:
- A clear glass or plastic cup: This is your canvas! The clearer, the better so you can see all the magic happen.
- Warm water: Not boiling, just nice and warm to the touch.
- Vegetable oil: Any common cooking oil will work perfectly.
- Food coloring (various colors): This is where the fireworks get their vibrant hues!
- A small bowl: To mix our colorful concoction.
- A fork or whisk: For a bit of artistic mixing.
How to Make Fireworks in a Cup
Alright, let’s get our craft on! This is so straightforward, you’ll be amazed.
Start with the base: Pour warm water into your clear cup. You want to fill it about 3/4 of the way full. Leave some room at the top so our colorful fireworks have space to bloom!
Prep the color: In your small bowl, pour about 2–3 tablespoons of vegetable oil. This is the secret ingredient that helps the colors separate and create those cool effects.
Add the magic: Now, carefully add a few drops of different food coloring into the bowl with the oil. I like to use at least 2-3 colors for a real firework feel – maybe red, blue, and yellow!
Gentle mixing: Grab your fork or whisk and gently mix the oil and food coloring together. You’re not trying to make a smooth blend here, more like breaking up the food coloring into little droplets within the oil. Think of it like creating tiny colorful paint splatters!
The grand reveal: This is the exciting part! Slowly and carefully pour the oil and food coloring mixture from the bowl into the cup of warm water. Don’t just dump it in; let it cascade down. You can also use a spoon to gently drop dollops of the mixture into the water.
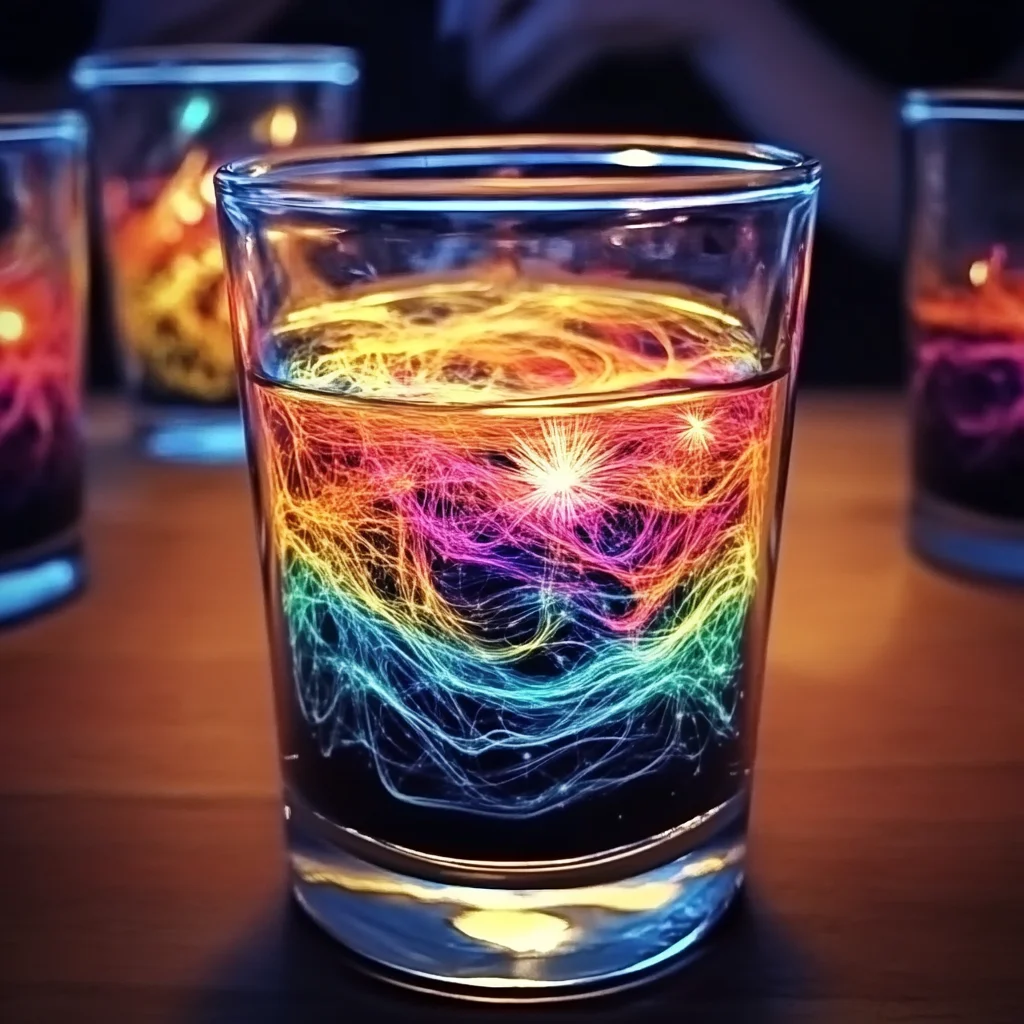
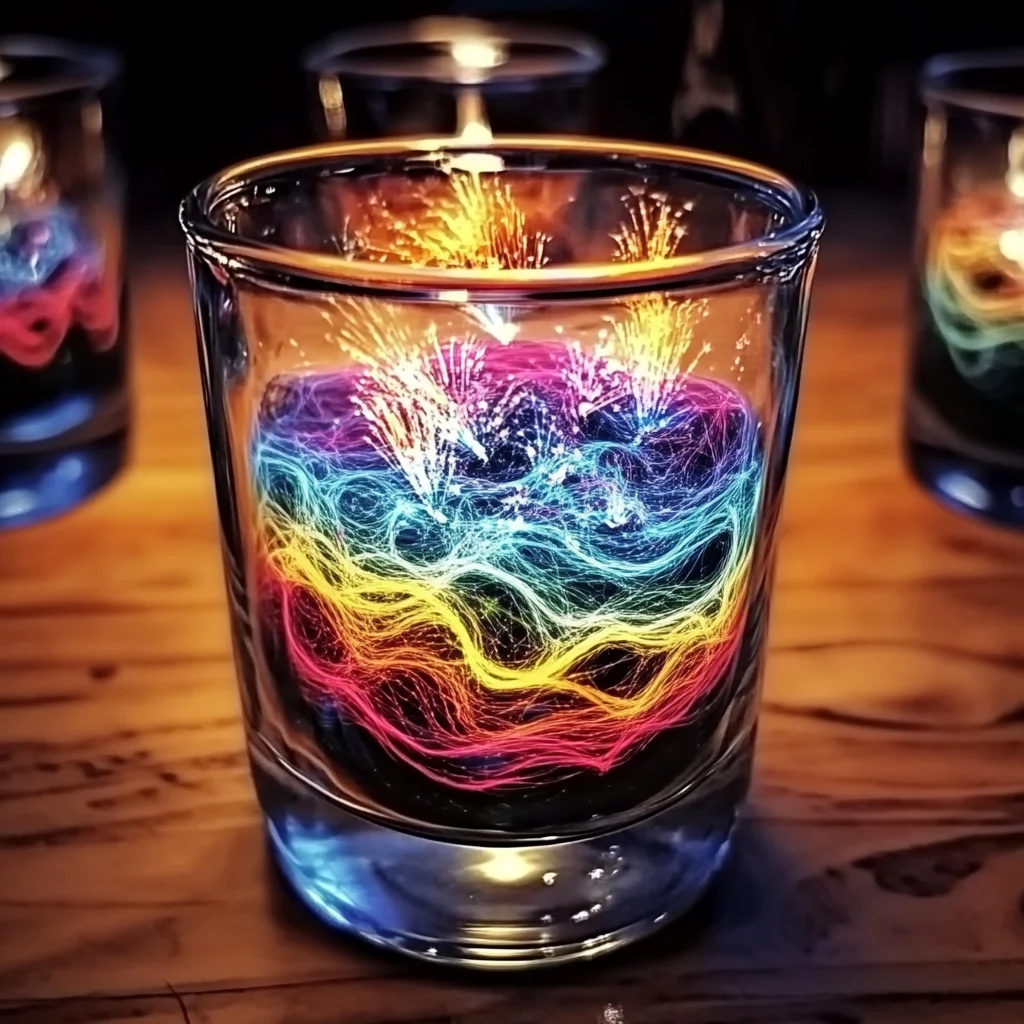
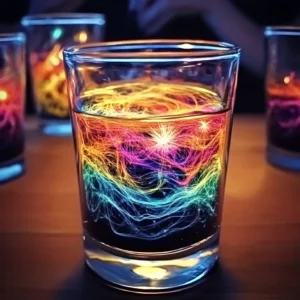
Watch the show: Now, sit back and marvel as the colors slowly sink through the oil and then burst into beautiful, vibrant “fireworks” as they hit the water. It’s like a tiny, contained explosion of color right before your eyes!
Substitutions & Additions
Want to experiment or make it even more special? Here are a few ideas:
- Glitter: For an extra sparkle, add a pinch of fine glitter to your food coloring and oil mixture. It looks amazing as the colors burst!
- Different Oils: While vegetable oil works best, you could experiment with other clear oils to see if there’s a difference.
- Layering Colors: Try adding colors one at a time to see how they interact. It’s fascinating!
- Scent: A drop or two of essential oil in the oil mixture could add a lovely scent. Think about something festive like cinnamon for the holidays or citrus for summer.
This craft reminds me a bit of the simple science behind some of our other fun activities, like the DIY Firework Salt Painting or even the mesmerizing effects in a DIY Lava Lamp. The principles of density and how liquids interact are so cool to explore!
Tips for Success
To ensure your fireworks are extra spectacular, keep these tips in mind:
- Water Temperature: Warm water is key. Too cold, and the colors might not spread as nicely. Too hot, and it’s not safe for little hands.
- Don’t Over-Mix: When mixing the food coloring and oil, be gentle. You want distinct little beads of color, not a uniform color.
- Slow Pour: Pouring slowly helps create those beautiful trailing effects. If you pour too fast, the colors might all mix together at once.
- Clear Container: Seriously, a clear cup is a must! You’re missing the whole point if you can’t see the magic.
- Experiment with Quantities: Feel free to play with the amount of oil and water to see how it changes the effect.
How to Store Fireworks in a Cup
This craft is a bit of a “moment” craft. Once you’ve enjoyed the show, the water will become colored and a bit cloudy. You can technically “store” it, but it won’t have the same vibrant burst effect after a while. Simply leave the cup as is, or if you want to dispose of it, pour the contents down the sink. It’s completely safe and non-toxic!
FAQs
- Q: Why do the colors burst in the water?
- A: This is due to density and polarity! Oil and water don’t mix (they are immiscible), and food coloring is water-based. When the food coloring hits the water, it sinks through the oil layer and then spreads out, creating the “firework” effect.
- Q: Can I use rubbing alcohol instead of oil?
- A: Rubbing alcohol mixes with water, so it won’t create the same separation and bursting effect. Oil is the best choice for this particular craft.
- Q: Is this safe for very young children?
- A: Yes, as long as adult supervision is present! The ingredients are non-toxic, but the warm water and potential for spills mean it’s best done with a grown-up nearby.
- Q: Can I reuse the water and oil mixture?
- A: Not really for the “fireworks” effect. Once the colors have dispersed, the magic is pretty much done for that batch.
This little project is such a wonderful way to explore some basic science concepts in a fun, hands-on way. It’s a delightful activity that brings color and excitement, much like some of our other engaging crafts, such as DIY Baking Soda Painting or the fun science behind making Edible Aquariums.
We hope you have as much fun making these Fireworks in a Cup as we do! Don’t forget to share your colorful creations with us!
Follow us on Pinterest for more fun crafts, delicious recipes, and creative ideas!
DIY Fireworks in a Cup: A Mesmerizing Science Craft
Equipment
- Clear glass or plastic cup
- Small bowl
- Fork or whisk
Ingredients
For the Fireworks in a Cup
- 1 clear glass or plastic cup clear glass or plastic cup This is your canvas! The clearer, the better so you can see all the magic happen.
- warm water Not boiling, just nice and warm to the touch. Fill cup about 3/4 of the way.
- 2-3 tablespoons vegetable oil Any common cooking oil will work perfectly. This is the secret ingredient that helps the colors separate and create those cool effects.
- few drops of each food coloring (various colors) This is where the fireworks get their vibrant hues! Use at least 2-3 colors for a real firework feel – maybe red, blue, and yellow!
- 1 small bowl small bowl To mix our colorful concoction.
- 1 fork or whisk fork or whisk For a bit of artistic mixing.
Optional Additions
- pinch fine glitter For an extra sparkle, add a pinch of fine glitter to your food coloring and oil mixture. It looks amazing as the colors burst!
Instructions
- Step 1: Pour warm water into your clear cup. You want to fill it about 3/4 of the way full. Leave some room at the top so our colorful fireworks have space to bloom!
- Step 2: In your small bowl, pour about 2–3 tablespoons of vegetable oil.
- Step 3: Carefully add a few drops of different food coloring into the bowl with the oil. I like to use at least 2-3 colors for a real firework feel – maybe red, blue, and yellow!
- Step 4: Grab your fork or whisk and gently mix the oil and food coloring together. You’re not trying to make a smooth blend here, more like breaking up the food coloring into little droplets within the oil. Think of it like creating tiny colorful paint splatters!
- Step 5: Slowly and carefully pour the oil and food coloring mixture from the bowl into the cup of warm water. Don’t just dump it in; let it cascade down. You can also use a spoon to gently drop dollops of the mixture into the water.
- Step 6: Now, sit back and marvel as the colors slowly sink through the oil and then burst into beautiful, vibrant “fireworks” as they hit the water. It’s like a tiny, contained explosion of color right before your eyes!
Notes
- Water Temperature: Warm water is key. Too cold, and the colors might not spread as nicely. Too hot, and it’s not safe for little hands.
- Don’t Over-Mix: When mixing the food coloring and oil, be gentle. You want distinct little beads of color, not a uniform color.
- Slow Pour: Pouring slowly helps create those beautiful trailing effects. If you pour too fast, the colors might all mix together at once.
- Clear Container: Seriously, a clear cup is a must! You’re missing the whole point if you can’t see the magic.
- Experiment with Quantities: Feel free to play with the amount of oil and water to see how it changes the effect.