
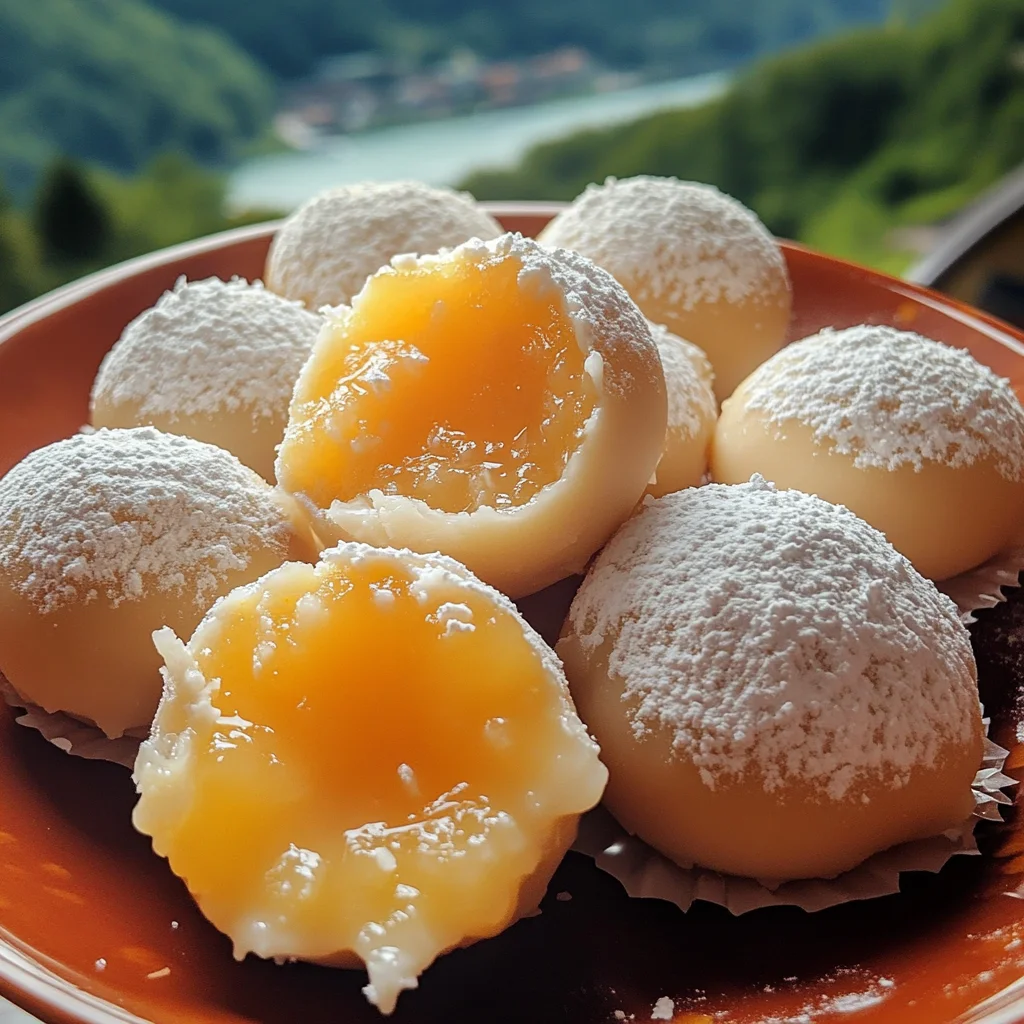
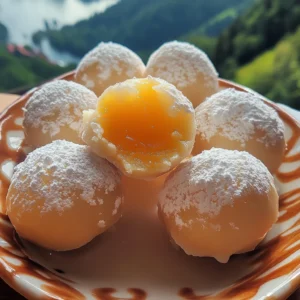
Hey friend! Do you ever get a craving for those classic summer flavors, like the ones that instantly transport you back to carefree childhood days? For me, nothing quite hits the spot like an Orange Creamsicle. That dreamy blend of sweet orange and creamy vanilla… pure magic! Well, guess what? I’ve got a recipe that captures all that sunshiney goodness in a tiny, melt-in-your-mouth truffle. These Orange Creamsicle Truffles are unbelievably easy to make, seriously quick, and taste just like biting into your favorite frozen treat, but in decadent, chocolatey form. You are going to LOVE whipping these up – they’re perfect for a little treat, a simple gift, or bringing smiles to any gathering!
Why You’ll Love This Recipe
- Fast: Minimal hands-on time!
- Easy: No complicated steps or fancy equipment needed.
- Giftable: Package these up for a thoughtful homemade present.
- Crowd-pleasing: Who doesn’t love the creamsicle flavor?
Ingredients
- 1 cup white chocolate chips: Grab good quality chips for the best melt and flavor.
- ½ teaspoon orange extract: This is where that classic orange flavor comes from!
- 3 drops orange food coloring (optional): Totally optional, but it gives them that fun orange hue.
- ½ cup unsalted butter: Butter adds richness and helps with the texture.
- 3 tablespoons heavy whipping cream: Makes the ganache base wonderfully smooth and creamy.
- ¼ cup powdered sugar (for coating): For that signature sweet, slightly dusty finish.
How to Make It
Making these truffles is easier than you might think! Just follow these simple steps, and you’ll have a batch ready to chill in no time.
First, grab a medium heat-safe bowl. Toss in your white chocolate chips. If you’re using the orange food coloring, add the drops in there too, along with the orange extract. Give it a little stir to get everything acquainted.
Next, in a medium saucepan, gently melt the butter over low heat. Once it’s melted and happy, pour in the heavy cream. Turn the heat up to medium now, and whisk constantly until the mixture just starts to simmer around the edges. Don’t let it boil vigorously – we just want it hot enough to melt the chocolate!
Immediately pour this hot cream and butter mixture right over the white chocolate chips you prepped earlier. Let it sit there for just one minute. Seriously, set a timer! This gives the heat time to start melting those chips.
After a minute, grab a whisk or spatula and gently start stirring from the center, working your way out. Keep stirring until everything is beautifully smooth, glossy, and completely melted. This is your truffle base, or ganache!
Now, cover the bowl (plastic wrap works great, pressed right onto the surface to prevent a skin) and pop it into the refrigerator. Let it chill for about 1 hour, or until it’s firm enough to easily scoop and roll. You’ll know it’s ready when it feels like firm cookie dough.
While it’s chilling, line a baking sheet with parchment paper. This makes cleanup a breeze and keeps the truffles from sticking.
Time to roll! Scoop small amounts of the chilled mixture. A small cookie scoop or a teaspoon works perfectly. Roll them into little 1-inch balls between the palms of your hands. Don’t worry if they aren’t perfectly round – homemade is charming! Place each rolled ball onto your prepared baking sheet.
Get your powdered sugar ready! Pour about a quarter cup into a shallow dish – a small bowl or even a pie plate works well.
Now for the fun part: the coating! Gently roll each truffle ball in the powdered sugar, making sure it gets fully coated on all sides. You can tap off any excess.
Return the coated truffles back to the baking sheet.
Pop the baking sheet back into the refrigerator for one last chill, about 20 minutes. This helps the coating set and makes the truffles perfectly firm.
Once they’re set, transfer them to an airtight container. Keep them stored in the refrigerator. I find they taste best if you let them sit at room temperature for about 10-15 minutes before serving – it really brings out that creamy texture and vibrant flavor!
Substitutions & Additions
Want to play around a bit? Here are a few ideas:
- Citrus Twist: Add a little bit of orange zest (maybe ½ teaspoon) along with the extract for an extra punch of fresh orange flavor.
- Different Coating: Instead of powdered sugar, you could try rolling them in finely chopped white chocolate, shredded coconut, or even orange-flavored sprinkles!
- Extract Swap: Not an orange fan? Try lemon extract for Lemon Creamsicle, or even almond extract for a different vibe. Adjust the food coloring accordingly.
- Add a Pinch of Salt: A tiny pinch of sea salt in the ganache base can actually help enhance the sweet flavors!
Tips for Success
- Don’t Boil the Cream: When you heat the heavy cream and butter, just bring it to a simmer. Boiling it rapidly can affect the texture of the ganache.
- Chill Time is Key: Don’t rush the chilling steps! The base needs to be firm enough to roll easily, and the final chill helps the coating set nicely. If the base is too soft to roll, chill it longer.
- Rolling Made Easy: If the mixture gets too sticky while you’re rolling, pop it back in the fridge for a few minutes to firm up again. You can also slightly moisten your hands with cold water if needed, though chilling properly usually prevents this.
- Prep Ahead: You can make the ganache base a day ahead of time and store it covered in the fridge. Just let it sit out for 10-15 minutes before you start rolling if it’s too hard.
How to Store It
Keep these delightful Orange Creamsicle Truffles in an airtight container in the refrigerator. They’ll stay fresh and delicious for up to 1-2 weeks. As I mentioned before, letting them sit at room temperature for a few minutes before serving really brings out their best texture and flavor!
FAQs
Q: Can I use milk or dark chocolate instead of white chocolate?
A: You can, but the flavor profile will be different. White chocolate is key to getting that creamy, ‘creamsicle’ taste that pairs so well with orange. Milk or dark chocolate would create a lovely chocolate-orange truffle, but not the classic creamsicle vibe.
Q: Do I have to use the food coloring?
A: Absolutely not! The food coloring is purely for visual appeal to give them that signature orange color. They will taste exactly the same without it.
Q: Why do they need to come to room temperature before serving?
A: When they are straight from the fridge, they are quite firm. Letting them warm up slightly softens the center, making them wonderfully creamy and allowing the full flavor of the orange and white chocolate to shine through. It’s a small step that makes a big difference!
Orange Creamsicle Truffles
Equipment
- Medium Heat-Safe Bowl
- Medium saucepan
- Whisk or Spatula
- Refrigerator
- baking sheet
- parchment paper
Ingredients
- 1 cup white chocolate chips good quality
- 0.5 tsp orange extract
- 3 drops orange food coloring optional
- 0.5 cup unsalted butter
- 3 tbsp heavy whipping cream
- 0.25 cup powdered sugar for coating
Instructions
- Step 1: In a medium heat-safe bowl, combine the white chocolate chips, orange extract, and orange food coloring (if using). Give it a little stir.
- Step 2: In a medium saucepan, gently melt the butter over low heat. Once melted, pour in the heavy cream. Turn the heat up to medium and whisk constantly until the mixture just starts to simmer around the edges (do not boil vigorously).
- Step 3: Immediately pour the hot cream and butter mixture over the white chocolate chips. Let it sit for 1 minute, then gently stir from the center outwards until beautifully smooth, glossy, and completely melted.
- Step 4: Cover the bowl (plastic wrap pressed onto the surface is best) and pop it into the refrigerator. Chill for about 1 hour, or until the mixture is firm enough to easily scoop and roll.
- Step 5: While chilling, line a baking sheet with parchment paper. Once the ganache is firm, scoop small amounts (about 1-inch size) and roll them into balls between your palms. Place each ball onto the prepared baking sheet.
- Step 6: Pour the powdered sugar into a shallow dish. Gently roll each truffle ball in the powdered sugar, making sure it gets fully coated on all sides. Tap off any excess and return the coated truffles to the baking sheet.
- Step 7: Return the baking sheet with the coated truffles back to the refrigerator for a final chill of about 20 minutes to help the coating set.
- Step 8: Transfer set truffles to an airtight container and store in the refrigerator. For the best texture and flavor, let them sit at room temperature for about 10-15 minutes before serving.