
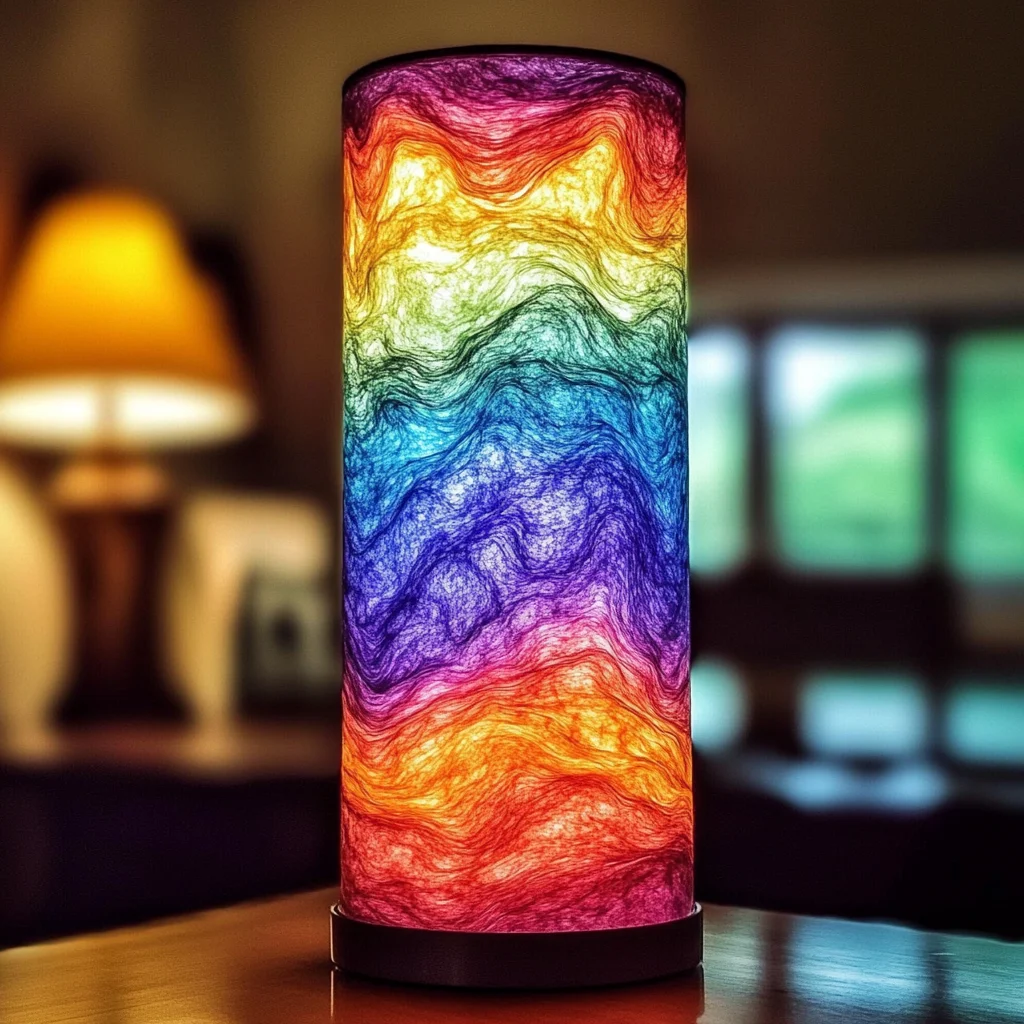
Hey there, fellow kitchen adventurer! Do you remember those mesmerizing, bubbling lava lamps from back in the day? They were so cool, weren’t they? Well, guess what? You can recreate that groovy, hypnotic magic right in your own home with just a few simple things you probably already have lying around. This isn’t a recipe you eat, but it’s definitely a recipe for fun! It’s perfect for a rainy afternoon, a quick science lesson, or just because you need a little bubbling joy in your life. And honestly, watching those colorful blobs dance is surprisingly relaxing.
This DIY Lava Lamp is seriously one of the easiest projects you can do. It’s quick to set up, provides instant visual gratification, and is a fantastic way to introduce a little bit of simple science to the kids (or just have some retro fun yourself!). Let’s get bubbling!
Why You’ll Love DIY Lava Lamp
- Fast: Takes just minutes to set up!
- Easy: Anyone can do this, minimal mess (if you’re careful!).
- Giftable: Package the ingredients as a fun science kit gift!
- Crowd-pleasing: Kids and adults alike are fascinated by it.
Ingredients
Gathering your “ingredients” is half the fun! You probably won’t even need to make a trip to the store.
- 1 clear bottle or jar: Tall and narrow works best to really see the effect. An empty soda bottle or a clean, tall olive jar is perfect.
- Vegetable oil: Any kind works – canola, sunflower, etc. You’ll need enough to fill your bottle about 3/4 of the way. This is our main “lava” liquid!
- Water: Plain old tap water is fine. You’ll need about 1/4 of the bottle’s volume.
- Food coloring: Pick your favorite color! The brighter, the better to see those lovely blobs.
- Effervescent tablets: Such as Alka-Seltzer. These are the magic fizzers that make it all happen. You’ll need 3-4 tablets to keep the show going for a bit.
How to Make DIY Lava Lamp
Alright, let’s make some magic! Get your workspace ready – maybe put down a newspaper or towel just in case of spills, especially if little hands are helping.
- Fill with Oil: First, carefully pour the vegetable oil into your clean, clear bottle or jar. Fill it up until it’s about three-quarters full. See how clear it looks?
- Add Water: Now, gently pour water into the bottle. The water will sink to the bottom beneath the oil. You want to fill it until the water layer is about one-quarter of the way up the bottle from the bottom. Don’t worry if they don’t mix – that’s the point!
- Color Time: Add several drops of your chosen food coloring into the bottle. Watch as the color drops through the oil and mixes with the water layer at the bottom. Isn’t that neat?
- Break the Tablet: Take one effervescent tablet (like Alka-Seltzer) and break it into smaller pieces. Quarters or eighths work well.
- Start the Show: Carefully drop one or two small pieces of the broken tablet into the bottle. Get ready! You’ll start to see bubbles forming and carrying colored water blobs up through the oil.
- Keep it Going: As the bubbling slows down, you can drop in more tablet pieces, one or two at a time, to reactivate the effect. This keeps the lava lamp action going!
- Clean Up: When the fun is over and the bubbling stops, the “lava lamp” is finished. Remember to dispose of the contents properly, usually down the drain with lots of water, as it’s mostly oil and water.
Substitutions & Additions
Want to mix things up? Here are a few ideas:
- Bottle Style: While tall and narrow is classic, you can experiment with different clear container shapes. Just make sure it has a secure lid or opening.
- Oil Type: Most liquid cooking oils will work similarly.
- Get Sparkly: Want a glitter lava lamp? Try adding a tiny pinch of fine glitter to the water layer before adding the oil.
- Multiple Colors: You could try adding drops of different food colors, though they will eventually mix in the water layer.
- Make it a Theme: Use blue coloring for an easy DIY mason jar aquarium visual, or red for a fiery look!
Tips for Success
Making a DIY lava lamp is pretty straightforward, but a few tips can help you get the best results:
- Use Room Temperature Liquids: Water and oil at room temp seem to work best for consistent bubbling.
- Don’t Add Too Much Tablet at Once: Adding too many tablet pieces simultaneously can create a really vigorous reaction that might fizz over. Start with one or two small pieces.
- Be Patient: Sometimes it takes a few seconds for the reaction to really get going after dropping in the tablet pieces.
- Adult Supervision: This project involves liquids and potentially small tablet pieces, so it’s best done with adult supervision, especially with younger children.
- Clean Bottle: Make sure your bottle is clean and dry before starting to get the clearest view.
How to Store DIY Lava Lamp
Unlike a store-bought lava lamp, this one is a temporary science demonstration. The reaction stops when the effervescent tablet is used up. You can’t “store” the bubbling effect for later.
Once you’re finished watching the magic happen, it’s time for cleanup. The contents can typically be poured down the drain followed by running hot water for a bit to help clear the oil. Make sure to check your local guidelines for disposing of oil, though the amount here is usually manageable for drains with hot water.
You can save the bottle, leftover oil, food coloring, and remaining tablets to make another lava lamp another day! Just store the ingredients separately in your pantry or craft supplies area, much like you’d store ingredients for other fun projects like homemade worry stones or easy DIY bioplastic suncatchers.
FAQs
Got questions about this bubbly experiment? Here are a few common ones:
Why do the water and oil separate?
Water and oil don’t mix because they have different densities and molecular structures. Water is denser and heavier, so it sinks below the oil.
What makes the bubbles?
The effervescent tablet reacts with the water to produce carbon dioxide gas bubbles. These bubbles attach to the colored water droplets, making them less dense than the oil, causing them to rise. When the bubbles pop at the top, the water droplets become denser again and sink back down.
How long does the reaction last?
Each piece of tablet will bubble for a few minutes until it’s dissolved. You can add more pieces to keep the reaction going for as long as you have tablets!
Is this safe?
Yes, when done with adult supervision and using common household items, this is a safe science activity. Just be careful not to ingest the contents and clean up any spills promptly.
I hope you have an absolute blast making your own DIY lava lamp! It’s a simple reminder that you don’t need fancy equipment to have fun and learn something new. Happy bubbling!
For more fun ideas and delicious recipes, be sure to follow us on Pinterest!
DIY Lava Lamp
Equipment
- Clear Bottle or Jar
Ingredients
- 3/4 bottle volume Vegetable oil any kind works – canola, sunflower, etc.
- 1/4 bottle volume Water Plain old tap water
- Several drops Food coloring Pick your favorite color
- 3-4 tablets Effervescent tablets Such as Alka-Seltzer
Instructions
- Step 1: First, carefully pour the vegetable oil into your clean, clear bottle or jar. Fill it up until it’s about three-quarters full. See how clear it looks?
- Step 2: Now, gently pour water into the bottle. The water will sink to the bottom beneath the oil. You want to fill it until the water layer is about one-quarter of the way up the bottle from the bottom. Don’t worry if they don’t mix – that’s the point!
- Step 3: Add several drops of your chosen food coloring into the bottle. Watch as the color drops through the oil and mixes with the water layer at the bottom. Isn’t that neat?
- Step 4: Take one effervescent tablet (like Alka-Seltzer) and break it into smaller pieces. Quarters or eighths work well.
- Step 5: Carefully drop one or two small pieces of the broken tablet into the bottle. Get ready! You’ll start to see bubbles forming and carrying colored water blobs up through the oil.
- Step 6: As the bubbling slows down, you can drop in more tablet pieces, one or two at a time, to reactivate the effect. This keeps the lava lamp action going!
- Step 7: When the fun is over and the bubbling stops, the “lava lamp” is finished. Remember to dispose of the contents properly, usually down the drain with lots of water, as it’s mostly oil and water.