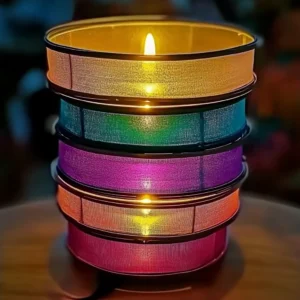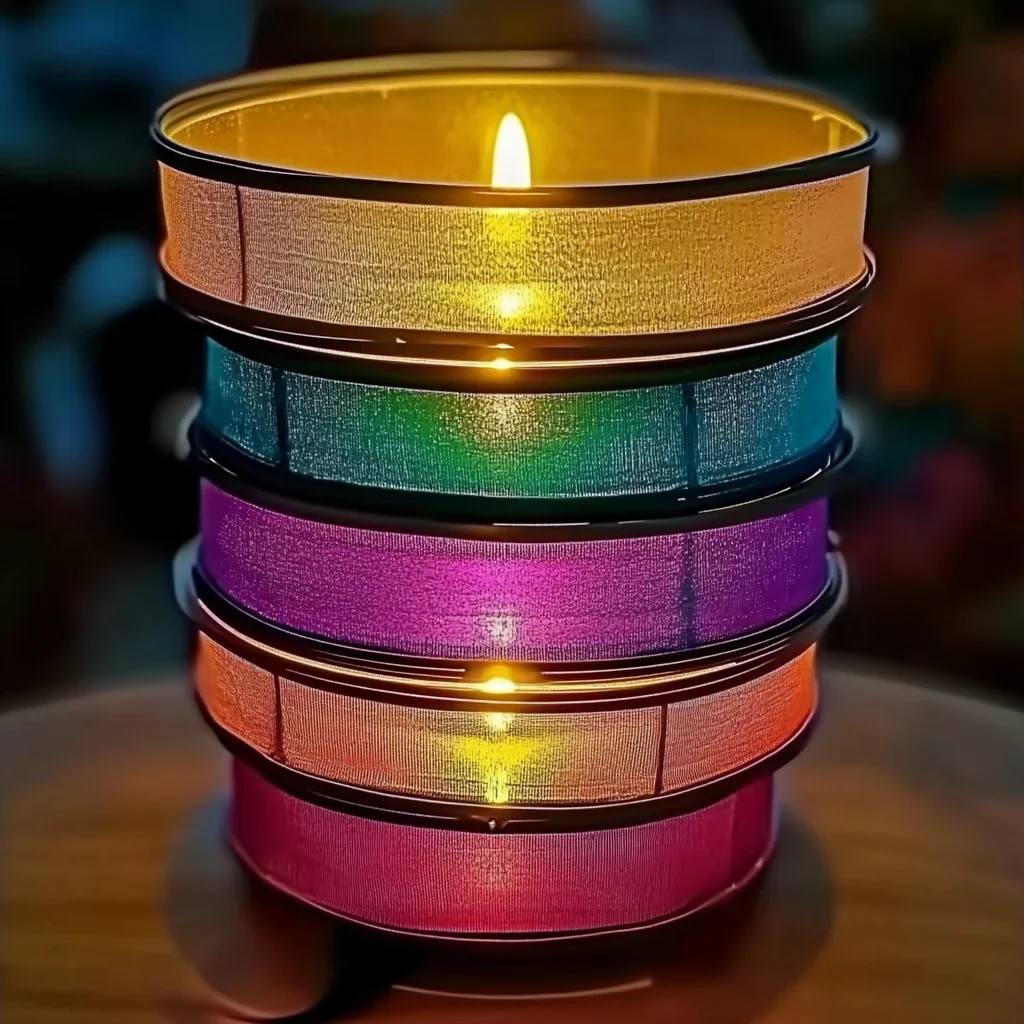
There’s something truly magical about crafting your own decorations, especially when they light up your space with warmth and color. Today, I want to share a delightful DIY project that is not only easy to tackle but also brings a burst of joy into your home: the Colorful Lantern Craft! Imagine gathering around with family or friends, surrounded by these vibrant lanterns that glow softly, creating an inviting atmosphere. Whether it’s for a cozy dinner, a fun outdoor gathering, or simply to brighten up a corner of your home, these lanterns are sure to spark joy and creativity.
Why You’ll Love Colorful Lantern Craft
- Beginner-friendly
- Budget-friendly
- Creative and fun
- Great for kids and families
- Perfect for gifts or decorations
- Customizable
The Heart Behind This DIY
Crafting is more than just making something; it’s about the experience, the joy of creation, and the memories we build along the way. When you dive into this colorful lantern project, you’re not only creating a beautiful piece of art but also engaging in a relaxing and mindful activity that allows you to express your creativity. The simple act of cutting, gluing, and layering tissue paper can be a wonderful way to unwind and connect with loved ones. As you watch your lantern come to life, you may find a sense of accomplishment and pride that fills your heart with joy.
A Gentle Look at the Process
Picture yourself settling down at a crafting table, surrounded by a rainbow of colored tissue paper, a jar ready for transformation, and your favorite crafting supplies. The process is soothing and straightforward. You’ll start by cutting the tissue paper into fun shapes, letting your imagination flow. As you apply glue and layer the paper, you can feel a sense of calm wash over you, almost like meditation. By the time you are finished, you’ll have created a stunning lantern that radiates warmth and creativity.
Materials You’ll Need
- Colored tissue paper (various colors) – The star of the show, bringing vibrancy to your lantern.
- Clear plastic or glass jar – A sturdy base for your beautiful creation.
- Scissors – Essential for cutting the tissue paper into fun shapes.
- Mod Podge or craft glue – To adhere the tissue paper to the jar.
- Paintbrush – For smooth glue application.
- LED tea light candles – Safe and perfect for illuminating your lantern.
- Ribbon or string (optional for hanging) – Add a charming touch for display.
Step-by-Step Directions
Step 1
Start by cutting your colored tissue paper into small squares or fun shapes. Let your creativity shine! You can mix and match colors to create patterns or go for a random selection for a more whimsical look.
Step 2
Using your paintbrush, apply a layer of Mod Podge or craft glue to the outside of your jar. Don’t worry about making it perfect; the beauty of this project is in its handmade charm!
Step 3
Carefully place the tissue paper pieces onto the glued surface, overlapping them as desired. Feel free to experiment with different placements until you achieve a look that delights you.
Step 4
Once the jar is covered in colorful tissue paper, apply another layer of Mod Podge or glue over the top to seal it. This will help protect your lantern and enhance its texture.
Step 5
Allow the jar to dry completely. Take this time to clean up your crafting area and enjoy the anticipation of your finished project.
Step 6
Once dry, place an LED tea light candle inside the jar. You’ll love the soft glow that shines through the colorful paper.
Step 7
If you wish, attach a ribbon or string to the top of the jar for hanging. This adds a lovely decorative element and makes it easy to display your lantern.
Step 8
Now, sit back and enjoy your colorful lantern! Light it up and watch as your creation transforms your space into a cozy haven.
Creative Ways to Use Colorful Lantern Craft
Once your lanterns are complete, the possibilities are endless! You can display them on a mantel, hang them from trees for an outdoor gathering, or use them as centerpieces for a festive table setting. They also make wonderful gifts for friends and family, especially for birthdays or housewarming parties. Imagine how special it would be to give a handmade gift that brightens someone’s day!
How to Store, Preserve, or Reuse Colorful Lantern Craft
To keep your lanterns looking their best, store them in a cool, dry place away from direct sunlight. If you plan to reuse them for different occasions, you can easily switch out the LED tea lights for various colors or scents. They are not only beautiful but also versatile, making them perfect for any season or celebration.
Creative Variations and Customizations
- Color variations – Experiment with different color combinations to match your decor.
- Theme ideas – Create seasonal lanterns for holidays like Halloween or Christmas.
- Seasonal adaptations – Use pastels for spring or warm tones for autumn.
- Kid-friendly modifications – Let kids create their own designs with their favorite colors.
- Advanced creative upgrades – Try adding glitter or paint for extra flair!
Tips for Success
- Common mistakes to avoid – Don’t skimp on glue; a good seal will keep your lantern intact.
- Safety tips if applicable – Always use LED candles to avoid fire hazards.
- Preparation suggestions – Lay out all your materials before starting to streamline the process.
- Cleanup recommendations – Keep wet wipes handy for easy cleanup after working with glue.
- Expert crafting tips – Take your time with the layering for a more polished look.
FAQs About Colorful Lantern Craft
Can beginners make this?
Absolutely! This project is designed to be beginner-friendly and enjoyable for all skill levels.
Can children participate?
Yes, this craft is perfect for kids! They will love cutting and placing the tissue paper. Just supervise them while using scissors and glue.
How long does it last?
With proper care, your colorful lantern can last for many seasons! Just make sure to store it safely when not in use.
Can I customize it?
Definitely! Feel free to get creative with colors, shapes, and additional decorations to make it uniquely yours.
A Final Creative Note
As you embark on this colorful lantern crafting journey, remember that the joy is in the process as much as it is in the finished product. Celebrate your creativity and the memories you create along the way. I hope this project inspires you to explore your artistic side and perhaps even try out more DIY adventures. For more delicious recipes, check out the blueberry cheesecake swirl rolls recipe or the easy peaches and cream pie recipe for treats you will love! Happy crafting!
For more DIY inspiration, be sure to follow our Pinterest account!