Remember those magical, gravity-defying spheres that seemed to defy all laws of physics? The ones that bounced higher than you could ever jump? There’s something so incredibly satisfying about creating your own bouncy balls, and guess what? It’s super easy! This recipe is perfect for a rainy afternoon, a classroom activity, or just a fun way to spend some quality time making something truly unique. You’ll be amazed at how quickly these come together, and the joy they bring is absolutely priceless!
Why You’ll Love Making DIY Bouncy Balls
- Fast: You can whip up a batch of these bouncy wonders in no time!
- Easy: Simple steps and common household ingredients make this a stress-free project.
- Giftable: Package them up in little bags for fun party favors or “just because” gifts.
- Crowd-pleasing: Kids and adults alike will be delighted by these colorful, bouncy creations.
Gather Your Supplies: The Magic Ingredients
You only need a few things to bring these bouncy balls to life. It’s amazing what a little bit of chemistry can do!
- 1 tablespoon white school glue (the washable kind is great!)
- 1/2 teaspoon borax powder (you can usually find this in the laundry aisle)
- 3 tablespoons warm water
- Food coloring (optional, but highly recommended for vibrant colors!)
- 2 small bowls or cups (for mixing)
- A spoon or stir stick
- Measuring spoons
- Disposable gloves (optional, but can help keep your hands clean)
Let’s Get Bouncing: How to Make Your Own Bouncy Balls
Alright, apron on, let’s dive into the fun part! Following these simple steps will have you bouncing in no time.
- Prep Your Borax Solution: In one of your bowls, measure out the 1/2 teaspoon of borax powder. Add the 3 tablespoons of warm water to it. Give it a good stir until all the borax powder has completely dissolved. This is your magic liquid!
- Color Your Glue: In the second bowl, pour in your 1 tablespoon of white school glue. Now’s the time to get creative! Add a few drops of your favorite food coloring. Start with just a little, you can always add more. Stir it gently until the color is evenly distributed throughout the glue. I love using bright, cheerful colors! If you’re feeling adventurous, you could even try making your own simple violet sugar recipe to sprinkle on top for a sparkly effect before they dry.
- The Transformation Begins: This is where the magic happens! Slowly start adding the borax solution to the colored glue mixture. You’ll want to stir continuously as you pour. Watch as the mixture starts to thicken up right before your eyes! It’s like a science experiment and a craft project all rolled into one.
- Knead Your Creation: Once the mixture has thickened into a pliable blob, it’s time to get your hands in there! If you’re using gloves, pop them on now. Knead the mixture with your hands. It might feel a little sticky at first, but keep kneading. The goal is to get it to form a firm, smooth ball. If it’s still too sticky to handle, you can add just a tiny bit more of the borax solution (like, a drop or two at a time) and continue kneading.
- Shape Your Bounce: Now that you have a nice, firm dough, roll it between your palms to create a perfectly round ball. Aim for a smooth surface for the best bounce.
- Test the Bounce! Find a hard surface and give your new bouncy ball a gentle toss. See how high it goes! It’s so satisfying to see your creation in action.
- Store Your Bouncy Treasures: Once you’re done bouncing, pop your bouncy balls into a sealed bag or an airtight container to keep them from drying out.
Fun Twists and Tasty Additions (Well, Not Edible, But Fun!)
Once you’ve mastered the basic recipe, why not experiment a little? You can customize these to your heart’s content!
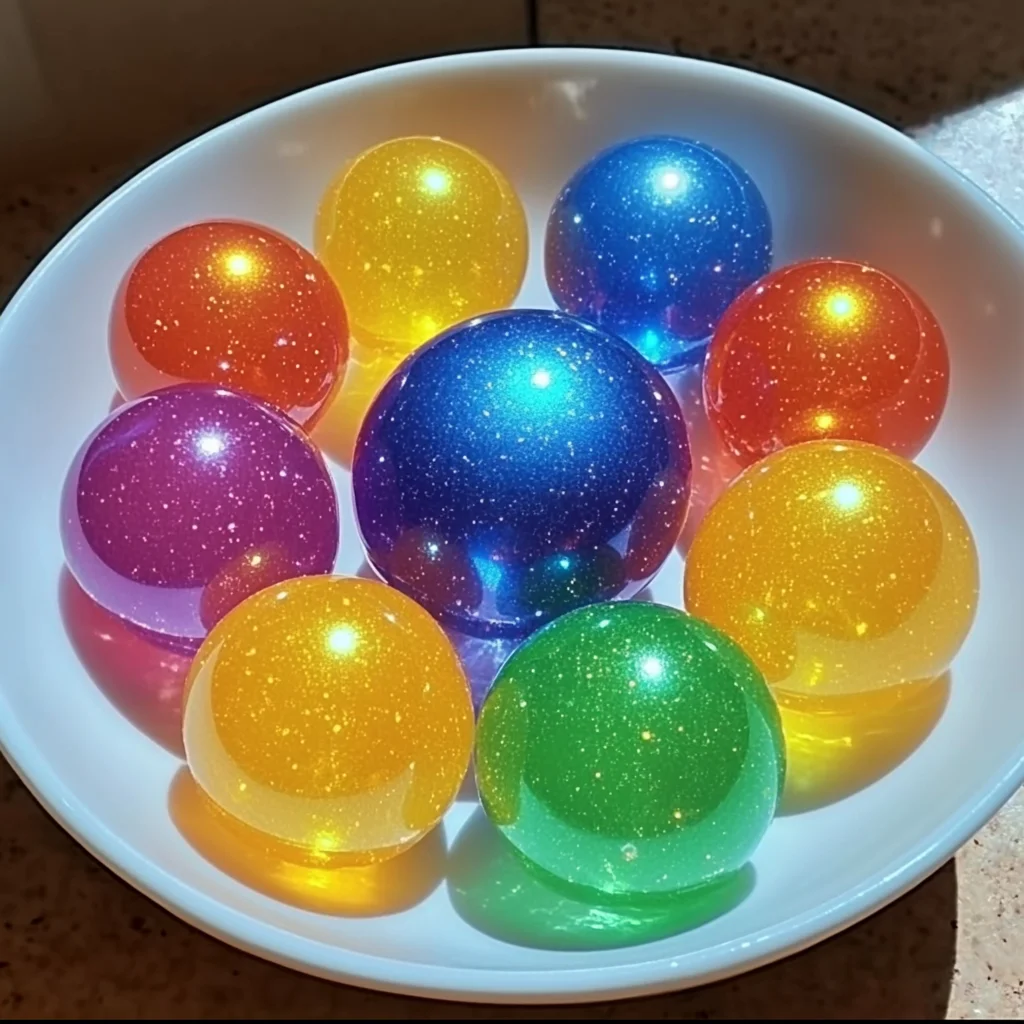
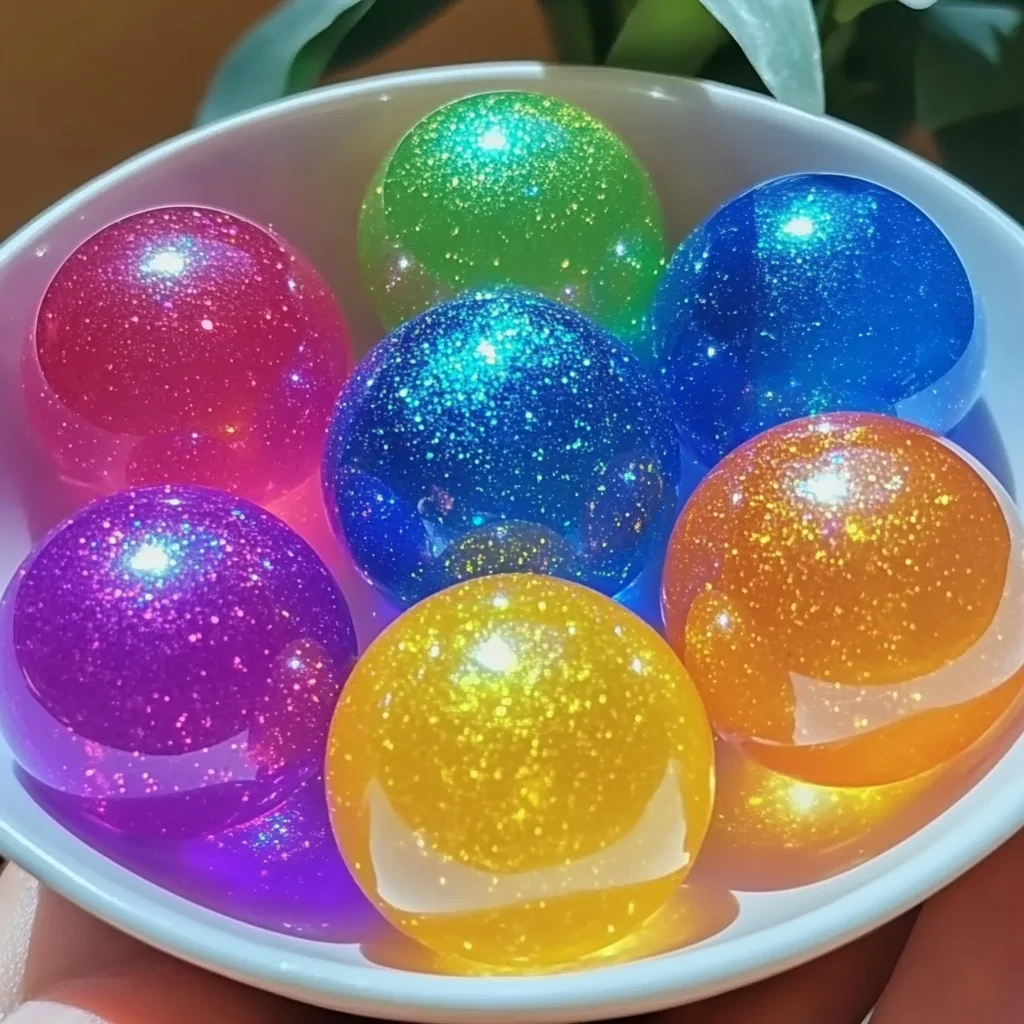
- Glitter Galore: Add some fine glitter to the glue mixture for extra sparkle!
- Multiple Colors: Make small batches with different colors and swirl them together for a marbled effect.
- Confetti Fun: Mix in some tiny pieces of confetti for a festive look.
- Layered Colors: Try making a few different colored balls and gently pressing them together before rolling into one large ball.
- Experiment with Glue: While white school glue works best, you might find some interesting textures with other clear glues.
For more fun craft ideas, you might enjoy making your own glow in the dark bubbles or creating some crayon star sun-catchers!
Tips for Bouncy Ball Success
A few little tricks can help ensure your bouncy balls turn out perfectly:
- Borax Solution Strength: Make sure the borax is fully dissolved. Undissolved borax can affect the bounce.
- Glue to Solution Ratio: The ratio of glue to borax solution is key! Too much borax solution can make them brittle, while too little might make them too sticky.
- Kneading is Key: Don’t be afraid to knead for a few minutes. It helps the ingredients bind together properly.
- Patience with Stickiness: If it’s a bit sticky, keep kneading. Sometimes the stickiness dissipates as you work it.
- Prep Ahead: You can dissolve the borax solution ahead of time and store it in a sealed container.
How to Keep Your Bouncy Balls Bouncing: Storage Tips
To keep your DIY bouncy balls in their prime, store them in an airtight container or a zip-top bag. This will prevent them from drying out and losing their bounce. They should last for a good while this way!
Frequently Asked Questions (FAQs)
- Can I use glitter glue?
- Yes, you can use glitter glue! It will give your bouncy balls an extra bit of sparkle.
- What happens if my bouncy ball isn’t bouncing very well?
- This could be due to the glue-to-borax ratio. Try again with slightly more borax solution next time, or ensure your borax is fully dissolved.
- Can I make these edible?
- No, this recipe uses non-edible ingredients like glue and borax. Please supervise children closely when making and playing with these.
- How long do they last?
- When stored properly in an airtight container, they can last for several weeks. They might start to lose their bounce over time, though!
We hope you have as much fun making these bouncy balls as we do! For more fun craft and recipe inspiration, be sure to follow us on Pinterest!

DIY Bouncing Balls
Equipment
- 2 small bowls or cups
- Spoon or stir stick
- Measuring spoons
- Disposable gloves (optional)
Ingredients
- 1 tablespoon white school glue the washable kind is great!
- 1/2 teaspoon borax powder you can usually find this in the laundry aisle
- 3 tablespoons warm water
- food coloring optional, but highly recommended for vibrant colors!
- Glitter optional, for extra sparkle
- Confetti optional, for a festive look
Instructions
- Step 1: Prep Your Borax Solution: In one of your bowls, measure out the 1/2 teaspoon of borax powder. Add the 3 tablespoons of warm water to it. Give it a good stir until all the borax powder has completely dissolved. This is your magic liquid!
- Step 2: Color Your Glue: In the second bowl, pour in your 1 tablespoon of white school glue. Now's the time to get creative! Add a few drops of your favorite food coloring. Start with just a little, you can always add more. Stir it gently until the color is evenly distributed throughout the glue. If you're feeling adventurous, you could even try making your own simple violet sugar recipe to sprinkle on top for a sparkly effect before they dry.
- Step 3: The Transformation Begins: This is where the magic happens! Slowly start adding the borax solution to the colored glue mixture. You'll want to stir continuously as you pour. Watch as the mixture starts to thicken up right before your eyes! It's like a science experiment and a craft project all rolled into one.
- Step 4: Knead Your Creation: Once the mixture has thickened into a pliable blob, it's time to get your hands in there! If you're using gloves, pop them on now. Knead the mixture with your hands. It might feel a little sticky at first, but keep kneading. The goal is to get it to form a firm, smooth ball. If it's still too sticky to handle, you can add just a tiny bit more of the borax solution (like, a drop or two at a time) and continue kneading.
- Step 5: Shape Your Bounce: Now that you have a nice, firm dough, roll it between your palms to create a perfectly round ball. Aim for a smooth surface for the best bounce.
- Step 6: Test the Bounce!: Find a hard surface and give your new bouncy ball a gentle toss. See how high it goes! It's so satisfying to see your creation in action.
- Step 7: Store Your Bouncy Treasures: Once you're done bouncing, pop your bouncy balls into a sealed bag or an airtight container to keep them from drying out.