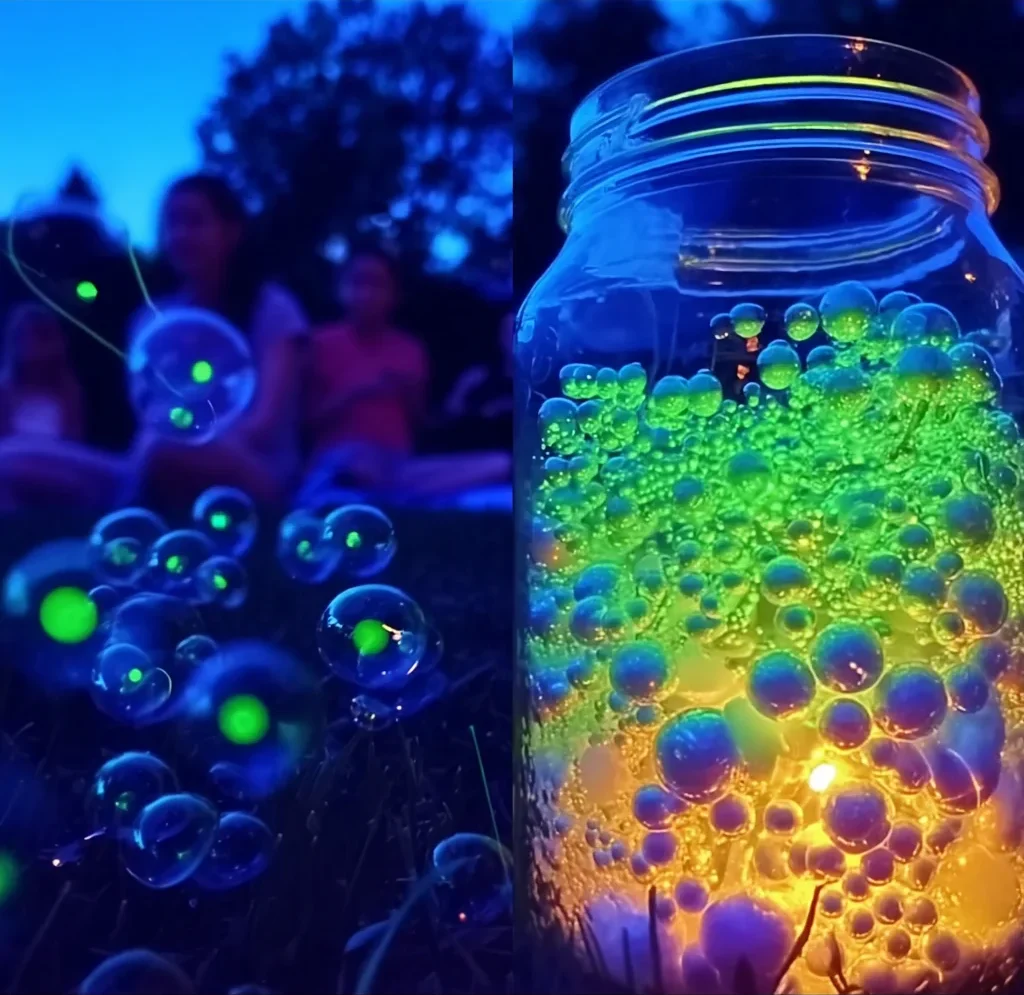
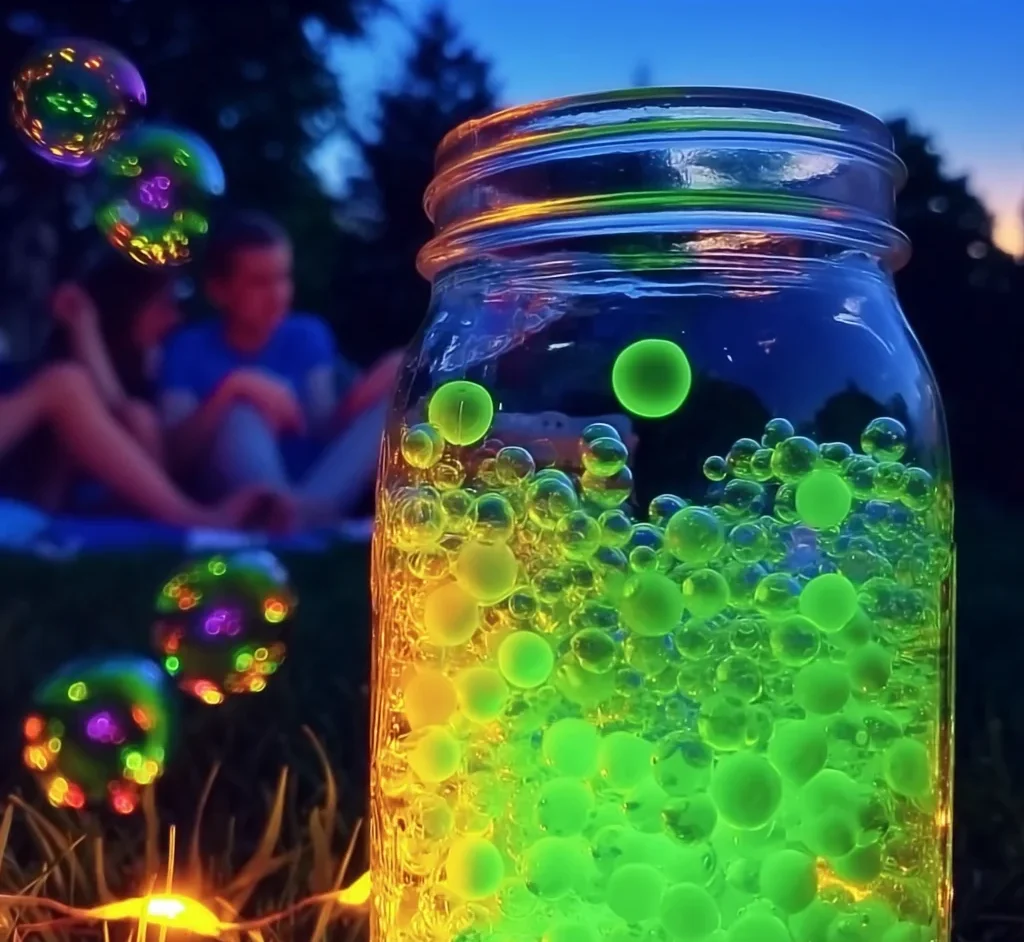
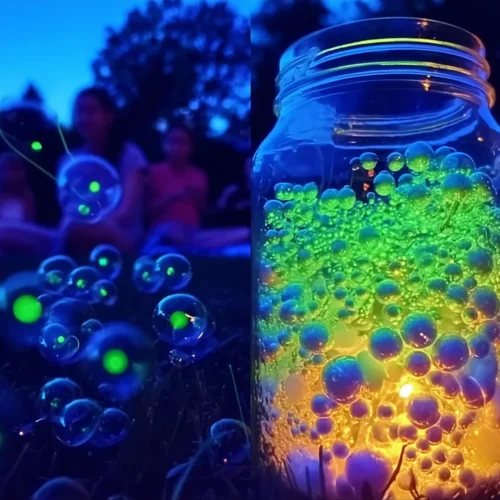
Oh, bubbles. Just saying the word brings back such happy memories, doesn’t it? Childhood afternoons spent chasing those iridescent spheres floating on the breeze, popping them with glee. It’s simple magic! But what if you could take that classic joy and add a whole new level of wonder? Get ready, my friend, because we’re about to make glow-in-the-dark bubbles! Trust me, watching these luminescent beauties float through the night air is absolutely enchanting. It’s ridiculously easy, super quick, and will totally impress everyone, young and old!
Why You’ll Love Glow-in-the-Dark Bubbles
- Fast: You can whip up a batch in under 20 minutes.
- Easy: Requires minimal effort and just a few simple ingredients.
- Giftable: Mix up a batch and put it in a cute bottle for a unique party favor!
- Crowd-pleasing: Kids and adults alike will be mesmerized.
Ingredients
Gathering your supplies for this glowing adventure is a breeze. You likely have most of this on hand!
- 1 cup bubble solution: You can use your favorite store-bought kind, or whip up a quick batch of homemade solution (ingredients below!).
- 1 highlighter (yellow or green): Make sure it’s a bright neon yellow or green. These colors usually glow the best under UV light.
- 1/4 cup warm water: Just warm enough to help the highlighter ink dissolve.
- Optional: Small squirt of dish soap: A tiny bit extra can help make the bubbles stronger.
- UV blacklight: This is key! You’ll need a blacklight to make the bubbles actually glow. A small handheld one or a blacklight bulb works great.
For Homemade Bubble Solution (if making from scratch):
- 1 cup warm water
- 2 tbsp dish soap: Any standard dish soap will do.
- 1 tbsp corn syrup or sugar: This helps make the bubbles stronger and last longer.
How to Make Glow-in-the-Dark Bubbles
Okay, let’s turn regular bubbles into magical glowing orbs! Follow these simple steps, and you’ll be ready for a glow party in no time.
- Extract the Glow: This is the coolest part! Put on some gloves (just to be safe with the ink) and carefully cut open a yellow or green highlighter. Gently pull out the felt tube that holds the ink inside. Drop this felt tube into a small bowl or cup with the 1/4 cup of warm water. Let it sit and soak for about 10 to 15 minutes. You’ll see the water turn a beautiful, bright neon color as the ink leaches out. Give the felt tube a gentle squeeze before you toss it to get all that glowing goodness out!
- Combine Solutions: In a larger container or bottle, pour your 1 cup of bubble solution. Then, carefully pour in the neon water you just made (leave the soggy felt tube behind!). Stir gently to combine everything. You don’t want to create too much foam just yet. If you’re using the optional extra dish soap, add a small squirt now and stir.
- Get Glowing! Now for the fun part! Grab a bubble wand, a straw, or even a fun easy homemade project like a DIY pipe cleaner wand. Dip your wand into the glow bubble solution and blow bubbles! To see them glow, you’ll need to be in a dark room or outside at night. Shine your UV blacklight directly onto the bubbles as they float or right after you blow them. Watch the magic happen!
Substitutions & Additions
Want to play around a bit? Here are some ideas:
- Color Swap: While yellow and green highlighters typically glow best under standard blacklights, you can experiment with other neon colors! Just be aware they might not be as vibrant.
- Bubble Boost: If your bubbles aren’t lasting long, add a tiny bit more corn syrup or sugar to your base solution (if making homemade) or a small squirt of glycerin if you have it on hand. This makes the bubble film stronger.
- Scent: For extra fun, you could add a drop or two of non-staining extract like vanilla or almond to the solution, though this won’t affect the glow!
Tips for Success
Making glow bubbles is pretty straightforward, but a few pointers can make it even better!
- Lighting is Key: These bubbles won’t glow on their own. You absolutely need a UV blacklight and a dark environment (think a dark room or outside after sunset) to see the magic.
- Highlighter Power: Not all highlighters glow equally. Neon yellow and green are usually the champions. You can test a little bit of the ink water under your blacklight before mixing it all in.
- Gentle Stirring: Avoid creating excessive foam when mixing the solutions, as too much foam can make it harder to blow good bubbles.
- Safety First: While the amount of ink used is small, it’s best to supervise children closely. Ensure they understand not to drink the solution and use gloves when handling the cut highlighter ink tube. Wash hands thoroughly afterward.
How to Store Glow-in-the-Dark Bubbles
You can store your magical glow-in-the-dark bubble solution just like you would regular bubble solution. Pour any leftover mixture into a clean bottle or container with a tight-fitting lid. Keep it stored at room temperature, away from direct sunlight. It should last for several weeks, ready for your next impromptu glow party!
FAQs
Got questions? I’ve got answers!
Q: Is the highlighter ink safe?
A: Standard highlighters typically use non-toxic, fluorescent ink. However, they are not meant for consumption. Always supervise kids, handle the ink carefully (using gloves is a good idea!), and ensure the solution is used only for blowing bubbles. Wash hands and surfaces if spills occur.
Q: Why aren’t my bubbles glowing?
A: The most common reason is not using a strong enough UV blacklight or not being in a sufficiently dark environment. Make sure it’s really dark and you’re shining the blacklight directly on the bubbles.
Q: Will the solution stain?
A: While the ink is diluted, it’s still possible for it to leave light stains, especially on porous surfaces or light-colored fabrics. It’s best to use these bubbles in an area where potential stains aren’t a concern, like outdoors on pavement or grass, or in a room with easy-to-clean floors.
Q: Can I use different colored highlighters?
A: You can experiment, but neon yellow and green inks usually contain fluorescent dyes that react strongest to standard UV blacklights, giving you the best glow effect. Other colors might glow dimly or not at all depending on their ink composition.
Creating these glowing bubbles is such a fun way to add a little sparkle and wonder to an evening. It’s perfect for parties, camping trips, or just a special treat on a regular night. And hey, while you’re planning your fun, why not whip up some homemade watermelon lemonade to enjoy alongside the glowing spectacle?
For more delicious recipes and fun ideas, be sure to follow us on Pinterest!
Easy DIY Glow-in-the-Dark Bubbles
Equipment
- Gloves (optional)
- Small bowl or cup
- Larger container or bottle
- Bubble wand (or straw)
- UV blacklight
Ingredients
Main Ingredients
- 1 cup bubble solution store-bought or homemade
- 1 highlighter yellow or green, bright neon
- 1/4 cup warm water
- dish soap optional, small squirt
For Homemade Bubble Solution (Optional)
- 1 cup warm water
- 2 tbsp dish soap any standard dish soap
- 1 tbsp corn syrup or sugar
Instructions
- Step 1: Extract the Glow: Put on gloves if desired. Carefully cut open a yellow or green highlighter and gently pull out the felt ink tube. Drop the felt tube into a small bowl or cup with 1/4 cup warm water. Let it soak for 10 to 15 minutes until the water turns a bright neon color. Gently squeeze the felt tube before discarding it.
- Step 2: Combine Solutions: In a larger container or bottle, pour 1 cup of bubble solution. Carefully pour in the neon water (leaving the soggy felt tube behind). Stir gently to combine everything, avoiding excessive foam. If using, add a small squirt of extra dish soap now and stir.
- Step 3: Get Glowing!: Grab a bubble wand or straw. Dip it into the glow bubble solution and blow bubbles! To see them glow, you need to be in a dark room or outside at night and shine a UV blacklight directly onto the bubbles as they float or just after blowing them.