Remember those magical summer days when you’d discover treasures hidden in a block of ice? There’s something so captivating about watching the ice slowly reveal its secrets. Today, we’re bringing that wonder right into your kitchen (or playroom!) with an incredibly easy and engaging activity: Ocean Ice Melt! This is perfect for a quiet afternoon, a fun science exploration, or even a cool-down activity on a warm day. Get ready for some serious sensory fun!
Why You’ll Love Ocean Ice Melt
- Fast: Most of the prep is hands-off freezing time.
- Easy: Seriously, minimal ingredients and steps.
- Giftable: Assemble the supplies and give it as a fun activity kit!
- Crowd-pleasing: Kids and adults alike will be fascinated by the melting process.
Ingredients
- Plastic ocean animals: Think sea stars, fish, dolphins, whales – whatever marine friends you can find! These are the stars of the show.
- Water: The base for our icy adventure.
- Blue food coloring or liquid watercolors: To create that beautiful ocean hue. A little goes a long way!
- Large plastic container, bowl, or mold: This will be the home for your icy ocean.
- Salt: Our secret weapon for speeding up the melting process!
- Warm water in squirt bottles, pipettes, or eyedroppers: These are your tools to excavate the treasures.
- Optional: glitter, shells, or small sea glass: For that extra touch of sparkle and realism!
- Tray or bin: To catch any drips and keep the play area contained.
How to Make Ocean Ice Melt
This is where the magic happens, and it’s as simple as can be!
- First, gather your plastic ocean critters and carefully place them into your large container, bowl, or mold. Make sure they’re arranged in a way that looks exciting when they’re revealed!
- Next, fill the container with water, making sure all your ocean friends are nicely submerged. Now, add a few drops of blue food coloring or liquid watercolors to give it that authentic ocean feel. If you’re feeling extra fancy, sprinkle in some glitter or add a few shells or pieces of sea glass.
- Carefully place the container in your freezer. You’ll want to let it freeze for about 4-6 hours, or until it’s completely solid. Patience, my friend!
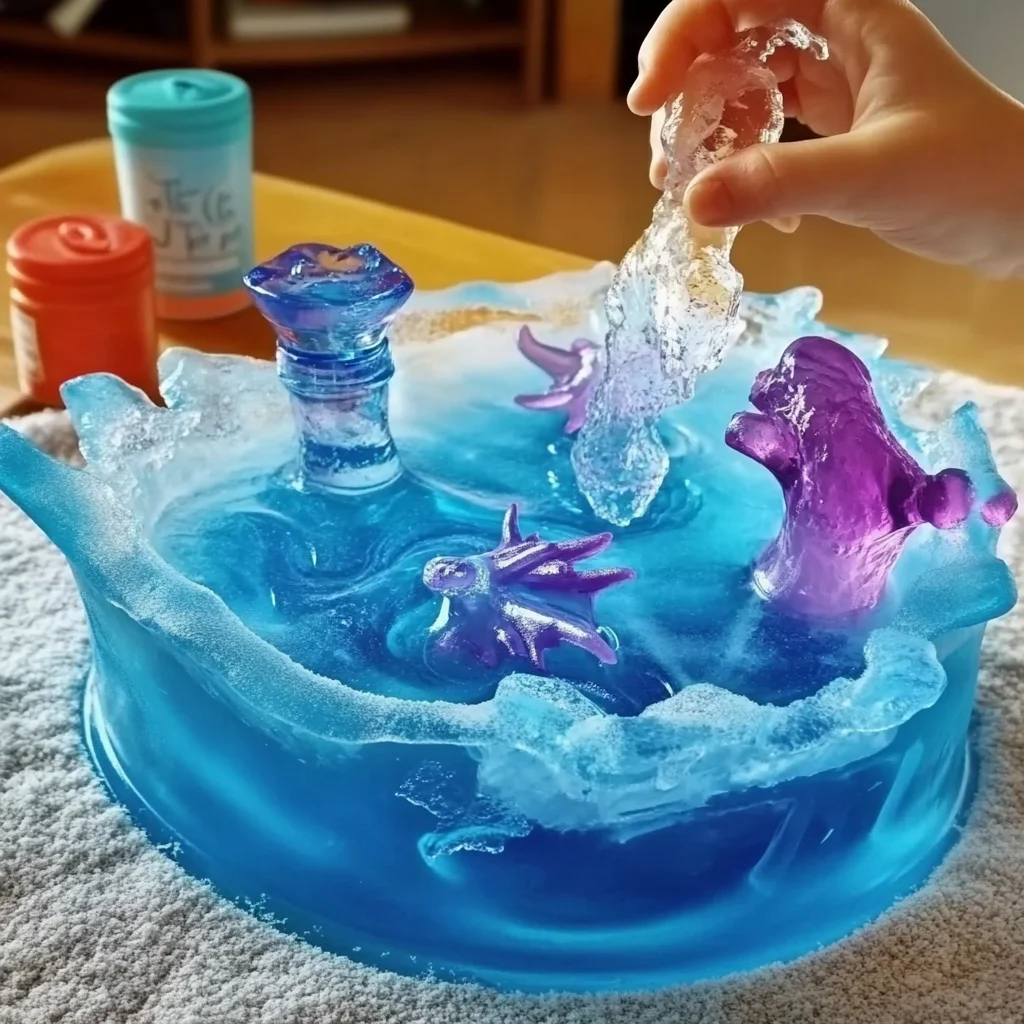
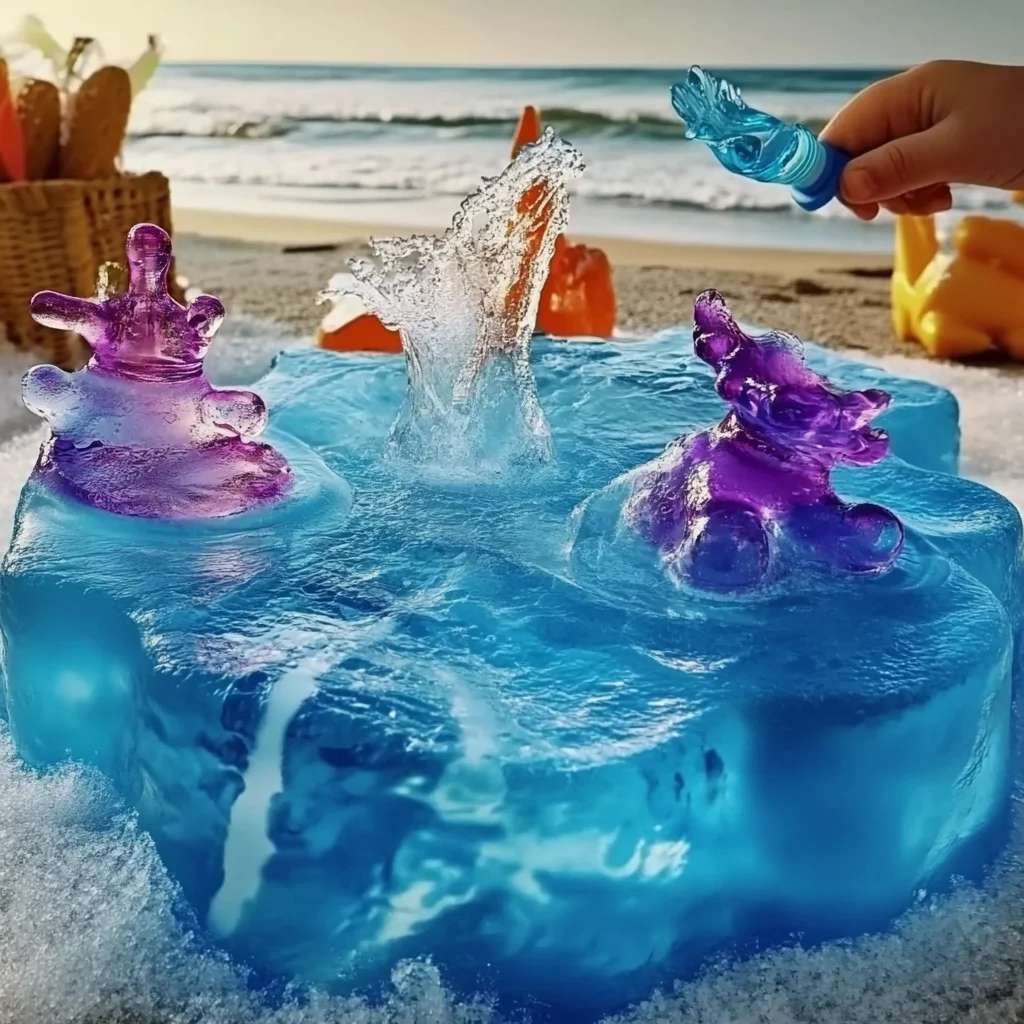
- Once your ice block is frozen solid, it’s time for the grand reveal! Gently remove the ice block from its container and place it onto a tray or into a larger sensory bin. This is where the real fun begins.
- Now, it’s time to play! Hand over the warm water in squirt bottles, pipettes, or droppers. You can also provide a small bowl of salt. Encourage your little explorers (or yourself!) to use the warm water and salt to melt the ice. Watch as the ocean animals slowly emerge from their icy slumber. It’s like a mini arctic expedition! As you’re melting away, perhaps you’ll recall the fun of making summer drinks or creating ocean-themed crafts.
Substitutions & Additions
Feeling creative? Here are a few ways to switch things up:
- Different Themes: Instead of ocean animals, try dinosaurs for a “Prehistoric Ice Excavation” or small toys for a “Frozen Toy Surprise.”
- Glow-in-the-Dark Fun: Add a few drops of glow-in-the-dark paint or some glow sticks (safely contained!) for an after-dark adventure. You can find some great ideas for glow-in-the-dark bubbles to extend the fun!
- Natural Color: Use a bit of blueberry or spirulina powder for a natural blue hue.
- Sparkle Power: Mix in biodegradable glitter for extra shimmer as the ice melts.
Tips for Success
- Don’t Overfill: Be careful not to overfill your container with water, especially if it has a lid, as water expands when it freezes.
- Warm Water is Key: Using warm water, rather than hot, is safer and still effective for melting the ice.
- Salt is Your Friend: The salt lowers the freezing point of water, which helps to speed up the melting process. It’s a simple science lesson right there!
- Contain the Mess: Using a tray or a large sensory bin is a lifesaver for containing any water spillage.
- Supervision: Always supervise young children during this activity, especially with small parts or water play.
How to Store Ocean Ice Melt
Once your ice melt is complete, you can simply discard the water and the animals (or rinse them off and save them for next time!). If you want to save the ice block for another day, carefully place it back into the freezer in its container or a freezer-safe bag. It should last for a few weeks!
FAQs
Q: Can I use regular ice cube trays?
A: Absolutely! If you don’t have a large container, you can freeze the animals in smaller ice cube trays. You’ll just have more individual “ocean gems” to melt.
Q: What if I don’t have any plastic ocean animals?
A: No worries! You can use any small waterproof toys. Consider tiny cars for a “Construction Site Excavation” or even small fruits like grapes for a “Frozen Fruit Surprise.” For more fun edible ideas, check out our Jolly Rancher Candy Grapes!
Q: How long does the melting process take?
A: It really depends on the temperature of the water, the amount of salt used, and the size of your ice block. It can take anywhere from 10 minutes to an hour or more for a large block. It’s all part of the discovery!
We hope you have a splash-tastic time with this Ocean Ice Melt activity! It’s a fantastic way to spark curiosity and provide some engaging sensory play. For more fun and creative ideas, be sure to follow our Pinterest!
DIY Ocean Ice Melt: A Mesmerizing Sensory Play Adventure!
Equipment
- Plastic ocean animals
- Large plastic container, bowl, or mold
- Warm water in squirt bottles, pipettes, or eyedroppers
- Tray or bin
Ingredients
- Plastic ocean animals e.g., sea stars, fish, dolphins, whales
- Water The base for our icy adventure.
- Blue food coloring or liquid watercolors A little goes a long way!
- Large plastic container, bowl, or mold This will be the home for your icy ocean.
- Salt Our secret weapon for speeding up the melting process!
- Warm water in squirt bottles, pipettes, or eyedroppers These are your tools to excavate the treasures.
- Optional: glitter, shells, or small sea glass For that extra touch of sparkle and realism!
- Tray or bin To catch any drips and keep the play area contained.
Instructions
- Gather your plastic ocean critters and carefully place them into your large container, bowl, or mold. Arrange them in an exciting way.
- Fill the container with water, ensuring all ocean friends are submerged. Add a few drops of blue food coloring or liquid watercolors. Optionally, sprinkle in glitter or add shells/sea glass.
- Carefully place the container in the freezer for about 4-6 hours, or until completely solid.
- Once frozen, gently remove the ice block from its container and place it onto a tray or into a larger sensory bin.
- Provide warm water in squirt bottles, pipettes, or droppers, along with a small bowl of salt. Encourage participants to use these tools to melt the ice and reveal the ocean animals.