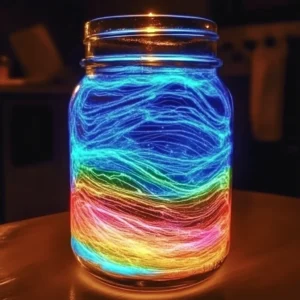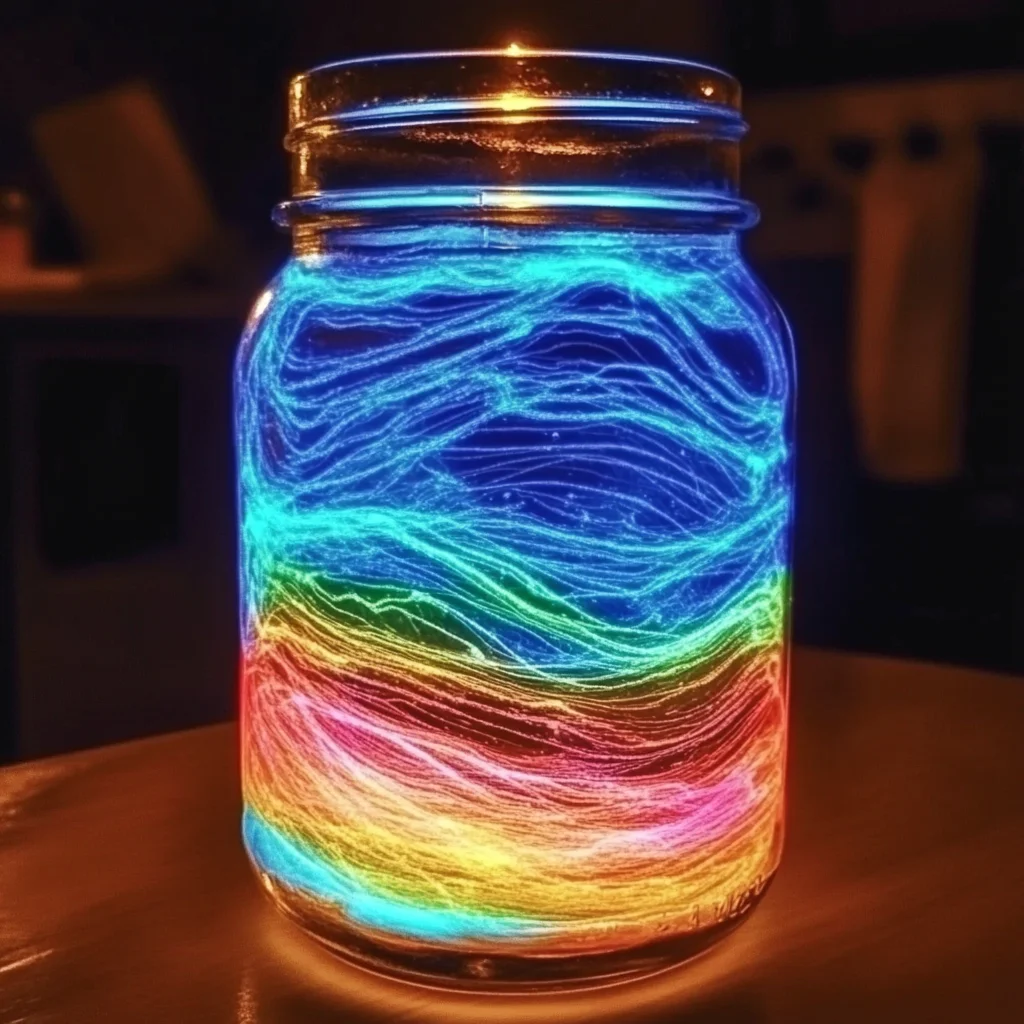
There’s something magical about the glow of a jar on a dark evening, isn’t there? Imagine sitting in your living room, the soft light flickering from a beautiful glowing jar, casting playful shadows and creating a cozy atmosphere. This DIY project is not just about crafting; it’s about creating a warm, inviting space that brings a sense of calm and nostalgia. Every time you catch a glimpse of that gentle glow, you’ll remember the joy of making it with your own hands. Let’s dive into the enchanting world of DIY with our Dish Soap Glowing Jar!
Why You’ll Love Dish Soap Glowing Jar
- Beginner-friendly
- Budget-friendly
- Creative and fun
- Great for kids and families
- Perfect for gifts or decorations
- Customizable
The Heart Behind This DIY
Crafting is a beautiful way to express ourselves, and this glowing jar project is a perfect example. It encourages mindfulness as you focus on each step, allowing your thoughts to settle and your creativity to flow. The simple act of mixing colors and textures can be a calming experience, making it a wonderful way to unwind after a busy day. Plus, involving your kids can teach them about colors, science, and the joy of creating something unique. This project not only enhances your surroundings but also strengthens the bond between family members as you work together to make something special.
A Gentle Look at the Process
As you embark on this glowing jar adventure, you’ll find the process soothing and satisfying. Picture yourself gathering your materials, the anticipation building as you prepare to create something that will light up your nights. The mixing of the dish soap, water, and glow-in-the-dark paint is like a little science experiment, filling the air with excitement. And when you finally see the glow emerge in the dark, it will surely bring a smile to your face!
Materials You’ll Need
- 1 cup dish soap – This will be the base of your glowing mixture.
- 1 cup water – This will help dilute the soap for an even glow.
- 1 tablespoon glow-in-the-dark paint (or glow powder) – This is the magic ingredient that makes your jar shine!
- A clean jar with a lid – Choose one that feels special to you.
- A stirring stick – Something simple to mix your ingredients well.
Step-by-Step Directions
Step 1
In a mixing bowl, combine 1 cup of dish soap with 1 cup of water. As you pour the soap, notice its thick, glossy texture. It’s almost like a silky potion waiting to be transformed!
Step 2
Next, add 1 tablespoon of glow-in-the-dark paint or glow powder to your mixture. The moment the powder hits the liquid, you may see a swirl of color. It’s a delightful sight, isn’t it? Stir the mixture thoroughly with your stirring stick until everything is well combined and has a uniform appearance.
Step 3
Now, it’s time to pour your magical mixture into the clean jar. Fill it to your desired level, leaving a little space at the top. Seal the jar with the lid and find a cozy spot in your home where it can charge in the light. This is the key to a vibrant glow later on!
Step 4
Once your jar has absorbed enough light, turn off the lights and witness the enchanting glow of your creation. It’s a beautiful reminder of the joy and creativity you poured into making it.
Creative Ways to Use Dish Soap Glowing Jar
Your glowing jar can serve many purposes! Use it as a nightlight in your child’s room, creating a soothing atmosphere for bedtime. Place it on your porch to welcome guests with a warm glow or use it as a centerpiece for a cozy movie night. It also makes for a thoughtful gift! Imagine giving a friend a jar filled with love and light, perfect for brightening their home.
How to Store, Preserve, or Reuse Dish Soap Glowing Jar
To maintain your glowing jar, store it in a cool, dark place when not in use. If you want to refresh the glow, simply expose it to light again for a few hours. If you ever decide to change up the colors or themes, you can easily clean the jar and start over!
Creative Variations and Customizations
- Color variations – Experiment with different glow-in-the-dark colors for a unique effect.
- Theme ideas – Decorate the jar with stickers or paint to reflect different seasons or holidays.
- Seasonal adaptations – Create themed jars for Halloween, Christmas, or summer nights.
- Kid-friendly modifications – Let kids choose their favorite colors and designs for a personalized touch.
- Advanced creative upgrades – Add glitter or small decorative items inside the jar for an extra sparkle.
Tips for Success
- Common mistakes to avoid – Make sure to mix your ingredients thoroughly to avoid clumping.
- Safety tips – Keep the glow-in-the-dark paint away from your eyes and mouth.
- Preparation suggestions – Gather all your materials before starting for a smoother experience.
- Cleanup recommendations – Clean up any spills immediately to avoid sticky surfaces.
- Expert crafting tips – Don’t hesitate to express your creativity! This is your masterpiece, so make it your own.
FAQs About Dish Soap Glowing Jar
Can beginners make this?
Absolutely! This project is perfect for beginners and a great way to get started with crafting.
Can children participate?
Yes! This is a fun and safe project for kids, with adult supervision for mixing the ingredients.
How long does it last?
The glow effect can last several hours, depending on how much light the jar absorbs. You can recharge it anytime!
Can I customize it?
Definitely! Feel free to add your personal touch with colors, decorations, or different jar designs.
A Final Creative Note
I hope this DIY project inspires you to embrace your creativity and fill your space with warmth and light. Remember, every jar tells a story, and the joy of crafting lies not just in the final product, but in the moments we share while creating. For more delicious recipes, check out easy breakfast ideas or creative baking recipes for treats you will love! Let’s keep the spirit of creativity alive and light up our homes with our handmade treasures.
For more DIY inspiration, follow our Pinterest page!