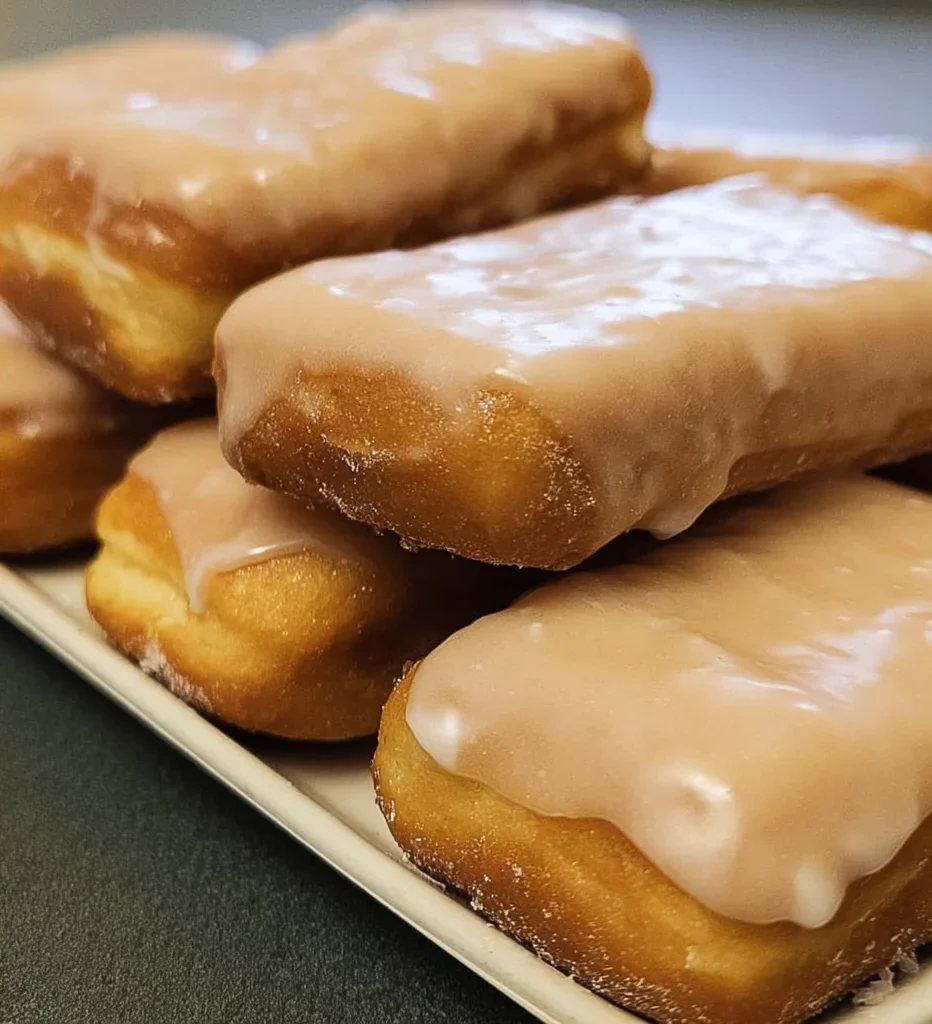
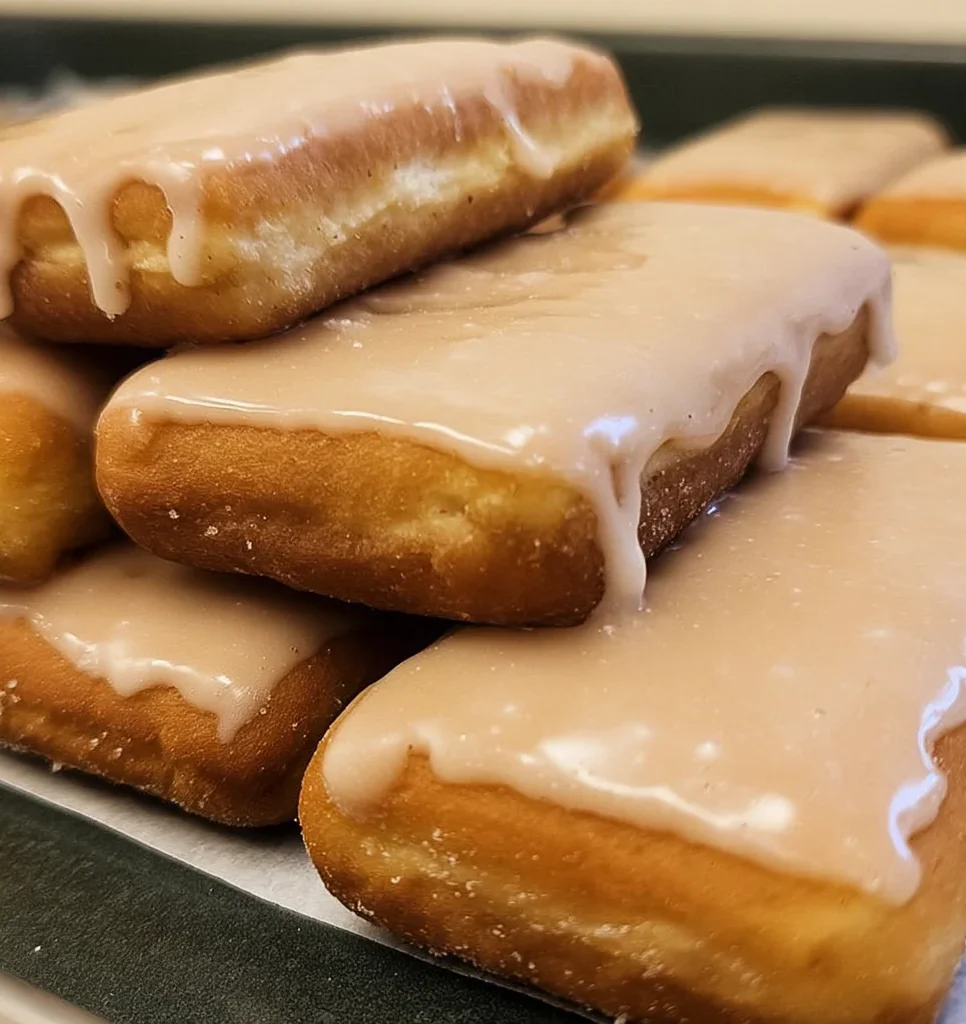
Okay, friend, close your eyes for a second and picture this: You walk into your favorite old-school donut shop, and there it is. That warm, sweet, maple-glazed donut, maybe even the long john kind. Pure comfort, right? But what if I told you that you could capture all that cozy, maple-y goodness, no deep-frying required, and have it ready in less time than it takes to drive there?
Yep, today we’re making Maple Donut Bars! Think of them as the love child of a perfect cake donut and a super easy sheet cake. They’re ridiculously simple, packed with that classic maple flavor we all adore, and come out moist and tender every single time. Whether you’re whipping them up for a quick dessert, a potluck, or just because it’s Tuesday, these bars are guaranteed to bring smiles. Let’s bake some happiness!
Why You’ll Love This Recipe
- Fast: From mixing bowl to oven in mere minutes! Seriously, you can be eating warm bars in under an hour.
- Easy: No fancy equipment needed, just basic baking steps. Perfect for beginners or when you’re feeling lazy (no judgment here!).
- Giftable: Wrap these up and share with friends, neighbors, or teachers. They make the sweetest little present!
- Crowd-pleasing: Who doesn’t love maple and donuts? These disappear like magic whenever I make them.
Ingredients
Gather your goodies! Most of these are probably already in your pantry.
- 2 cups all-purpose flour: The foundation of our bar-donut hybrid! Simple all-purpose works perfectly here.
- 1 cup granulated sugar: Adds just the right amount of sweetness to the cake base.
- 1 teaspoon baking powder & 1/2 teaspoon baking soda: Our leavening dream team! They work with the buttermilk to give us that lovely lift and tender texture.
- 1/2 teaspoon salt: Don’t skip the salt! It balances the sweetness and enhances all the flavors.
- 1/2 cup buttermilk: This is key for that classic tender, slightly tangy crumb often found in good donuts. If you don’t have buttermilk, you can make a quick substitute by putting 1/2 tablespoon of white vinegar or lemon juice in a measuring cup and filling it the rest of the way with milk. Let it sit for 5 minutes before using.
- 2 large eggs: Help bind everything together and add richness.
- 1/4 cup unsalted butter, melted: Provides moisture and that delicious buttery flavor. Make sure it’s just melted, not hot!
- 2 tablespoons pure maple syrup: This goes INTO the batter for a subtle maple note throughout. Use the good stuff!
- 1 teaspoon vanilla extract: Vanilla enhances the maple flavor beautifully.
- 1 cup confectioners’ sugar (for glaze): The base for our sweet, pourable glaze. Also known as powdered sugar or icing sugar.
- 2-3 tablespoons maple syrup (for glaze): This is where the main maple flavor for the glaze comes from. Again, pure maple syrup is your best friend here for the best flavor. You might need slightly more or less depending on the consistency you like.
How to Make It
Alright, apron on? Let’s do this! It’s super straightforward, I promise.
1. Prep your pan: First things first, preheat your oven to 350°F (177°C). Grab a 9×13-inch baking pan. You’ll want to grease it really well. I like to use baking spray with flour, or you can grease it with butter or shortening and then dust it with flour. This helps ensure those lovely bars don’t stick!
2. Combine the dry: In your biggest mixing bowl, whisk together the flour, granulated sugar, baking powder, baking soda, and salt. Give it a good whisk to make sure everything is evenly distributed. This is like prepping our foundation.
3. Whisk the wet: In a separate, medium-sized bowl, whisk together the buttermilk, eggs, melted butter, the 2 tablespoons of maple syrup (for the batter!), and the vanilla extract. Whisk until it’s all smoothly combined.
4. Mix ’em up: Now, pour the wet ingredients from step 3 into the dry ingredients from step 2. Using a spatula or a wooden spoon, mix them together just until everything is combined. A few small lumps are totally fine! The key here is not to overmix, or your bars can become tough. We want tender donut-like goodness!
5. Pour and bake: Pour that beautiful batter evenly into your prepared 9×13 pan. Use your spatula to spread it out to the corners. Pop it in the preheated oven and bake for 20-25 minutes. You’ll know it’s done when a toothpick inserted into the center comes out clean. The edges should look lightly golden.
6. Make the glaze: While the bars are baking or just after they come out, whisk together the confectioners’ sugar and 2 tablespoons of maple syrup in a small bowl. Start with 2 tablespoons of syrup. If it’s too thick, add another tablespoon, maybe even just a tiny bit more, a teaspoon at a time, until it’s a smooth, pourable consistency. You want it thick enough to set but thin enough to drizzle easily.
7. Glaze and set: Let the baked bars cool in the pan for about 10-15 minutes. They should still be warm, but not piping hot. This is the perfect time to drizzle that lovely maple glaze all over the top! Spread it around evenly if you like a full coverage look. Let the glaze sit for another 10-15 minutes to start setting up before cutting.
8. Cut and serve: Once the glaze has slightly set, use a sharp knife to cut the bars into squares right in the pan. Serve them warm and watch them disappear!
Substitutions & Additions
Feeling creative? Want to make some swaps? Here are a few ideas:
- Dairy-Free? You can often substitute the buttermilk with a dairy-free alternative mixed with vinegar (as mentioned above). Use a dairy-free butter substitute or oil (like canola or vegetable) for the melted butter.
- Add Some Spice: A pinch of cinnamon or nutmeg in the batter would be delicious and enhance that cozy donut vibe.
- Chocolate Chip Love: Stir in a handful of mini chocolate chips into the batter before baking. Maple and chocolate are a surprisingly good combo!
- Nutty Crunch: Sprinkle chopped walnuts or pecans over the glaze while it’s still wet for a little texture.
- Make it Fancy: Add a sprinkle of flaky sea salt over the maple glaze for a salted maple twist!
Tips for Success
A few little pointers to make sure your bars turn out perfect every time:
- Measure Flour Correctly: Don’t scoop flour directly from the bag with your measuring cup. Spoon it into the cup and level it off with a knife. Too much flour can make your bars dry.
- Don’t Overmix: I mentioned it before, but it’s worth repeating! Mix the wet and dry ingredients just until the flour streaks disappear. Overmixing develops gluten, leading to tougher bars.
- Pan Size Matters: A 9×13 pan is key for the right thickness and baking time. If you use a different size, you’ll need to adjust baking time.
- Test for Doneness: Always use the toothpick test! Ovens can vary, so relying solely on the timer isn’t foolproof.
- Glaze Consistency: If your glaze is too thick, add maple syrup or a tiny splash of milk (about 1/2 teaspoon at a time). If it’s too thin, whisk in a little more confectioners’ sugar (a tablespoon at a time).
How to Store It
Assuming you have any left (a big assumption in my house!), here’s how to keep them fresh:
Let the bars cool completely. Store them in an airtight container at room temperature. They should stay moist and delicious for 2-3 days. You can also store them in the refrigerator for a bit longer, about 4-5 days, especially if it’s warm in your kitchen. They are lovely slightly chilled, too!
FAQs
Got questions? I’ve got some quick answers!
Can I use pancake syrup instead of pure maple syrup?
For the best flavor, especially in the glaze, I highly recommend using pure maple syrup. Pancake syrup (often corn syrup based) won’t give you the same rich, authentic maple taste.
Can I make the glaze thicker?
Yes! Just whisk in a little more confectioners’ sugar, a tablespoon at a time, until you reach your desired thickness.
Can I bake these in a different size pan?
A 9×13 pan is ideal for the height and baking time specified. If you use a smaller pan, the bars will be thicker and need longer to bake (keep an eye on them!). If you use a larger pan, they’ll be thinner and bake faster.
Can I freeze these bars?
Yes! Bake and glaze the bars, then cut them into squares. Once the glaze is fully set, you can freeze them in a single layer on a baking sheet until firm, then transfer to an airtight freezer-safe container or bag. Thaw at room temperature before enjoying. They should be good for up to 2-3 months.

Easy Homemade Maple Donut Bars
Equipment
- 9×13-inch baking pan
- Mixing Bowl
- medium-sized bowl
- whisk
- Spatula or Wooden spoon
- Small bowl
- sharp knife
Ingredients
For the Bars
- 2 cups all-purpose flour
- 1 cup granulated sugar
- 1 teaspoon baking powder
- 1/2 teaspoon baking soda
- 1/2 teaspoon salt
- 1/2 cup buttermilk Substitute: 1/2 tbsp white vinegar or lemon juice in cup, fill with milk, let sit 5 mins.
- 2 large eggs
- 1/4 cup unsalted butter melted (not hot!)
- 2 tablespoons pure maple syrup for the batter!
- 1 teaspoon vanilla extract
For the Glaze
- 1 cup confectioners’ sugar also known as powdered sugar or icing sugar
- 2-3 tablespoons maple syrup pure, for glaze (might need slightly more or less)
Instructions
- Step 1: Prep your pan: Preheat your oven to 350°F (177°C). Grab a 9×13-inch baking pan. Grease it really well (baking spray with flour, or grease/flour). This helps ensure those lovely bars don’t stick!
- Step 2: Combine the dry: In your biggest mixing bowl, whisk together the flour, granulated sugar, baking powder, baking soda, and salt. Give it a good whisk to make sure everything is evenly distributed.
- Step 3: Whisk the wet: In a separate, medium-sized bowl, whisk together the buttermilk, eggs, melted butter, the 2 tablespoons of maple syrup (for the batter!), and the vanilla extract. Whisk until it’s all smoothly combined.
- Step 4: Mix ’em up: Pour the wet ingredients from step 3 into the dry ingredients from step 2. Using a spatula or a wooden spoon, mix them together just until everything is combined. A few small lumps are totally fine! Do not overmix, or your bars can become tough.
- Step 5: Pour and bake: Pour the batter evenly into your prepared 9×13 pan. Use your spatula to spread it out to the corners. Pop it in the preheated oven and bake for 20-25 minutes. It’s done when a toothpick inserted into the center comes out clean and edges look lightly golden.
- Step 6: Make the glaze: While the bars are baking or just after they come out, whisk together the confectioners’ sugar and 2 tablespoons of maple syrup in a small bowl. Start with 2 tablespoons of syrup. If it’s too thick, add another tablespoon, maybe even just a tiny bit more, a teaspoon at a time, until it’s a smooth, pourable consistency.
- Step 7: Glaze and set: Let the baked bars cool in the pan for about 10-15 minutes. They should still be warm, but not piping hot. Drizzle the maple glaze all over the top! Spread it around evenly if you like a full coverage look. Let the glaze sit for another 10-15 minutes to start setting up before cutting.
- Step 8: Cut and serve: Once the glaze has slightly set, use a sharp knife to cut the bars into squares right in the pan. Serve them warm!