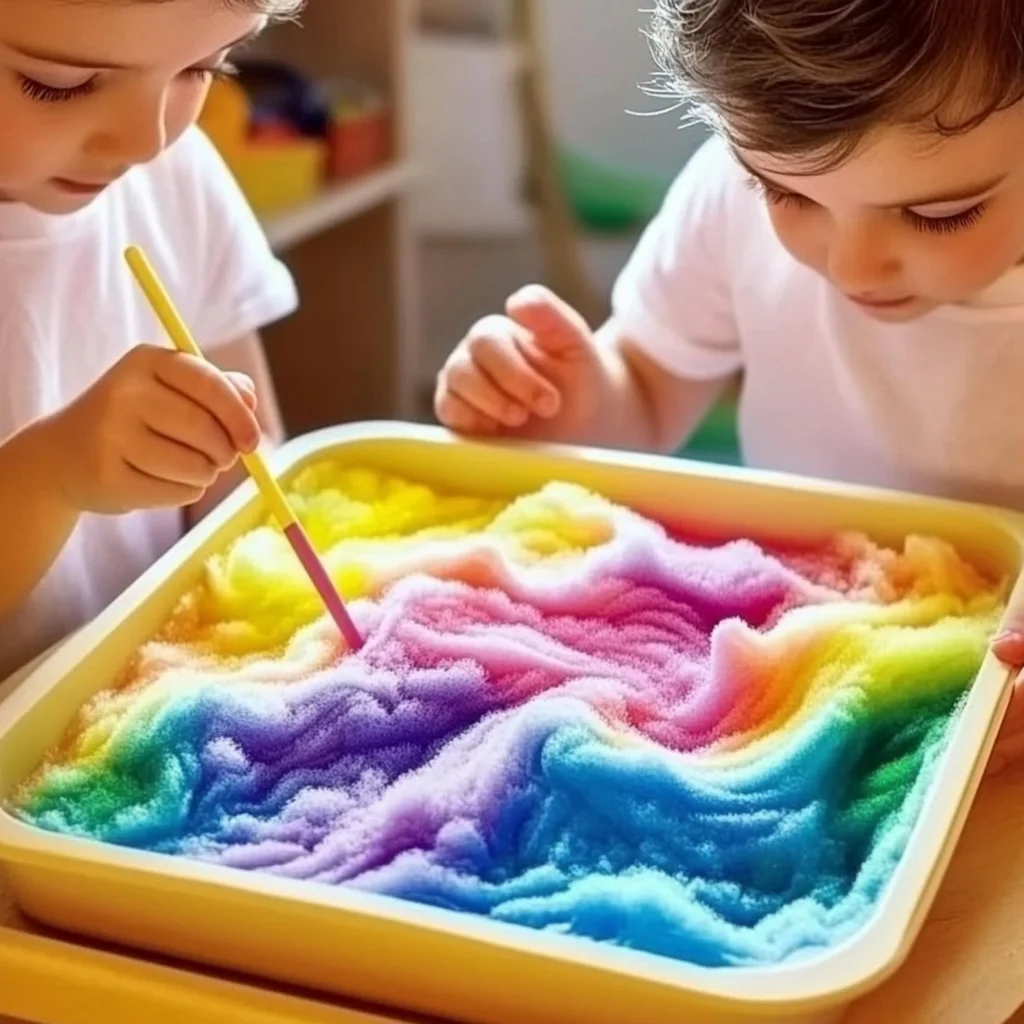
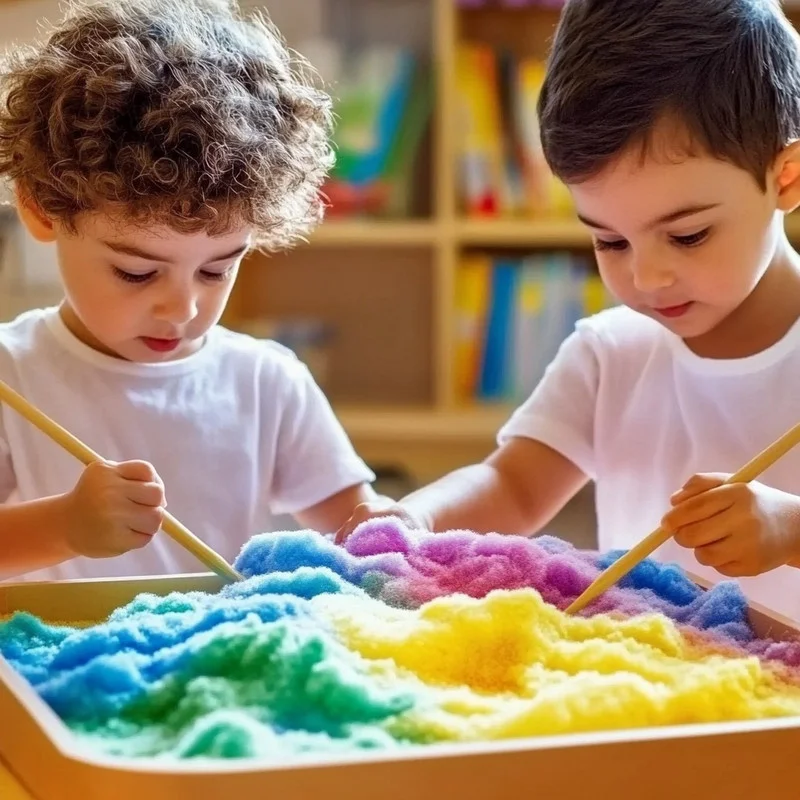
Remember those days of pure, unadulterated childhood joy? The kind where a simple combination of ingredients could lead to hours of imaginative play? Well, get ready to recapture that magic with this incredibly easy and utterly delightful Foamy Rainbow Art Tray! It’s the perfect way to add a splash of color and a whole lot of giggles to your day, whether you’re looking for a creative afternoon activity with the kids or just a fun way to unwind. Seriously, you won’t believe how simple this is!
Why You’ll Love Foamy Rainbow Art Tray
- Fast: Ready in minutes, perfect for spontaneous fun.
- Easy: Minimal ingredients and simple steps mean success every time.
- Giftable: Package the ingredients with some fun tools for a unique present!
- Crowd-pleasing: Kids and adults alike will be mesmerized by the fluffy, colorful fun.
Ingredients
Gathering the supplies for this colorful creation is a breeze. You probably have most of what you need right in your pantry or bathroom!
- 1/4 cup tear-free liquid soap or baby shampoo: The base for our fluffy foam!
- 1/2 cup warm water: To help everything mix together perfectly.
- Food coloring or liquid watercolors (red, orange, yellow, green, blue, purple): Your vibrant palette for the rainbow!
- Optional: spoons, droppers, paintbrushes, or foam rollers: For scooping, drizzling, and spreading the foam.
- Optional: white paper for print-making: If you want to turn your foamy creation into art!
How to Make Foamy Rainbow Art Tray
Alright, let’s get our hands a little messy (in the best way possible!) and create some foamy magic. Grab your ingredients and let’s dive in!
-
Get Whipping!
In a mixing bowl, combine your tear-free liquid soap or baby shampoo with the warm water. Now, here’s the fun part: grab your hand mixer and whip this mixture on high speed for about 1-2 minutes. You’re looking for stiff peaks to form, just like making meringue! This creates that lovely, light, and airy foam we’re after.
-
Color Your World
Once you have your glorious foam, it’s time to bring in the color! Divide the whipped foam into separate bowls, one for each color of the rainbow. Add a few drops of food coloring or liquid watercolors to each bowl – just one color per bowl, please! Gently mix until the colors are beautifully blended into the foam. You want vibrant, distinct colors!
-
Assemble Your Rainbow
Now, carefully scoop the colored foam into your art tray. Get creative here! You can arrange the colors in a perfect rainbow order, from red to purple, or swirl them together for a more abstract, marbled effect. The sky’s the limit with how you want to lay out your colorful masterpiece!
-
Optional Fun: Print-Making
Feeling extra crafty? For some amazing print-making, gently press a piece of white paper onto the colored foam in your tray. Carefully lift the paper away to reveal a unique print! Let these prints dry completely, and you’ll have some beautiful, colorful artwork to display. It’s a fantastic way to capture that foamy texture.
Substitutions & Additions
Want to jazz things up a bit? This recipe is super adaptable! You can experiment with different scents by adding a drop or two of essential oils (make sure they are safe for skin contact!). If you don’t have liquid watercolors, even poster paints can work in a pinch, though they might be a bit thicker. For an extra sensory experience, you could even add a tiny bit of glitter to one of the colors before mixing. It’s like making your own special version of our easy rainbow crystal jelly cake recipe, but with foam!
Tips for Success
To ensure your foamy art tray turns out perfectly, keep these little tips in mind:
- Use the right soap: A tear-free liquid soap or baby shampoo is key for safety and for creating the best foam.
- Don’t overmix the colors: Gently fold in the food coloring to keep the colors vibrant and prevent them from muddying.
- Whip it good: Make sure you whip the soap and water mixture until stiff peaks form. This is what gives you that lovely, airy texture.
- Prep ahead: You can whip the foam base ahead of time and then divide and color it just before you’re ready to play.
- Clean up is a breeze: Because it’s soap-based, cleanup is usually super easy with water!
How to Store Foamy Rainbow Art Tray
This foamy creation is best enjoyed fresh! If you have any leftover foam, you can cover the bowls tightly with plastic wrap and store them in the refrigerator for a day or two. The texture might change slightly, but it should still be fun to play with. For any art prints you made, let them dry completely and store them flat in a cool, dry place.
FAQs
Is this safe for very young children?
Yes, as long as you use tear-free baby shampoo and supervise little ones to ensure they don’t ingest the foam, it’s a safe and fun activity. The ingredients are generally non-toxic.
Can I use regular dish soap?
While you could, regular dish soap isn’t tear-free and can be drying to the skin, plus it might not foam as nicely as baby shampoo. We recommend sticking with tear-free options for the best experience.
What else can I do with the foam?
Get creative! You can use it for sensory play, art projects like the print-making mentioned, or even as a fun way to “wash” toys. It’s a versatile medium!
We hope you have an absolute blast creating your Foamy Rainbow Art Tray! It’s such a simple yet magical way to bring some colorful fun into your home. If you love discovering new and exciting recipes and craft ideas, be sure to follow us on Pinterest!

Foamy Rainbow Art Tray
Equipment
- Mixing Bowl
- Hand mixer
- Separate bowls (for colors)
- Art tray
- Spoons, droppers, paintbrushes, or foam rollers (optional)
- White paper (optional)
Ingredients
For the Foamy Rainbow Art Tray
- 1/4 cup tear-free liquid soap or baby shampoo The base for our fluffy foam!
- 1/2 cup warm water To help everything mix together perfectly.
- Food coloring or liquid watercolors red, orange, yellow, green, blue, purple - Your vibrant palette for the rainbow!
Optional Additions
- spoons, droppers, paintbrushes, or foam rollers For scooping, drizzling, and spreading the foam.
- white paper for print-making: If you want to turn your foamy creation into art!
- 1-2 drops essential oils optional, for scent (make sure they are safe for skin contact!)
- tiny bit glitter optional, for an extra sensory experience
Instructions
- Step 1: In a mixing bowl, combine your tear-free liquid soap or baby shampoo with the warm water. Now, here's the fun part: grab your hand mixer and whip this mixture on high speed for about 1-2 minutes. You're looking for stiff peaks to form, just like making meringue! This creates that lovely, light, and airy foam we're after.
- Step 2: Once you have your glorious foam, it’s time to bring in the color! Divide the whipped foam into separate bowls, one for each color of the rainbow. Add a few drops of food coloring or liquid watercolors to each bowl – just one color per bowl, please! Gently mix until the colors are beautifully blended into the foam. You want vibrant, distinct colors!
- Step 3: Now, carefully scoop the colored foam into your art tray. Get creative here! You can arrange the colors in a perfect rainbow order, from red to purple, or swirl them together for a more abstract, marbled effect. The sky's the limit with how you want to lay out your colorful masterpiece!
- Step 4: Feeling extra crafty? For some amazing print-making, gently press a piece of white paper onto the colored foam in your tray. Carefully lift the paper away to reveal a unique print! Let these prints dry completely, and you'll have some beautiful, colorful artwork to display. It’s a fantastic way to capture that foamy texture.