
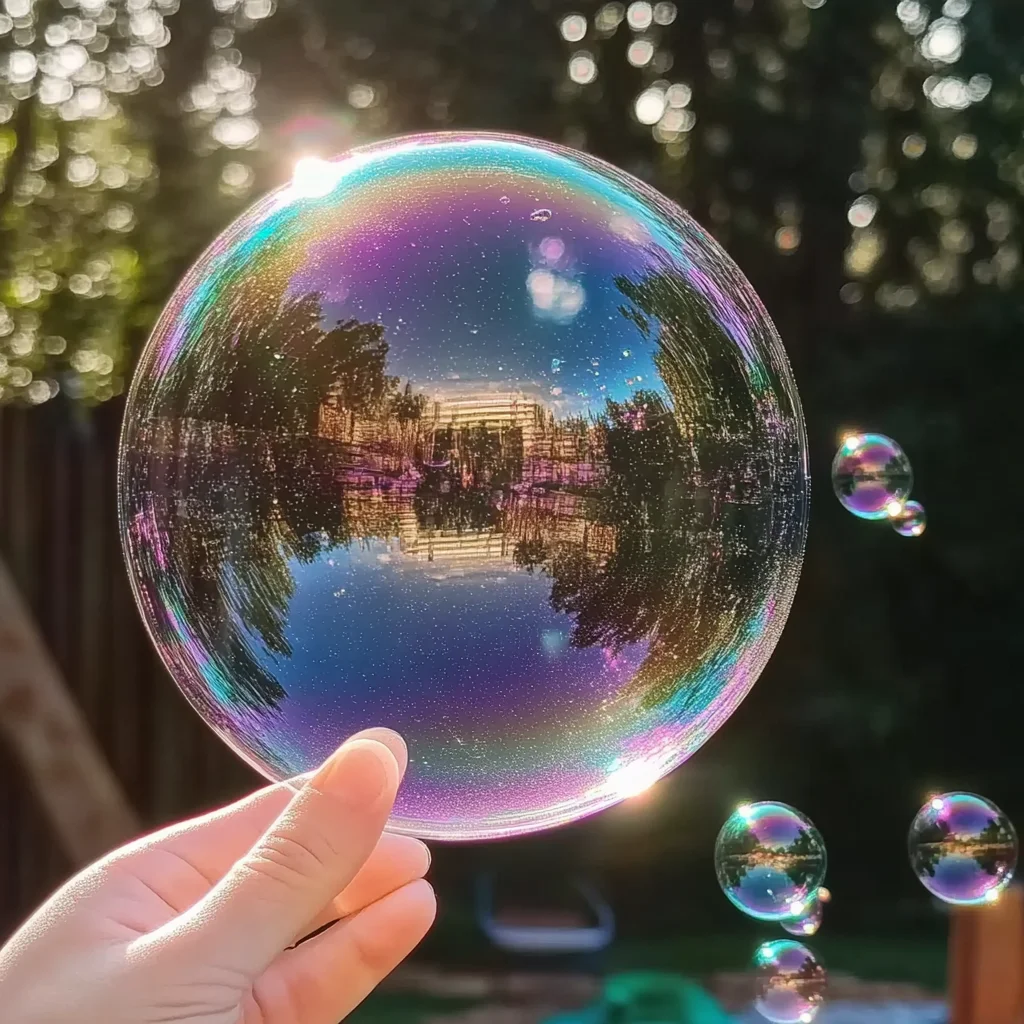
Remember those magical summer days, chasing after shimmering spheres that danced on the breeze? There’s something so pure and joyful about bubbles, isn’t there? They bring out the kid in all of us, no matter how old we are! Today, I’m so excited to share a super simple, incredibly fun recipe for making your very own “Bouncing Bubbles.” Trust me, this isn’t just any bubble recipe; these are designed for a bit of extra bounce, adding a whole new level of amazement to your bubble adventures. Get ready to create some serious magic in your backyard or even right in your kitchen!
Why You’ll Love Bouncing Bubbles
- Fast: You can whip up this solution in minutes!
- Easy: Seriously, it only takes three ingredients you probably already have.
- Giftable: Package the solution in a cute jar with some gloves for a delightful handmade gift.
- Crowd-pleasing: Kids and adults alike will be mesmerized by these bouncing bubbles.
Ingredients
Gather ’round, my friends! For this enchanting creation, you only need a few simple things:
- 1/4 cup tap water: Just good old tap water will do the trick.
- 2 tablespoons sugar: This is our secret ingredient for that extra bounce! It helps create a stronger bubble film.
- 1 tablespoon dish soap: Your regular dish soap works perfectly. A good quality one will give you the best results.
How to Make Bouncing Bubbles
Alright, let’s get down to business! This is where the real fun begins. Making these bouncing bubbles is a breeze, and you’ll be amazed at how simple it is.
- Combine the Base: Grab a small bowl. Pour in your 1/4 cup of tap water. Then, add the 2 tablespoons of sugar.
- Dissolve the Sweetness: Now, grab a spoon or whisk and stir. You want to make sure that sugar dissolves completely into the water. Keep stirring until the water looks clear and you don’t see any sugar granules at the bottom. Patience here is key for a smooth bubble solution!
- Add the Magic (Soap!): Gently, and I mean gently, stir in your 1 tablespoon of dish soap. You don’t want to create a ton of foam at this stage. Just a slow, steady stir until it’s combined. Too much agitation can make your bubbles pop too easily.
- Glove Up! This is the super fun part. Put on a pair of gloves. Any kind will do – latex, nitrile, or even those fuzzy winter gloves (though the latex ones work best for blowing!).
- Let the Bouncing Begin! Dip your gloved fingers into the bubble solution. Then, all you need to do is blow gently through the gloves. Watch in amazement as beautiful, bouncy bubbles form and float away! It’s like a little bit of science magic happening right before your eyes. For an extra dose of fun, check out our guide on how to make glow-in-the-dark bubbles for even more dazzling effects!
Substitutions & Additions
Want to customize your bouncing bubbles? I love experimenting, and you can too!
- For Stronger Bubbles: Some folks swear by adding a tablespoon of corn syrup or glycerin to bubble solutions for extra elasticity. I haven’t tried it with this specific recipe, but it’s a fun experiment if you have some on hand!
- Color Your World: You can add a drop or two of food coloring to the solution for colorful bubbles. Just remember, it might transfer slightly onto your gloves or surfaces.
- Scented Bubbles: Add a tiny drop of essential oil for a lovely scent. Lavender or a citrus oil would be delightful!
- Glow-in-the-Dark Fun: For an extra magical touch, consider making glow-in-the-dark bubbles! It’s a different recipe but incredibly rewarding for evening fun.
Tips for Success
Even the simplest recipes can have little tricks to make them perfect. Here are my go-to tips:
- Let it Rest: If you have time, letting the bubble solution sit for an hour or even overnight can sometimes improve bubble strength.
- Gentle Mixing is Key: As I mentioned, avoid vigorous stirring. You want to incorporate the ingredients without creating too much foam.
- The Right Gloves: Thinner gloves allow for better control and create more consistent bubble shapes.
- Humidity Helps: Bubbles tend to form better on humid days. If it’s dry, try doing this near a sprinkler or after a light rain.
- Practice Blows: It might take a few tries to get the perfect blowing technique through the gloves. Don’t get discouraged; the results are worth it!
How to Store Bouncing Bubbles
Finished blowing bubbles for the day? Don’t let that magical solution go to waste!
- Pour the remaining bubble solution back into a clean, airtight container or bottle. A mason jar with a lid works wonderfully.
- Store it in a cool, dark place, like a cupboard.
- The solution should last for about 1-2 weeks, though it’s always best to make a fresh batch for the strongest bubbles. If it starts to look cloudy or develops an off smell, it’s time for a new batch.
FAQs
Got questions? I’ve got answers!
Q: Can I use a different kind of soap?
A: While dish soap is ideal, some people have had success with certain liquid hand soaps. Experiment with caution, as not all soaps create the same bubble quality.
Q: My bubbles keep popping! What am I doing wrong?
A: This could be due to a few things: not dissolving the sugar completely, stirring the soap in too vigorously, or the dryness of the air. Try the tips above, especially gentle mixing and letting the solution rest.
Q: Can kids make this by themselves?
A: With supervision, yes! It’s a great activity for kids to help with, especially the mixing part. Just ensure they don’t drink the solution.
Q: What else can I do with bubble solution?
A: Beyond blowing them, you can use bubble solution for science experiments, like making baking soda and vinegar fireworks for a colorful display, or even for sensory play with cornstarch and dish soap for a unique bubble dough.
I hope you have as much fun making and playing with these Bouncing Bubbles as I do! It’s such a simple way to add a little extra joy and wonder to your day. For more delightful DIYs and recipes, be sure to check out our Pinterest!
Bouncing Bubbles
Equipment
- Small bowl
- Spoon or whisk
- Gloves
Ingredients
- 1/4 cup tap water
- 2 tablespoons sugar secret ingredient for bounce
- 1 tablespoon dish soap good quality recommended
Instructions
- Step 1: Grab a small bowl. Pour in your 1/4 cup of tap water. Then, add the 2 tablespoons of sugar.
- Step 2: Now, grab a spoon or whisk and stir. You want to make sure that sugar dissolves completely into the water. Keep stirring until the water looks clear and you don't see any sugar granules at the bottom. Patience here is key for a smooth bubble solution!
- Step 3: Gently, and I mean gently, stir in your 1 tablespoon of dish soap. You don’t want to create a ton of foam at this stage. Just a slow, steady stir until it’s combined. Too much agitation can make your bubbles pop too easily.
- Step 4: Put on a pair of gloves. Any kind will do – latex, nitrile, or even those fuzzy winter gloves (though the latex ones work best for blowing!).
- Step 5: Dip your gloved fingers into the bubble solution. Then, all you need to do is blow gently through the gloves. Watch in amazement as beautiful, bouncy bubbles form and float away! It’s like a little bit of science magic happening right before your eyes.