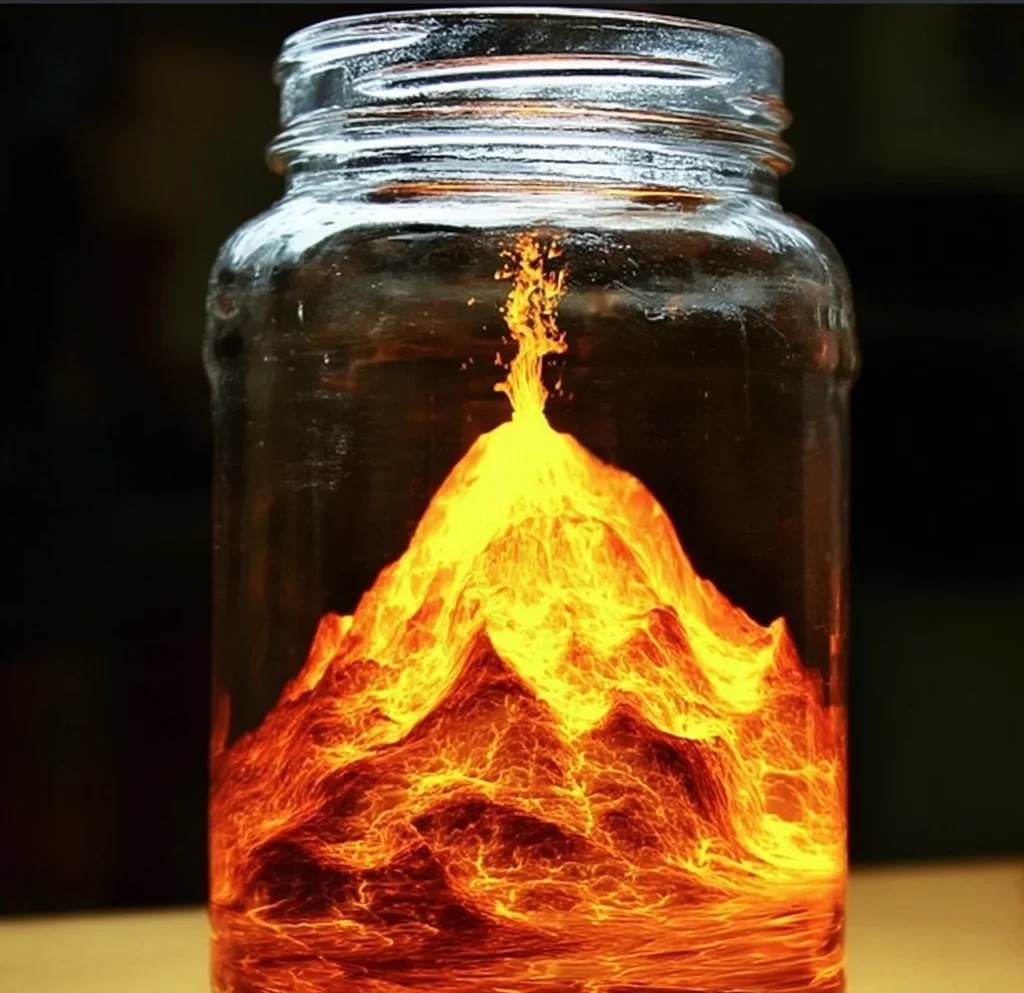
Do you remember those classic science fair volcanoes? The ones that bubbled and frothed like real lava? There’s something so magical about watching that simple chemical reaction unfold. While a full-scale model might take some time, I’ve got a little trick up my sleeve for bringing that same erupting excitement right into your kitchen, classroom, or even a rainy-day afternoon! This Mini Volcano in a Jar is ridiculously easy, uses stuff you probably already have, and delivers maximum “wow” factor with minimal effort. It’s the perfect way to spark a little scientific curiosity and have a whole lot of messy fun!
Why You’ll Love MINI VOLCANO IN A JAR – ERUPTING SCIENCE FUN
- Fast: Seriously, this takes minutes to set up and seconds to erupt! Instant gratification!
- Easy: If you can measure and pour, you can make this volcano happen. No complex steps here.
- Giftable: Pop the dry ingredients in a cute jar with a tag explaining the experiment and include a small bottle of vinegar for an adorable science kit gift!
- Crowd-pleasing: Kids (and let’s be honest, adults!) will gather around to watch the bubbly action. Perfect for playdates or a quick party activity.
Ingredients
Gathering your supplies for this little eruption is probably the easiest part. You likely have everything you need hiding in your pantry and recycling bin!
- 1 small jar or clear plastic bottle: An empty jelly jar, a small water bottle, or even a sturdy plastic cup works great. Clear is best so you can see the magic!
- Baking soda (about 2 tablespoons): The unsung hero of many science experiments (and cookies!).
- Vinegar (1/4 cup): Any basic white vinegar from your pantry will do the trick.
How to Make MINI VOLCANO IN A JAR – ERUPTING SCIENCE FUN
Alright, let’s get this eruption party started! Follow these simple steps, and prepare for some bubbly excitement.
- First things first, find a spot where a little overflow is okay. I always recommend placing your jar or bottle on a tray, baking sheet, or even outside on the grass. This way, any “lava” that escapes the top is easily contained.
- Now, carefully add about 2 tablespoons of baking soda into the bottom of your jar. Don’t worry too much about being exact here, but around two tablespoons is a good starting point for a nice reaction.
- Get your vinegar ready! Slowly and steadily pour in about 1/4 cup of vinegar. This is the exciting part, so make sure everyone is watching!
- Watch the magic happen! As the vinegar meets the baking soda, you’ll see bubbles form rapidly and the mixture will fizz and erupt out of the top of the jar, just like a real volcano!

Substitutions & Additions
While the basic baking soda and vinegar reaction is cool on its own, you can totally jazz things up! Here are a few ideas:
- Make it colorful: Add a few drops of food coloring to the vinegar before you pour it in. Red or orange makes for convincing “lava”!
- Add glitter: For a sparkly eruption, sprinkle a little craft glitter into the baking soda before adding the vinegar. It adds a fun, unexpected touch.
- Foamy Eruption: Add a tiny squirt of dish soap (just a drop or two!) to the baking soda. This will trap the gas bubbles, creating a longer-lasting, foamy overflow.
- Different Containers: Experiment with different sized jars or bottles to see how the eruption changes. A narrower neck might shoot the eruption higher!
This simple experiment is a fantastic jumping-off point for all sorts of fun, hands-on activities. Just like we enjoyed creating easy DIY bioplastic suncatchers or easy homemade worry stones, this mini volcano is a great way to spend quality time exploring and creating.
Tips for Success
This experiment is pretty foolproof, but here are a couple of tips to make sure your eruption is a showstopper:
- Use Fresh Ingredients: While baking soda and vinegar last a while, using relatively fresh boxes and bottles ensures the strongest reaction.
- Don’t Pack the Baking Soda: Just spoon it in loosely. Packing it down might slow down the reaction.
- Experiment with Ratios: Want a bigger eruption? Try adding a little more baking soda or a little more vinegar! It’s fun to see how the amounts change the result.
- Easy Cleanup: Remember that tray! Cleanup is usually just wiping down the tray and rinsing the jar.
Exploring simple science concepts can be as engaging as whipping up a tasty treat like an easy edible aquarium or making glow in the dark bubbles. They’re all about bringing a little extra fun and wonder into the everyday!
How to Store MINI VOLCANO IN A JAR – ERUPTING SCIENCE FUN
Well, the “eruption” part of the experiment is pretty immediate and temporary! Once the fizzing stops, the reaction is over. You can simply rinse out your jar and let it dry to use again. Store your baking soda and vinegar in their original containers in your pantry, ready for the next eruption… or baking project!
FAQs
Got questions? Let’s tackle a couple of common ones!
Q: Why does baking soda and vinegar erupt?
A: It’s a simple chemical reaction! Baking soda is a base and vinegar is an acid. When you mix them, they create a gas called carbon dioxide (the same stuff we exhale and that makes soda fizzy!). This gas needs space, and when it’s trapped in the jar, it pushes its way out, creating the eruption!
Q: Is it safe for kids?
A: Yes, absolutely! Baking soda and vinegar are common household items. It’s non-toxic, but it’s always best to supervise young children, especially with the pouring and potential mess.
Q: Can I reuse the leftover liquid?
A: The reaction is finished once the fizzing stops, and the resulting liquid is mostly just water, sodium acetate (a salt), and leftover vinegar/baking soda. It won’t cause another eruption, but it’s safe to pour down the drain.
Looking for more fun ideas and delicious recipes? Follow Food Knight on Pinterest!
Mini Volcano in a Jar – Erupting Science Fun
Equipment
- Small jar or clear plastic bottle
- Tray or baking sheet (for cleanup)
Ingredients
Mini Volcano Ingredients
- 1 small jar or clear plastic bottle or sturdy plastic cup; clear is best
- 2 tablespoons Baking soda about
- 1/4 cup Vinegar Any basic white vinegar
Instructions
- Step 1: Find a spot where a little overflow is okay, such as on a tray, baking sheet, or outside on the grass, to contain any mess.
- Step 2: Carefully add about 2 tablespoons of baking soda into the bottom of your jar. Don’t worry too much about being exact, but around two tablespoons is a good starting point.
- Step 3: Get your vinegar ready! Slowly and steadily pour in about 1/4 cup of vinegar. This is the exciting part!
- Step 4: Watch the magic happen! As the vinegar meets the baking soda, you’ll see bubbles form rapidly and the mixture will fizz and erupt out of the top of the jar, just like a real volcano!