
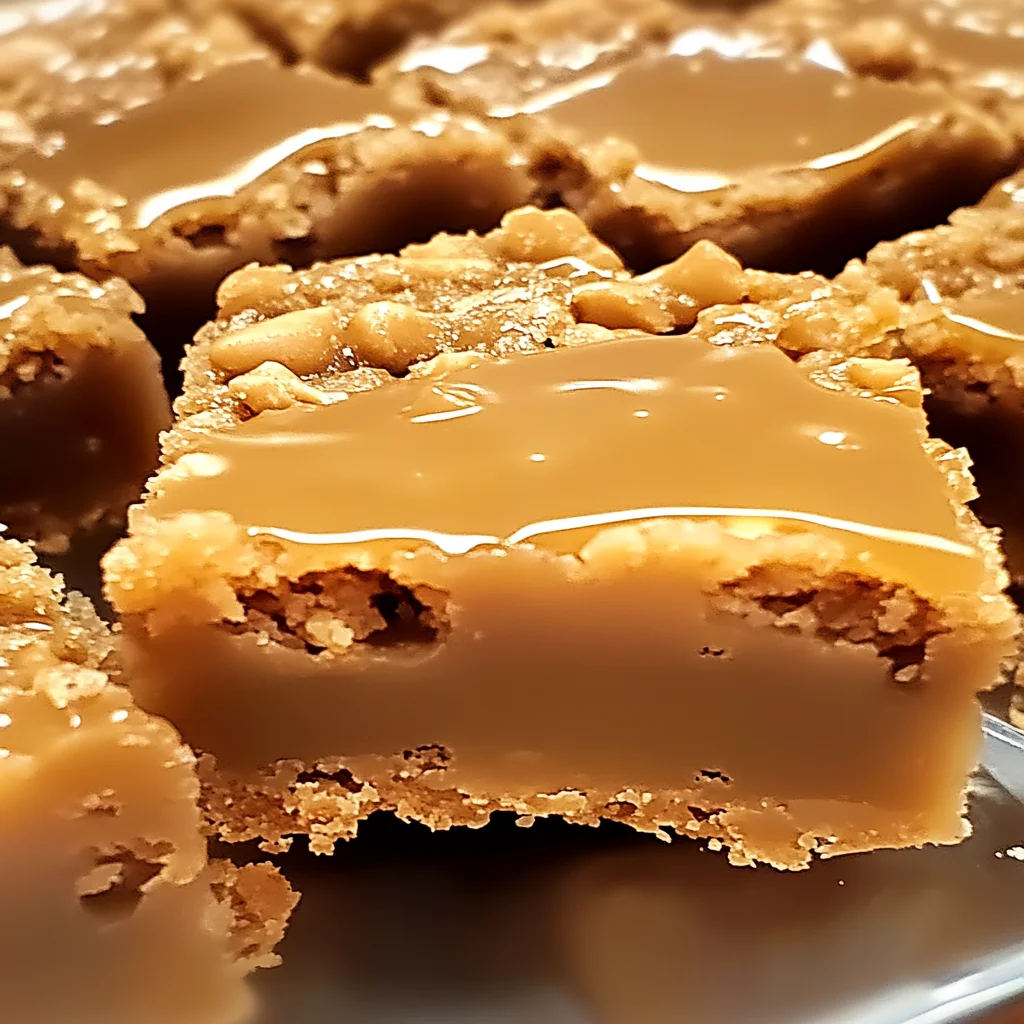
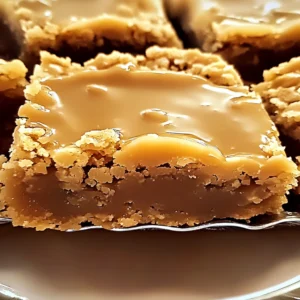
Oh, those school days! Remember the sweet, comforting treats from the lunch ladies? They had a way of making even a Tuesday feel special. Well, get ready to recapture that magic because today, we’re diving into a recipe that’s pure comfort food: Peanut Butter Lunch Lady Cookie Bars. These aren’t just cookies; they’re a warm hug, a sweet memory, and honestly, they’re ridiculously easy to make. If you’re looking for a treat that’s sure to be a hit with everyone, from little ones to grown-ups, you’ve found it!
Why You’ll Love Peanut Butter Lunch Lady Cookie Bars
- Fast: Whip these up in no time! Perfect for when a craving strikes.
- Easy: Seriously, the steps are so straightforward, you’ll be amazed.
- Giftable: Package them up and share the love. They make fantastic homemade gifts!
- Crowd-pleasing: Peanut butter and frosting? It’s a universally loved combination.
Ingredients
Gather ’round, bakers! Here’s what you’ll need to create these delightful bars. It’s pretty standard stuff, which is part of their charm.
- 1 cup unsalted butter, melted (The foundation of our buttery goodness!)
- 1 cup creamy peanut butter (Use your favorite brand, but creamy is key here!)
- 1 cup granulated sugar (For that classic sweetness.)
- 1 cup packed light brown sugar (Adds a lovely moisture and caramel note.)
- 2 large eggs (The binder that holds it all together.)
- 2 teaspoons vanilla extract (A splash of warmth and depth.)
- 2 cups all-purpose flour (The structure of our delicious bars.)
- 1 teaspoon baking powder (Gives them just the right lift.)
- 1/2 teaspoon salt (Balances all that sweetness beautifully.)
For the Dreamy Frosting:
- 1/2 cup creamy peanut butter (Because more peanut butter is always a good idea!)
- 1/4 cup unsalted butter, softened (For a creamy, spreadable texture.)
- 2 cups powdered sugar (The sweet clouds of frosting bliss.)
- 1/4 cup milk (You might need a little more or less, depending on your desired consistency.)
- 1 teaspoon vanilla extract (Because frosting deserves a little extra vanilla love.)
How to Make Peanut Butter Lunch Lady Cookie Bars
Alright, let’s get our hands a little flour-dusted and make some magic happen! This recipe is designed to be super approachable, so don’t be shy.
- Preheat and Prep: First things first, preheat your oven to 350°F (175°C). While that’s warming up, grab a 9×13-inch baking dish. You can grease it well or line it with parchment paper for super easy removal later. Trust me, parchment paper is a lifesaver!
- Melt and Mix the Base: In a nice big bowl, pour in your melted butter and your creamy peanut butter. Give it a good stir until it’s all smooth and well combined. It should look like delicious, creamy peanut butter sunshine.
- Cream it Up: Now, add in your granulated sugar, packed light brown sugar, both eggs, and that lovely vanilla extract. Get your mixer (or your arm power!) going and beat it all together until it’s nice and fluffy. This step really builds the texture.
- Dry Ingredients Unite: In a separate bowl, whisk together your flour, baking powder, and salt. This ensures everything is evenly distributed. Then, gradually add these dry ingredients to your wet mixture. Mix until it’s just combined. Don’t overmix here; we want tender bars, not tough ones!
- Spread the Love: Pour or spoon your cookie dough into your prepared baking dish. Use a spatula or the back of a spoon to spread it out evenly. Make sure it reaches all the corners so you get deliciousness in every bite.
- Bake to Perfection: Pop that dish into your preheated oven. Bake for about 22–25 minutes. You’ll know they’re ready when the edges are golden brown and a toothpick inserted into the center comes out clean.
- Cool Down: This is a tough but crucial step: let the bars cool completely in the pan. I know, I know, the smell is intoxicating, but frosting hot bars is a recipe for a melty mess!
- Whip Up the Frosting: While your bars are cooling, let’s make the frosting. In another bowl, beat together the 1/2 cup of peanut butter and the softened butter until it’s wonderfully smooth.
- Sweeten and Smooth: Add in your powdered sugar, milk, and the remaining vanilla extract. Mix it all up. If it seems a little too thick, add another tablespoon of milk at a time until you get a nice, spreadable consistency. I love a good, thick frosting, so I usually aim for something that holds its shape.
- Frost and Slice: Once your bars are completely cool, spread that glorious peanut butter frosting evenly over the top. Then, slice them into squares. Admire your handiwork, slice ’em up, and get ready to enjoy!
Substitutions & Additions
Feel free to get creative with these bars! They’re already amazing, but a little tweak can make them even more you.
- Peanut Butter Love: Crunchy peanut butter works too if you prefer a little texture. You could also experiment with almond butter or sunflower seed butter for a different flavor profile.
- Chocolate Drizzle: Melt some chocolate chips (milk, dark, or white!) and drizzle them over the frosting for an extra decadent touch.
- Candy Crush: Chop up some peanut butter cups or M&Ms and press them into the frosting. Oh my goodness, so good!
- Jam Session: If you’re feeling adventurous, consider swirling some blueberry jalapeno jam or raspberry honey butter into the batter before baking for a fruity surprise.
Tips for Success
A few little pointers to make your Peanut Butter Lunch Lady Cookie Bars absolutely perfect every time.
- Room Temperature Eggs: Using room temperature eggs helps them incorporate more smoothly into the batter, leading to a better texture.
- Don’t Overbake: Keep an eye on the oven, especially towards the end. Overbaked bars can become dry. A few golden edges are perfect.
- Cool Completely: I can’t stress this enough! Patience is key for that clean frosting layer.
- Prep Ahead: You can easily bake the bars a day in advance. Store them in an airtight container at room temperature. Frost them just before serving or a few hours beforehand.
- For a Chewier Bar: Slightly underbaking can also contribute to a chewier bar. Just make sure the center is set, not gooey.
How to Store Peanut Butter Lunch Lady Cookie Bars
These bars are best enjoyed fresh, but they do store well for a few days. You can keep them in an airtight container at room temperature for up to 3 days. If your kitchen is particularly warm, or if you’ve added a chocolate drizzle that might melt, storing them in the refrigerator for up to a week is a good idea. Just let them come to room temperature for a few minutes before enjoying for the best texture and flavor!
FAQs
Are these bars gluten-free?
Not as written, but you can easily make them gluten-free by substituting a 1:1 gluten-free all-purpose flour blend for the regular flour. Just make sure your blend contains xanthan gum.
Can I use store-bought frosting?
While this homemade peanut butter frosting is divine and super easy, you absolutely could use your favorite store-bought peanut butter frosting in a pinch. Just make sure you have enough to generously cover the bars!
How do I get clean cuts?
Ensure the bars are completely cooled before frosting. After frosting, chill the entire pan in the refrigerator for about 15-20 minutes before slicing. Use a sharp knife, wiping it clean between cuts for the neatest results.
These Peanut Butter Lunch Lady Cookie Bars are a little taste of sunshine and nostalgia. They’re perfect for bake sales, school lunches, or just an after-school snack. Give them a try, and I promise, you’ll be making them again and again! Don’t forget to follow our Pinterest for even more delicious recipes!
Nostalgic Peanut Butter Lunch Lady Cookie Bars
Equipment
- 9x13-inch baking dish
- Parchment Paper (optional)
- large bowl
- Electric mixer or whisk
- Separate bowl
- Spatula
- Knife
Ingredients
For the Cookie Bars
- 1 cup unsalted butter melted
- 1 cup creamy peanut butter Use your favorite brand, but creamy is key here!
- 1 cup granulated sugar
- 1 cup packed light brown sugar
- 2 large eggs
- 2 teaspoons vanilla extract
- 2 cups all-purpose flour
- 1 teaspoon baking powder
- 1/2 teaspoon salt
For the Dreamy Frosting
- 1/2 cup creamy peanut butter Because more peanut butter is always a good idea!
- 1/4 cup unsalted butter softened
- 2 cups powdered sugar
- 1/4 cup milk You might need a little more or less, depending on your desired consistency.
- 1 teaspoon vanilla extract Because frosting deserves a little extra vanilla love.
Instructions
- Step 1: First things first, preheat your oven to 350°F (175°C). While that's warming up, grab a 9x13-inch baking dish. You can grease it well or line it with parchment paper for super easy removal later. Trust me, parchment paper is a lifesaver!
- Step 2: In a nice big bowl, pour in your melted butter and your creamy peanut butter. Give it a good stir until it’s all smooth and well combined. It should look like delicious, creamy peanut butter sunshine.
- Step 3: Now, add in your granulated sugar, packed light brown sugar, both eggs, and that lovely vanilla extract. Get your mixer (or your arm power!) going and beat it all together until it's nice and fluffy. This step really builds the texture.
- Step 4: In a separate bowl, whisk together your flour, baking powder, and salt. This ensures everything is evenly distributed. Then, gradually add these dry ingredients to your wet mixture. Mix until it's just combined. Don't overmix here; we want tender bars, not tough ones!
- Step 5: Pour or spoon your cookie dough into your prepared baking dish. Use a spatula or the back of a spoon to spread it out evenly. Make sure it reaches all the corners so you get deliciousness in every bite.
- Step 6: Pop that dish into your preheated oven. Bake for about 22–25 minutes. You'll know they're ready when the edges are golden brown and a toothpick inserted into the center comes out clean.
- Step 7: This is a tough but crucial step: let the bars cool completely in the pan. I know, I know, the smell is intoxicating, but frosting hot bars is a recipe for a melty mess!
- Step 8: While your bars are cooling, let's make the frosting. In another bowl, beat together the 1/2 cup of peanut butter and the softened butter until it’s wonderfully smooth.
- Step 9: Add in your powdered sugar, milk, and the remaining vanilla extract. Mix it all up. If it seems a little too thick, add another tablespoon of milk at a time until you get a nice, spreadable consistency. I love a good, thick frosting, so I usually aim for something that holds its shape.
- Step 10: Once your bars are completely cool, spread that glorious peanut butter frosting evenly over the top. Then, slice them into squares. Admire your handiwork, slice 'em up, and get ready to enjoy!