
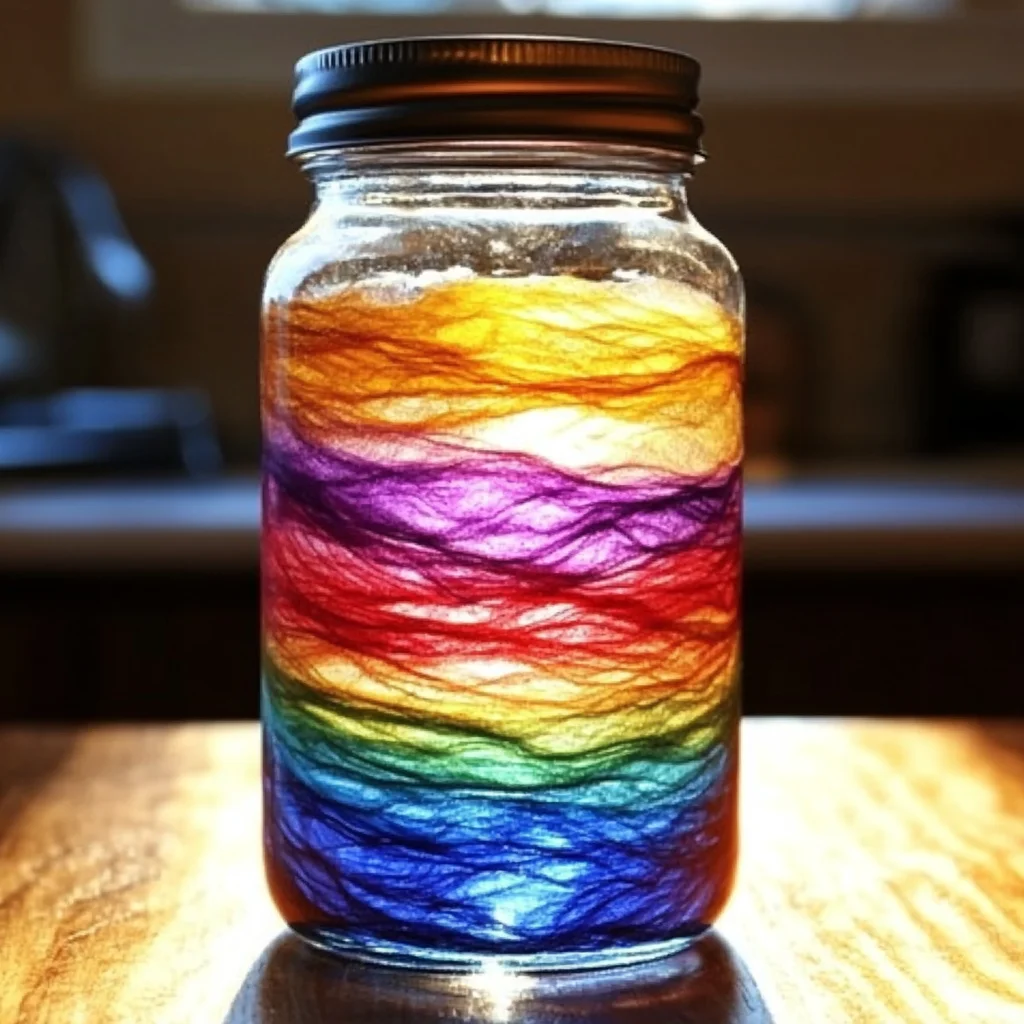
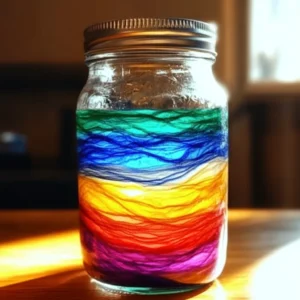
Remember those days when simple things brought so much joy? For me, it was watching colors dance and swirl. This Rainbow-in-a-Jar Sensory Bottle is a little bit of magic, capturing that wonder in a bottle! It’s incredibly easy to make, a perfect activity for a rainy afternoon or a fun craft to do with the kids. You’ll have a vibrant, mesmerizing creation in no time!
Why You’ll Love This Rainbow-in-a-Jar Sensory Bottle
- Fast: You can whip this up in under 15 minutes!
- Easy: Perfect for even the littlest crafters with a little supervision.
- Giftable: Imagine making these for party favors or as a thoughtful handmade gift!
- Crowd-pleasing: Kids and adults alike will be fascinated by the swirling colors.
Ingredients
Gathering your supplies is a breeze. Here’s what you’ll need:
- Clear plastic jar or bottle with a tight-fitting lid: Make sure it’s clean and dry. A mason jar works great, but any clear plastic bottle will do.
- Water: The base for our colorful layers.
- Vegetable oil or baby oil: This is what makes the magic happen, creating those distinct layers! Baby oil tends to be a bit clearer.
- Food coloring: Grab a few vibrant colors like red, orange, yellow, green, blue, and purple to create your rainbow effect.
- Glitter (optional): For an extra touch of sparkle and shimmer.
- Funnel (optional): Makes pouring the oil a little less messy.
- Spoon or craft stick (optional): To help mix the colors in the water.
How to Make Rainbow-in-a-Jar Sensory Bottle
Let’s get crafting! It’s as simple as 1, 2, 3… and a few more easy steps.
- Prep Your Container: First things first, make sure your plastic jar or bottle is squeaky clean and completely dry. Any leftover moisture might make the oil and water mix a bit too soon.
- Add the Water: Fill your jar about one-third of the way full with plain water.
- Color Your World: Now for the fun part! Add your food coloring, one color at a time, to the water. I like to add a few drops of each rainbow color (red, orange, yellow, green, blue, purple) to create distinct layers. Give it a gentle stir with your spoon or craft stick to mix the colors evenly in the water.
- Pour in the Oil: Carefully pour your vegetable oil or baby oil into the jar until it’s almost full. If you have a funnel, now’s a good time to use it! You’ll see the oil and water separate beautifully.
- Add Some Sparkle (Optional): If you want to add that extra bit of magic, sprinkle a small amount of glitter into the bottle. It looks so pretty when it catches the light!
- Seal It Tight: Firmly screw the lid onto the jar. Make sure it’s super secure so nothing leaks out.
- Let the Show Begin: Gently shake the jar. Watch as the colors swirl and dance, then slowly settle back into their beautiful layers. It’s so mesmerizing to watch!
This process reminds me a bit of how flavors meld in a delicious dish, like my blueberry lemon ricotta pancakes – simple ingredients coming together to create something wonderful!
Substitutions & Additions
Feel free to get creative! Here are a few ideas to make your sensory bottle even more special:
- Different Liquids: While water and oil are classic, you could experiment with glycerin for a slower swirl effect.
- Themed Glitter: Use themed glitter like stars, hearts, or even tiny plastic sea creatures if you’re going for an ocean theme.
- Small Objects: You could add small, non-toxic plastic toys, beads, or sequins for extra visual interest. Just make sure they don’t float to the top or sink too quickly.
- More Colors: Don’t be afraid to add more shades of food coloring or even create gradients within your water layer.
Tips for Success
Here are a few little tricks to make sure your sensory bottle turns out perfectly:
- Don’t Overfill: Leave a little space at the top to allow the liquids to move freely when shaken.
- Secure the Lid: If you’re worried about the lid coming loose, you can use a strong glue or even some tape to seal it shut once you’re happy with it. This is especially important if little ones will be playing with it unsupervised.
- Gentle Shaking: Encourage gentle shaking rather than vigorous shaking to see the best swirling effects.
- Prep Ahead: You can prepare the colored water portion in advance and store it in a separate container, then assemble the bottle when you’re ready to play.
Making sensory bottles is such a calming activity, much like the peace I find when making a simple easy chicken scampi rice dish. It’s about the process and the delightful result!
How to Store Rainbow-in-a-Jar Sensory Bottle
These sensory bottles are quite durable and can be stored for a long time! Simply keep them upright at room temperature. As long as the lid is securely sealed, the colors should remain vibrant, and the oil and water layers will stay separated. If you notice any cloudiness over time, a gentle shake usually clears it right up.
FAQs
Here are some common questions about making these fun jars:
- Can I use rubbing alcohol instead of oil? While rubbing alcohol will also separate from water, it evaporates quickly and can be harsh. Oil is a much safer and more effective option for a long-lasting sensory bottle.
- My colors are mixing together too quickly. What did I do wrong? Make sure you’re adding the oil after the water and colors are mixed and stirred. Also, try to pour the oil in slowly and steadily, rather than all at once.
- Is this safe for babies? Yes, with adult supervision and a securely sealed lid, it’s a wonderful sensory toy. Always ensure the lid is tightly fastened to prevent any accidental ingestion of the contents.
I hope you have as much fun making this Rainbow-in-a-Jar Sensory Bottle as we do! It’s a simple craft that brings a lot of wonder. If you’re looking for more creative ideas, be sure to check out our collection of fun crafts and recipes!
Follow us on Pinterest for more delightful DIYs and delicious recipes!
Rainbow-in-a-Jar Sensory Bottle
Equipment
- Clear plastic jar or bottle with a tight-fitting lid
- Funnel (optional)
- Spoon or craft stick (optional)
Ingredients
- Clear plastic jar or bottle with a tight-fitting lid Make sure it's clean and dry. A mason jar works great, but any clear plastic bottle will do.
- 1/3 jar Water The base for our colorful layers.
- Vegetable oil or baby oil This is what makes the magic happen, creating those distinct layers! Baby oil tends to be a bit clearer.
- Food coloring Grab a few vibrant colors like red, orange, yellow, green, blue, and purple to create your rainbow effect.
- Glitter optional, for an extra touch of sparkle and shimmer.
Instructions
- Step 1: First things first, make sure your plastic jar or bottle is squeaky clean and completely dry. Any leftover moisture might make the oil and water mix a bit too soon.
- Step 2: Fill your jar about one-third of the way full with plain water.
- Step 3: Now for the fun part! Add your food coloring, one color at a time, to the water. I like to add a few drops of each rainbow color (red, orange, yellow, green, blue, purple) to create distinct layers. Give it a gentle stir with your spoon or craft stick to mix the colors evenly in the water.
- Step 4: Carefully pour your vegetable oil or baby oil into the jar until it's almost full. If you have a funnel, now's a good time to use it! You'll see the oil and water separate beautifully.
- Step 5: If you want to add that extra bit of magic, sprinkle a small amount of glitter into the bottle. It looks so pretty when it catches the light!
- Step 6: Firmly screw the lid onto the jar. Make sure it’s super secure so nothing leaks out.
- Step 7: Gently shake the jar. Watch as the colors swirl and dance, then slowly settle back into their beautiful layers. It’s so mesmerizing to watch!