
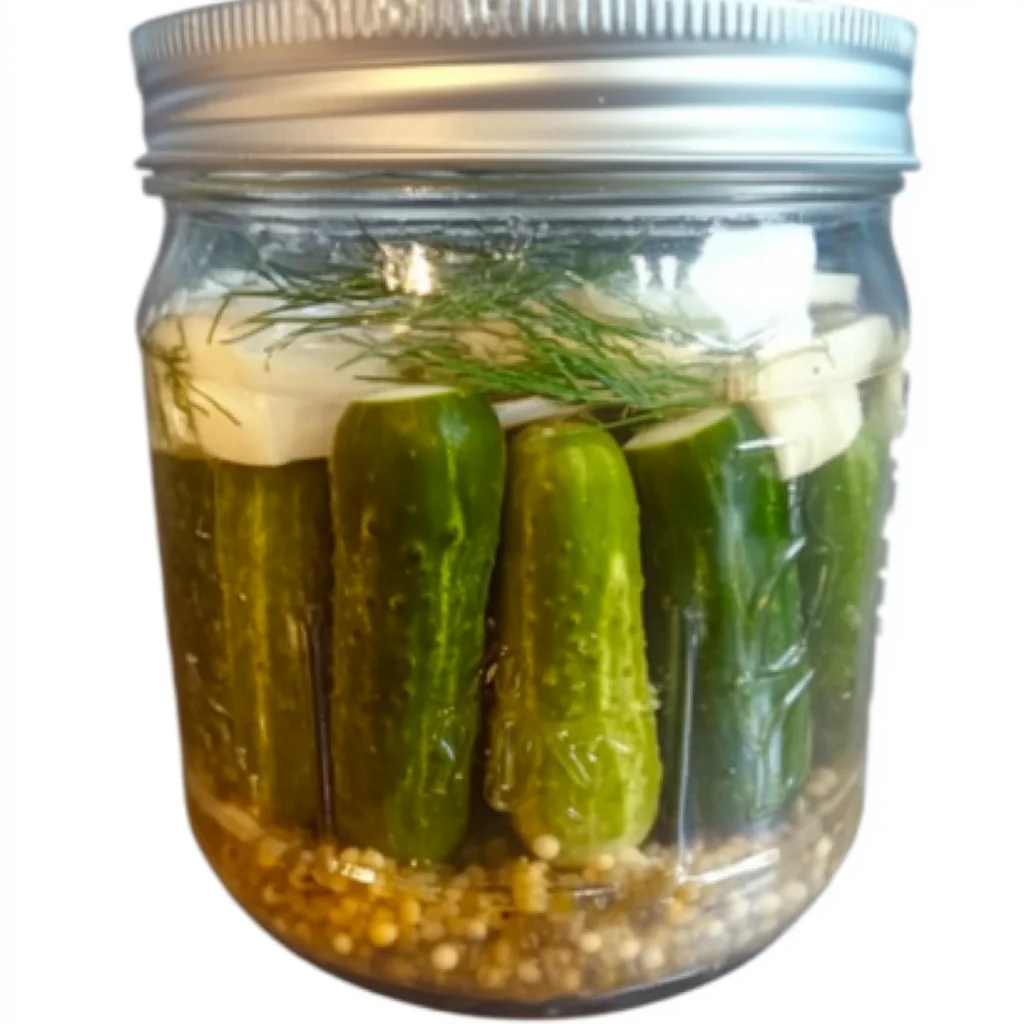
Remember those perfectly crunchy dill pickles that just hit the spot on a hot summer day, or as a tangy addition to your favorite sandwich? Well, get ready to recreate that magic right in your own kitchen! There’s something so incredibly satisfying about making your own pickles, and this refrigerated dill pickle recipe is an absolute game-changer. It’s so easy, so quick, and the flavor? Out of this world!
I can still recall my grandma making jars and jars of these in her kitchen, the sweet aroma of dill and vinegar filling the air. Making them myself brings back all those wonderful memories, and now you can create your own delicious memories too. Plus, they make fantastic gifts!
Why You’ll Love Refrigerated Dill Pickles
- Fast: Seriously, from start to finish, these are incredibly speedy to make.
- Easy: No complicated techniques here, just simple steps anyone can follow.
- Giftable: Package them up pretty, and you’ve got an amazing homemade gift for friends and family.
- Crowd-pleasing: Who doesn’t love a good, crunchy dill pickle? They’re always a hit!
Ingredients
Gather ’round, kitchen wizards! Here’s what you’ll need to whip up these delightful pickles:
- 3 medium cucumbers: Choose firm, fresh cucumbers for the best crunch. Kirby cucumbers are fantastic for pickling!
- 1 1/2 cups white vinegar: This is the tangy base that gives pickles their signature bite.
- 1 cup water: To balance out the vinegar.
- 2 tablespoons salt: We like to use pickling salt or kosher salt for the best results, as it dissolves cleanly.
- 1 tablespoon sugar: Just a touch to round out the flavors and balance the salt and vinegar.
- 6-8 sprigs fresh dill: Fresh dill is key for that classic dill pickle flavor. Don’t skimp!
- 1 1/2 teaspoons mustard seeds: These little guys add a subtle peppery note and a touch of authenticity.
- 3 pint jars, cleaned: Make sure your jars are sparkling clean and sterilized for the best storage.
How to Make Refrigerated Dill Pickles
Alright, let’s get our hands inky (with brine, not ink!). Follow these simple steps:
- Slice ’em Up: Start by washing your cucumbers well. Then, slice them into spears. You can slice them lengthwise, or into rounds if you prefer. I usually go for spears because they’re perfect for grabbing!
- Jar it Up: Divide your cucumber spears evenly among your three clean pint jars. Try to pack them in snugly, but not so tight that they get bruised.
- Dill-icious Goodness: Now for the star of the show – fresh dill! Add 2-3 sprigs of fresh dill to each jar. You can tuck them down the sides of the cucumbers.
- Mustard Seed Magic: Sprinkle about 1/2 teaspoon of mustard seeds into each jar. This is where that classic pickle flavor really starts to build.
- Brine Time: Grab a saucepan and combine the white vinegar, water, salt, and sugar.
- Heat it Up: Place the saucepan over medium heat. Stir the mixture gently until the sugar and salt dissolve completely. Once everything is dissolved, let the brine come to a rolling boil.
- Cool Down (Slightly!): Once it boils, immediately remove the saucepan from the heat. We want that brine nice and hot to help infuse the flavors.
- Pour with Care: Carefully and slowly pour the hot brine into each of your jars, making sure to cover all the cucumbers. Be extra careful here, as the brine is hot!
- Seal the Deal: Screw the lids onto your jars nice and tight.
- Let Them Cool: Allow the jars to sit on the counter and cool down to room temperature. This is the hardest part – resisting the urge to taste them immediately!
- Chill Out: Once cooled, transfer the jars to your refrigerator. And voilà! Your delicious refrigerated dill pickles will be ready to enjoy the very next day. They’ll keep their fantastic crunch for up to a month in the fridge.
Substitutions & Additions
Feeling adventurous? You can totally customize these pickles to your liking!
- Spice it Up: Add a pinch of red pepper flakes or a whole dried chili pepper to each jar for a little heat.
- Garlic Power: Toss in a clove or two of smashed garlic to each jar. It adds such a lovely depth of flavor.
- Other Seeds: Experiment with coriander seeds or peppercorns for a different flavor profile.
- Different Veggies: While cucumbers are classic, you could try pickling thinly sliced carrots or radishes too! If you enjoy quick pickled veggies, you might also like my recipe for quick pickled cucumber and red onion.
Tips for Success
Here are a few little tricks I’ve learned along the way to ensure your pickles turn out perfectly:
- Use Fresh Ingredients: The fresher your cucumbers and dill, the better your pickles will taste.
- Don’t Overpack Jars: While you want them snug, don’t force them in, as this can lead to mushy pickles.
- Sterilize Your Jars: Properly cleaned and sterilized jars are crucial for preventing spoilage and ensuring your pickles last.
- Taste Test Your Brine: Before pouring, give the brine a taste (carefully!). It should be salty and vinegary, but not overwhelmingly so.
- Be Patient: While they’re ready in a day, the flavors continue to meld and deepen over time. If you’re looking for other delicious recipes to make ahead, consider trying my Lemon Ricotta Delight for a make-ahead dessert.
How to Store Refrigerated Dill Pickles
Once your beautiful pickles have cooled completely, pop them into the refrigerator. They’ll stay wonderfully crunchy and flavorful for up to one month. Just make sure they stay submerged in the brine. If your brine level gets low, you can always whip up a little more of the brine mixture (scaling down the recipe) to top them off.
FAQs
- How long do refrigerated dill pickles last?
- These pickles are best enjoyed within one month when stored in the refrigerator. The quality is best in the first few weeks.
- Can I use regular table salt?
- While pickling or kosher salt is preferred because it dissolves cleanly and doesn’t contain anti-caking agents, regular table salt can be used in a pinch. Just be aware it might make the brine slightly cloudy.
- What’s the best way to slice the cucumbers?
- Spears are classic, but you can also slice them into rounds, chips, or even ribbons. Experiment to see what you like best!
- Can I can these pickles for longer shelf life?
- This recipe is specifically for refrigerated pickles. For shelf-stable pickles, you would need a tested canning recipe and process to ensure safety.
I hope you enjoy making these as much as I do! They are such a simple yet rewarding recipe. For more tasty inspiration, be sure to check out my other recipes, like this Dill Pickle Dip if you’re a pickle lover! And if you’re looking for more ways to preserve fresh produce, perhaps you’d like to try making some easy no-pectin peach jam.
Happy pickling, friends! Don’t forget to follow us on Pinterest for more delicious recipes and kitchen inspiration!
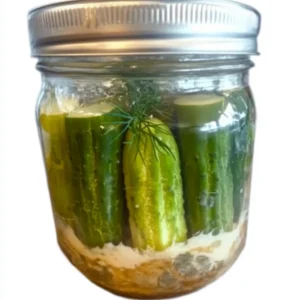
Refrigerated Dill Pickles
Equipment
- saucepan
- Measuring cups
- Measuring spoons
- Knives
- Cutting board
- Pint Jars
Ingredients
Cucumbers
- 3 medium cucumbers Kirby cucumbers recommended, washed well
Brine
- 1.5 cups white vinegar
- 1 cup water
- 2 tablespoons salt pickling salt or kosher salt preferred
- 1 tablespoon sugar
Flavorings
- 6-8 sprigs fresh dill
- 1.5 teaspoons mustard seeds
- 3 pint jars cleaned and sterilized
Instructions
- Wash cucumbers thoroughly and slice them into spears or rounds.
- Divide the cucumber slices evenly among the three clean pint jars, packing them snugly but without bruising.
- Add 2-3 sprigs of fresh dill and about 1/2 teaspoon of mustard seeds to each jar.
- In a saucepan, combine white vinegar, water, salt, and sugar. Stir over medium heat until the salt and sugar are completely dissolved.
- Bring the brine to a rolling boil, then immediately remove from heat.
- Carefully pour the hot brine into each jar, ensuring all the cucumbers are covered.
- Screw the lids on tightly and allow the jars to cool to room temperature on the counter.
- Once cooled, transfer the jars to the refrigerator. The pickles will be ready to enjoy the next day and will keep for up to a month.