
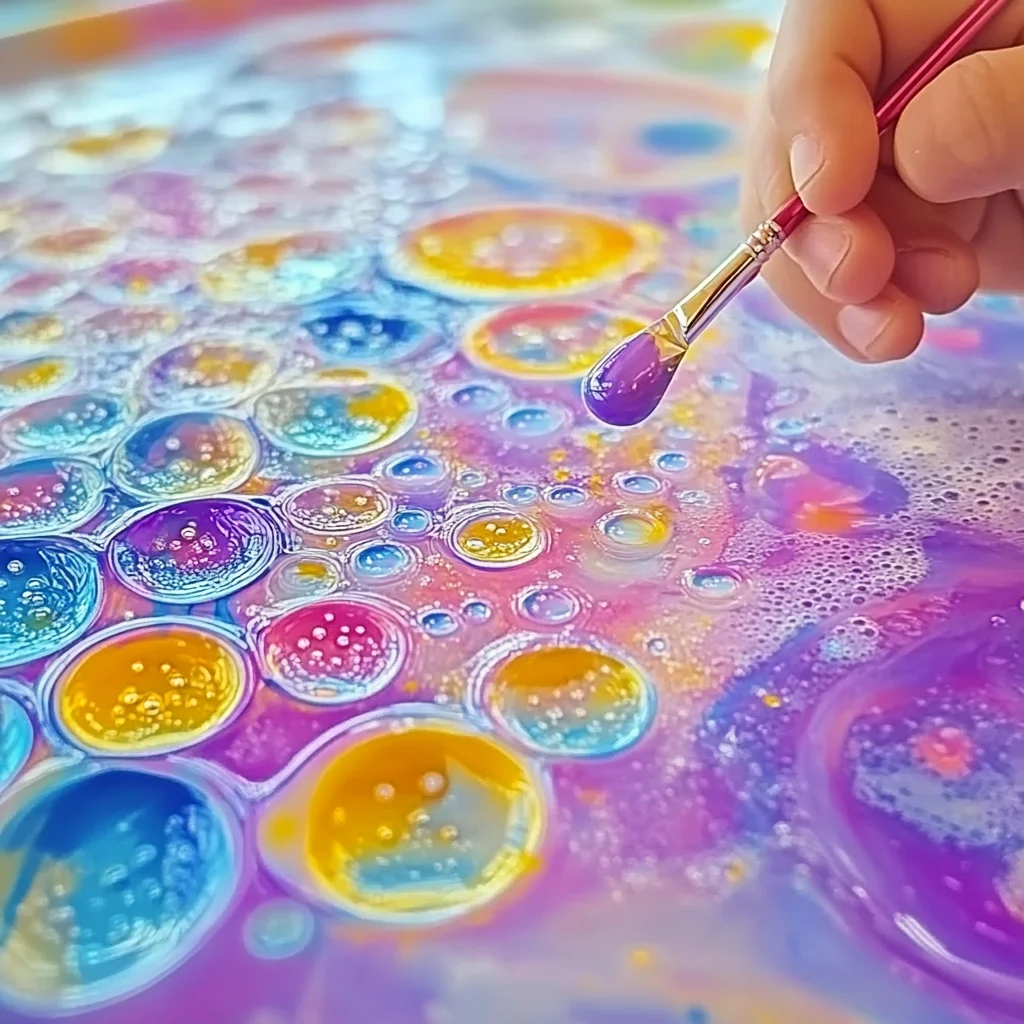
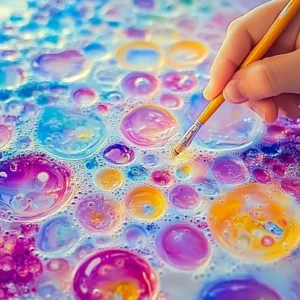
Remember those carefree days of childhood, where a simple bottle of bubbles could spark hours of imaginative play? There’s something so magical about watching those iridescent spheres float and dance in the air. Today, we’re bringing that magic back, but with a colorful twist! Get ready to create stunning, unique art pieces with this incredibly simple Bubble Painting Art project. It’s the perfect way to unleash your inner artist, and trust me, it’s so much fun you’ll want to make batch after batch!
Why You’ll Love Bubble Painting Art
- Fast: You can whip up this art in no time at all.
- Easy: Even the littlest hands can join in the fun with a little supervision.
- Giftable: Create beautiful, personalized gifts for friends and family.
- Crowd-pleasing: A hit at parties, playdates, or just a quiet afternoon activity.
Ingredients
Gathering your supplies is a breeze, and you probably have most of them already!
- Dish soap or tear-free baby wash: About 2–3 tablespoons per color. This is what creates the lovely bubbles! Using a tear-free baby wash is a great idea if you have little ones helping out.
- Water: 1/4 cup per color. This helps dilute the soap and makes the colors spread beautifully.
- Liquid watercolors or food coloring: Just a few drops per color. This is where the vibrant hues come from! Watercolors give a slightly softer look, while food coloring can be more intense.
- Plastic cups or small bowls: You’ll need one for each color you want to use. These are our little mixing stations.
- Straws: One for each color. This is our magic wand for blowing bubbles!
- Heavyweight paper: Watercolor paper or cardstock works best. It needs to be sturdy enough to handle the moisture without getting too soggy.
How to Make Bubble Painting Art
Alright, let’s get our hands (and maybe a few surfaces!) messy. It’s time to create some bubbly masterpieces!
- Prepare Your Colors: Grab your plastic cups or small bowls. For each color you want to create, pour in about 2–3 tablespoons of dish soap or baby wash and 1/4 cup of water. Add a few drops of your chosen liquid watercolor or food coloring to each cup. Give it a gentle stir until everything is nicely combined.
- Blow Those Bubbles!: Now for the fun part! Take a straw and dip one end into one of the colored mixtures. Put your lips to the other end and gently blow air into the cup. You want to create a dome of colorful bubbles that rise up from the liquid. Important safety tip: Make sure you only blow out into the straw and never inhale, especially with little ones.
- Capture the Magic: Once you have a good pile of colorful bubbles, it’s time to transfer them to your paper. Gently press a sheet of your heavyweight paper down onto the surface of the bubbles. You’ll see the colors and patterns transfer onto the paper!
- Layer and Repeat: Carefully lift your paper away from the bubbles. You’ve got your first layer of color! If you want to add more colors or create a layered effect, simply repeat steps 2 and 3 with different colored bubble mixtures. It’s like magic happening right before your eyes.
- Let It Dry: Once you’re happy with your creation, gently place the paper flat somewhere safe to dry completely. Resist the urge to touch it while it’s wet!
Substitutions & Additions
Feeling creative? You can totally play around with this recipe. Here are a few ideas:
- Glitter: Add a tiny pinch of fine glitter to your bubble mixture for a sparkly effect.
- Different Soaps: While dish soap works great, some craft soaps designed for bubble making can create even more robust bubbles.
- Scent: A drop or two of kid-friendly essential oil can add a lovely scent to your artwork.
- Experiment with Paper: While cardstock is recommended, you can try different types of textured paper to see how it affects the imprint.
- Add to Other Crafts: Once dry, you can cut out shapes from your bubble painting and use them in other crafts, like turning them into unique greeting cards. If you enjoy creative crafts, you might also like our DIY Bioplastic Suncatchers or DIY Firework Salt Painting for more artistic fun.
Tips for Success
A few little pointers to make your bubble painting experience even smoother:
- Don’t Overmix: When you stir your bubble mixture, be gentle! Too much vigorous stirring can break down the soap and make it harder to get good bubbles.
- Blow Gently: A steady, gentle blow is better than a big gust of air. You want to build the bubbles up, not blast them away.
- Protect Your Surfaces: While this craft is generally tidy, it’s always a good idea to cover your workspace with newspaper or a plastic tablecloth, especially if you’re using food coloring which can stain.
- Prep Ahead: You can mix your bubble solutions a little ahead of time, but it’s best to use them within an hour or two for the most vibrant bubbles.
- Drying Time: Depending on how much color and water you use, the paper can take anywhere from 30 minutes to a few hours to dry completely.
How to Store Bubble Painting Art
Once your beautiful bubble paintings are dry, you’ll want to keep them looking their best! Simply store them flat in a folder, portfolio, or large envelope. They should last for a very long time as long as they are kept dry and out of direct sunlight, which can fade the colors over time. These make wonderful personalized gifts, and I often whip up a batch when I need a last-minute thoughtful present. If you’re looking for other fun gifting ideas, you might enjoy these Easy Cake Mix Toffee Bars or these adorable Soft Baked M&M Cookies.
FAQs
Is this craft suitable for toddlers?
Yes, with supervision! Toddlers will need help with the blowing part and should be watched closely to ensure they don’t inhale the mixture. Using tear-free baby wash is highly recommended for this age group.
Can I use regular paint?
Liquid watercolors or food coloring are best as they are liquid and will mix easily with the soap and water to create bubbles. Thicker paints might not work as well for this particular technique.
My bubbles aren’t forming very well. What can I do?
Ensure you are using enough dish soap relative to the water. Sometimes, the type of dish soap can make a difference – a good quality, grease-cutting dish soap often creates better bubbles.
How can I make the colors more vibrant?
You can add a few extra drops of your liquid watercolor or food coloring to the mixture. Just remember to stir gently!
We hope you have an absolutely wonderful time creating your bubble painting art! For more fun and creative ideas, be sure to follow us on Pinterest!
Bubble Painting Art
Equipment
- Plastic cups or small bowls
- Straws
- Heavyweight paper
- Newspaper or plastic tablecloth (for protecting surfaces)
Ingredients
For each color:
- 2-3 tablespoons dish soap or tear-free baby wash
- 1/4 cup water
- a few drops liquid watercolors or food coloring
Optional additions:
- a tiny pinch pinches fine glitter for a sparkly effect
- 1-2 drops kid-friendly essential oil for a lovely scent
Instructions
- Step 1: Prepare Your Colors: Grab your plastic cups or small bowls. For each color you want to create, pour in about 2–3 tablespoons of dish soap or baby wash and 1/4 cup of water. Add a few drops of your chosen liquid watercolor or food coloring to each cup. Give it a gentle stir until everything is nicely combined.
- Step 2: Blow Those Bubbles!: Now for the fun part! Take a straw and dip one end into one of the colored mixtures. Put your lips to the other end and gently blow air into the cup. You want to create a dome of colorful bubbles that rise up from the liquid. Important safety tip: Make sure you only blow out into the straw and never inhale, especially with little ones.
- Step 3: Capture the Magic: Once you have a good pile of colorful bubbles, it’s time to transfer them to your paper. Gently press a sheet of your heavyweight paper down onto the surface of the bubbles. You'll see the colors and patterns transfer onto the paper!
- Step 4: Layer and Repeat: Carefully lift your paper away from the bubbles. You’ve got your first layer of color! If you want to add more colors or create a layered effect, simply repeat steps 2 and 3 with different colored bubble mixtures. It’s like magic happening right before your eyes.
- Step 5: Let It Dry: Once you’re happy with your creation, gently place the paper flat somewhere safe to dry completely. Resist the urge to touch it while it’s wet!