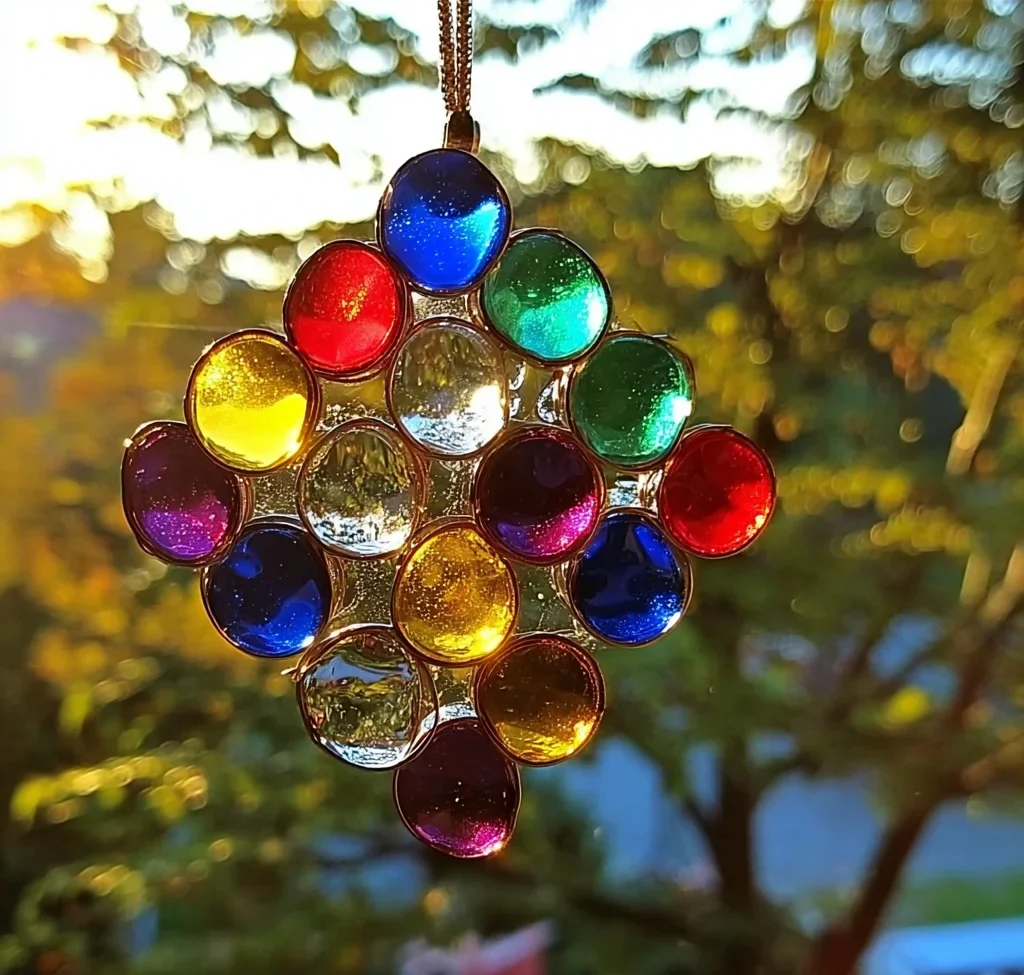
Remember those sunny afternoons as a kid, where even the simplest things felt like pure magic? Making things with your hands, watching colors come alive… that’s the feeling I get from these super easy DIY Suncatchers! While my kitchen is usually buzzing with delicious smells, sometimes it’s fun to whip up a different kind of “recipe” – one that brings sparkle and color right into your windows. This project uses just a few simple supplies you might already have lying around, and the result is a beautiful, light-catching gem that feels like pure sunshine captured just for you. It’s quick to put together, totally memorable, and honestly, watching the light filter through the glass is just plain good for the soul.
Why You’ll Love These Suncatchers
- Fast: The hands-on time is minimal – perfect for a quick crafting session!
- Easy: Seriously, anyone can make these. Kids, adults, craft newbies… everyone!
- Giftable: They make the sweetest homemade gifts for friends, teachers, or family.
- Crowd-Pleasing: A fun project to do together, and everyone loves seeing the finished sparkly result!
Ingredients
Gathering your ingredients for this project is almost as fun as making it! You’ll need:
- Colored glass gems or stones: You can find these at craft stores, dollar stores, or even sometimes in the floral section. Pick your favorite colors!
- Clean plastic lids: Think lids from yogurt tubs, sour cream, or butter containers. Make sure they’re clean and dry.
- Clear craft glue: This is your magical binder! Make sure it dries clear so the light can shine through.
- Ribbon or fishing line: You’ll need this for hanging your finished suncatcher.
- Hot glue or clear glue: Just a little bit to secure the ribbon for hanging if needed.
How to Make These Suncatchers
Ready to create some window-worthy art? Let’s get crafting!
- Prep Your Lid: Grab a clean plastic lid. This will be the base for your suncatcher. Make sure the inside (the flat side) is facing up.
- Get Gluey: Apply a generous amount of clear craft glue onto the flat side of the lid. You want enough glue to cover the bottom but not so much that it spills over the sides when you add the gems.
- Add the Sparkle: Start arranging your colored glass gems or stones on the glue. Press them down slightly to ensure they make good contact with the glue. Try to get them to touch each other as much as possible – this helps create a solid piece once dry.
- Seal the Deal: Once you have your design laid out, add a bit more glue around and even a little bit over the stones. This helps to fill in any small gaps and really secure everything in place.
- Let it Dry (Patience is Key!): This is the most important step! You need to let your suncatcher dry completely. This can take at least 3 to 4 days, depending on how much glue you used and the humidity. Find a safe, flat spot for it to sit undisturbed while it cures.
- Check for Gaps (Optional Hanging Method): After it’s fully dried, carefully check the back of your suncatcher. If you see small gaps between some of the stones, you can thread a piece of ribbon or fishing line right through one of these gaps to create a loop for hanging.
- Add the Hanger (Alternative Method): If there are no suitable gaps, or you prefer this method, simply use a dab of hot glue (adult supervision recommended!) or strong clear glue to attach a piece of ribbon or fishing line to the back of your dried suncatcher, forming a loop. Let that glue set.
Substitutions & Additions
Want to get creative? Here are some ideas to shake things up:
- Different Bases: Instead of plastic lids, try using old CD cases, metal jar lids, or even cookie cutters placed on parchment paper (though the cookie cutter method can be trickier!).
- Other Sparkly Bits: Mix in some glitter before the glue dries, or use small flat marbles, colorful buttons, or even small, smooth pebbles.
- Theme It Up: Use specific colors for holidays or seasons. Red and green for Christmas, orange and black for Halloween, or blues and greens for a beachy vibe.
- Add a Border: Once dried, you could even glue a piece of colorful yarn or thin rope around the edge of the lid for a finished look.
Tips for Success
Here are a few little pointers I’ve learned along the way to make sure your suncatchers turn out beautifully:
- Use Clear Glue: I know I mentioned it, but it’s worth repeating! Milky white glue won’t give you that beautiful light-catching effect.
- Don’t Rush the Drying: This is the most common mistake! If you try to move or hang it too soon, it will fall apart. Give it the full 3-4 days, maybe even longer in humid weather. Place it somewhere warm and dry if possible.
- Protect Your Surface: Craft glue can be sticky! Work on an old newspaper, a craft mat, or a protected tabletop.
- Kid-Friendly Fun: This is a fantastic project to do with kids! Just supervise the glue amount and handle any hot glue steps yourself. It’s a great way to spend an afternoon, maybe while you’re making some homemade gummy treats or baking up some soft-baked M&M cookies together!
- Check for Sturdiness: Before hanging, gently flex the lid a tiny bit. If anything seems loose, add a little more glue to that spot and let it dry again.
Displaying & Gifting Your Suncatchers
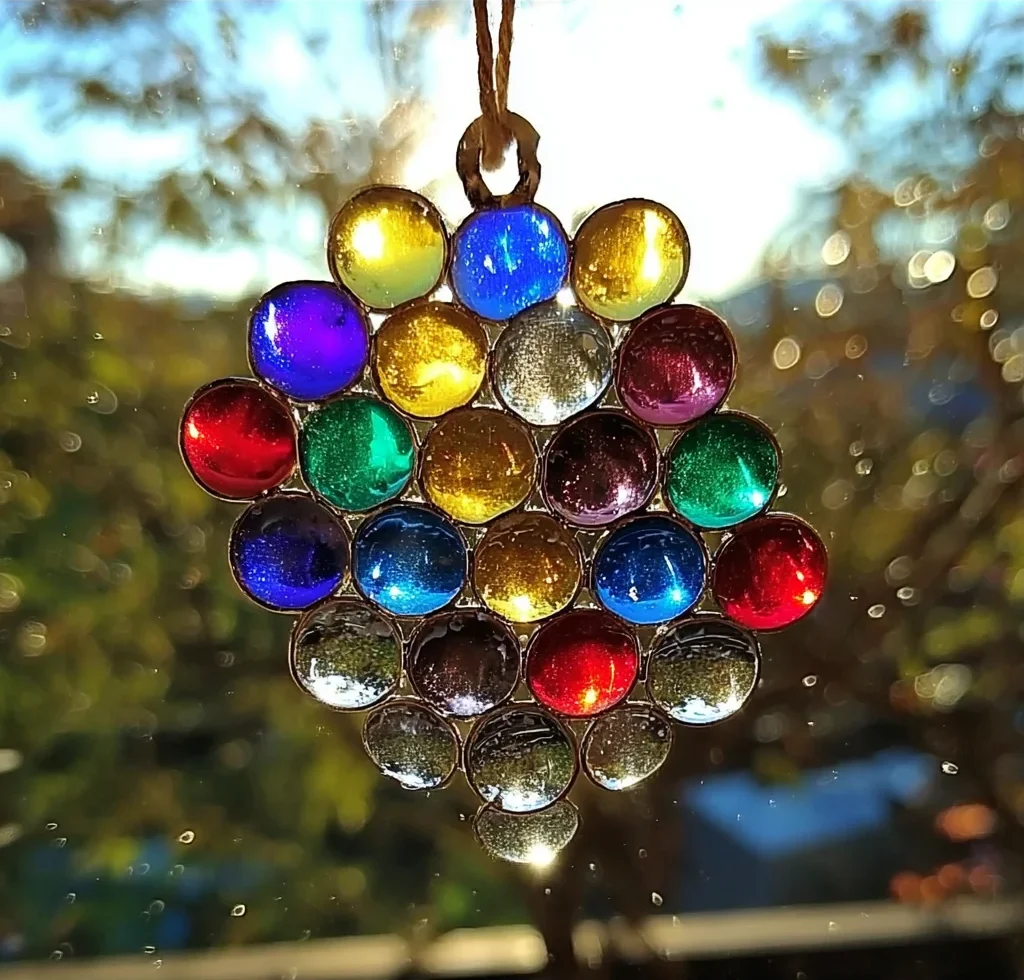
Once your suncatcher is completely dry and the hanger is secured, it’s time to show it off! Hang it in a window where it will catch the light. South-facing windows are usually best for getting direct sun, but any bright window will do. They look beautiful hanging individually or grouped together. If you’re giving them as gifts, tie a pretty ribbon around the top and maybe attach a little tag. They pair wonderfully with other simple homemade gifts, like some easy DIY bioplastic suncatchers if you want to explore other techniques, or perhaps a batch of delicious homemade jam.
FAQs
Got questions? Let’s see if we can answer them!
Can I use a different type of glue?
Clear craft glue works best because it dries clear and is strong enough to hold the gems. Other glues like school glue might not be strong enough or might dry cloudy.
How long do they really take to dry?
Plan for at least 3 to 4 days. Factors like humidity, the amount of glue used, and temperature can affect drying time. It’s better to wait too long than not long enough!
Can I use hot glue for the whole thing?
Hot glue dries quickly, but it doesn’t fill in the spaces between the gems as well as craft glue, and it might not be as durable for this project. It’s best reserved for attaching the hanger at the end.
For more delicious recipes and fun projects, be sure to follow us on Pinterest!

Sparkle & Shine: Easy DIY Glass Gem Suncatchers
Equipment
- Plastic Lids
- Surface Protector (like newspaper or craft mat)
- Hot Glue Gun (if using hot glue method)
Ingredients
Materials
- Colored glass gems or stones
- Clean plastic lids
- Clear craft glue make sure it dries clear
- Ribbon or fishing line for hanging
- Hot glue or clear glue for securing the hanger
Instructions
- Step 1: Prep Your Lid: Grab a clean plastic lid. This will be the base for your suncatcher. Make sure the inside (the flat side) is facing up.
- Step 2: Get Gluey: Apply a generous amount of clear craft glue onto the flat side of the lid. You want enough glue to cover the bottom but not so much that it spills over the sides when you add the gems.
- Step 3: Add the Sparkle: Start arranging your colored glass gems or stones on the glue. Press them down slightly to ensure they make good contact with the glue. Try to get them to touch each other as much as possible – this helps create a solid piece once dry.
- Step 4: Seal the Deal: Once you have your design laid out, add a bit more glue around and even a little bit over the stones. This helps to fill in any small gaps and really secure everything in place.
- Step 5: Let it Dry (Patience is Key!): This is the most important step! You need to let your suncatcher dry completely. This can take at least 3 to 4 days, depending on how much glue you used and the humidity. Find a safe, flat spot for it to sit undisturbed while it cures.
- Step 6: Check for Gaps (Optional Hanging Method): After it's fully dried, carefully check the back of your suncatcher. If you see small gaps between some of the stones, you can thread a piece of ribbon or fishing line right through one of these gaps to create a loop for hanging.
- Step 7: Add the Hanger (Alternative Method): If there are no suitable gaps, or you prefer this method, simply use a dab of hot glue (adult supervision recommended!) or strong clear glue to attach a piece of ribbon or fishing line to the back of your dried suncatcher, forming a loop. Let that glue set.