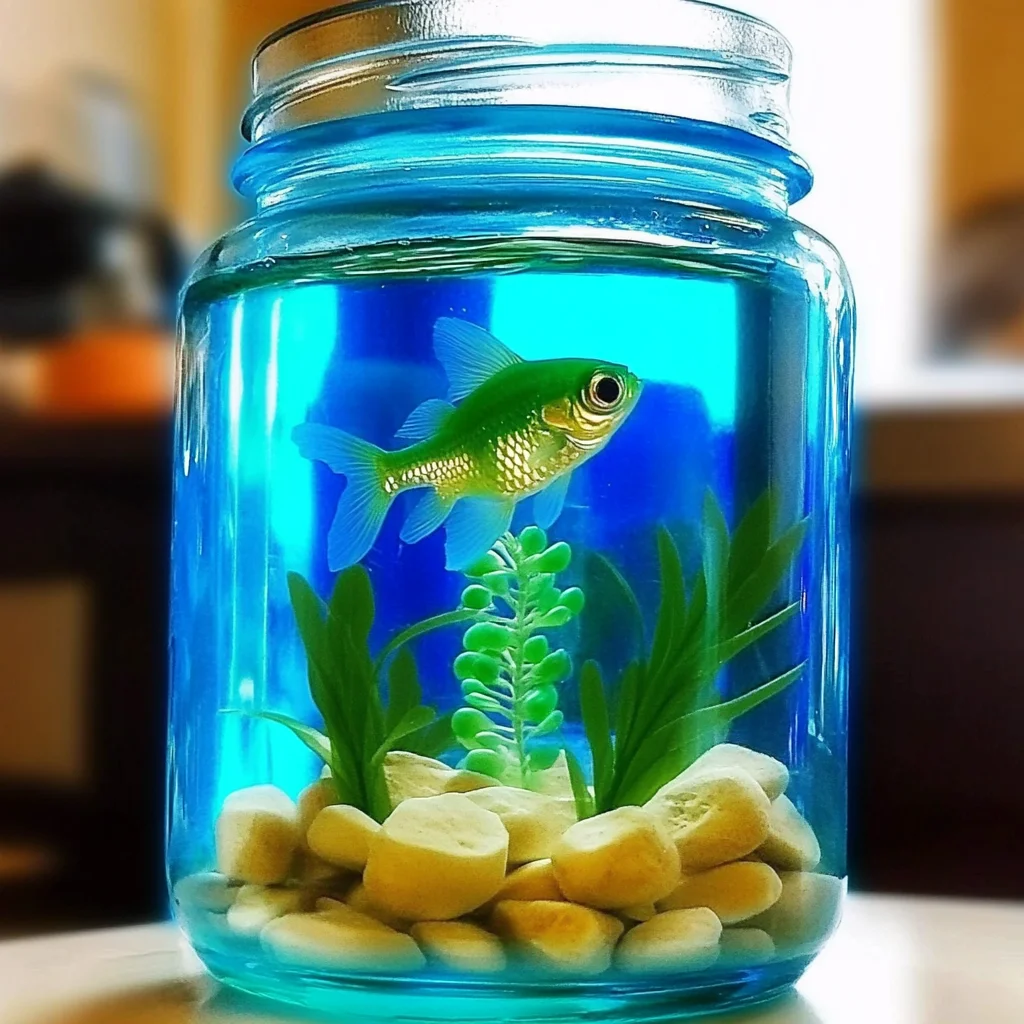
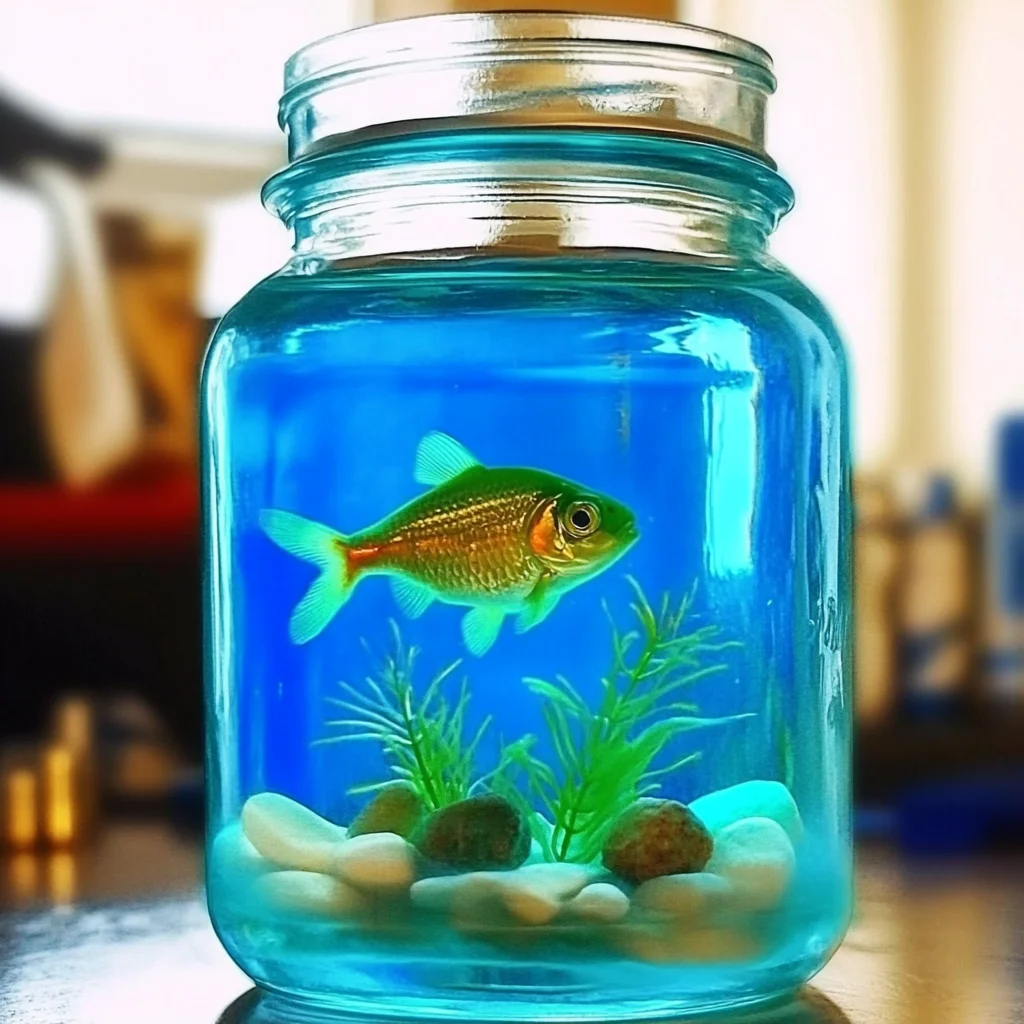
Remember those magical moments when you were a kid, completely captivated by a world beneath the waves? There’s something so calming and enchanting about watching little fish swim around, isn’t there? Well, get ready to bring that wonder right into your home with a craft that’s as fun to make as it is beautiful to look at! Today, we’re diving into how to create your very own DIY Mason Jar Aquarium. It’s a simple, delightful project that will transport you to an underwater paradise, no matter the weather outside. Perfect for a rainy day, a craft party, or just a little bit of everyday magic!
Why You’ll Love This Mason Jar Aquarium
- Super Easy: Seriously, if you can use a hot glue gun, you can make this!
- Quick to Assemble: You’ll have your own little underwater scene in no time.
- Incredibly Giftable: Imagine gifting these charming creations to friends and family – they’ll love it!
- Guaranteed Crowd-Pleaser: Kids and adults alike are mesmerized by these little floating wonders.
- A Touch of Whimsy: It’s a fun, decorative piece that adds a pop of color and charm to any space.
Gather Your Underwater Treasures (Ingredients)
Let’s get our supplies ready. It’s like picking out the perfect inhabitants for your tiny aquatic world!
- Mason Jar with Lid: The clearer, the better, so you can see all the action! A standard quart-sized jar is perfect.
- Aquarium Rocks or Marbles: These will form the colorful “seabed.” You can mix and match colors for extra visual appeal.
- Blue Food Coloring: To give your water that authentic, serene ocean hue.
- Plastic Fish: The stars of the show! Grab a few different sizes or types for variety.
- Aquarium Plant: A touch of green to make your habitat look lush and lively.
- Fishing Line: To help your little swimmers “float” and move gracefully.
- Water: The essential element for any aquarium!
- Hot Glue Gun: Your best friend for securing everything in place.
- Glue Sticks: Make sure you have enough for all your gluing needs.
Let’s Dive In: How to Make Your Mason Jar Aquarium
Alright, apron on, and let’s get crafting! This is where the magic happens.
Step 1: Create the Foundation
Start by pouring a small handful of your aquarium rocks or marbles into the bottom of your clean mason jar. These will give your aquarium a nice, stable base and a splash of color.
Step 2: Add Some Greenery
Now, carefully arrange your aquarium plant among the rocks. Think about how you’d like it to look – maybe nestled in a corner or standing tall in the center.
Step 3: Secure the Plant (Optional but Recommended)
If your plant feels a bit wobbly, use a tiny dab of hot glue where the base of the plant meets the rocks to keep it firmly in place. This is a great tip, especially if you plan to move the jar around.
Step 4: Color the Water
In a separate bowl or cup, mix about 2 cups of water with a few drops of blue food coloring. Stir until you have a nice, even blue. You can always add more coloring if you want a deeper shade. Then, gently pour this beautiful blue water into your mason jar, filling it almost to the top, leaving a little space.
Step 5: Get Your Fish Ready to Swim
Take a piece of fishing line and tie one end securely around the front of a plastic fish. Tie the other end around its tail. This creates a “line” for your fish to hang from.
Step 6: Suspend Your Swimmers
Now, carefully open the mason jar lid. Using your hot glue gun, secure the free ends of the fishing lines to the inside of the lid. You can glue them at different heights to give the impression of fish swimming at different levels. This is a really fun part where you can get creative!
Step 7: Seal the Deal
Gently place the lid back onto the mason jar and screw it on tightly. You want to make sure everything is secure.
Step 8: The Final Touch – A Secure Seal
For extra peace of mind and to prevent any leaks, run a bead of hot glue around the outside edge of the lid where it meets the jar. Then, screw the lid ring on tightly over the glued lid. Let it cool completely. This creates a nice, secure seal.
Creative Swaps and Fun Additions
Feeling inspired to jazz things up? Here are some ideas to make your mason jar aquarium even more special!
- Different Colored Water: Try green for a kelp forest feel, or even purple for a mystical vibe! You can find various food colorings, or even explore some natural options.
- Glitter: A sprinkle of iridescent glitter in the water can add a magical shimmer. Just be careful not to add too much, or it might get a bit murky.
- Other Small Decorations: Think tiny shells, miniature treasure chests, or even small plastic sea creatures like starfish or seahorses. Just make sure they are waterproof and won’t fade.
- Glow-in-the-Dark Fun: For an extra special treat, you could try adding some glow-in-the-dark elements! Perhaps some glow-in-the-dark paint on the rocks or even some glow-in-the-dark plastic fish if you can find them. This would look amazing in a darkened room, just like our DIY Glow Aquarium Jar project!
- Floating Elements: You could experiment with other small, lightweight, waterproof items that can be suspended with fishing line.
Tips for a Picture-Perfect Aquarium
A few little tricks can make all the difference in achieving that perfect, mesmerizing look.
- Don’t Overcrowd: Just like a real aquarium, giving your little fish some space to “swim” makes the display more appealing.
- Water Clarity is Key: Ensure your water is clear before adding food coloring for the best visual effect. If you’re worried about the water staying clear, using distilled water can help.
- Test Your Glue: Before committing, test a small amount of hot glue on a piece of plastic or glass to ensure it adheres well and dries clear.
- Prep Ahead: You can pre-cut your fishing line pieces and have your decorations ready to go, making assembly even quicker.
- Kid-Friendly Alternative: If a hot glue gun isn’t suitable for younger crafters, you can explore washable craft glues, but be aware they may take longer to dry and might not be as secure. For younger kids, something like a simple edible aquarium might be a fun alternative.
Storing Your Underwater Masterpiece
Once your mason jar aquarium is complete, you’ll want to keep it looking its best. Store it out of direct sunlight, as this can fade the colors over time. If the water happens to get cloudy or discolored, you can carefully unscrew the lid (once the glue is completely cool and set), empty the water, and refill it with fresh blue water.
Frequently Asked Questions
-
Can I use a different type of jar?
Absolutely! Any clear glass jar with a secure lid will work beautifully. Jars with wider mouths can sometimes be easier to work with.
-
How long will the blue color last?
The food coloring should last for quite a while, but over time, especially if exposed to light, it might fade. You can easily refresh it with more food coloring.
-
Can I add real fish?
This project is purely decorative and not designed for live animals. The sealed environment and lack of filtration are not suitable for fish.
-
What if my fish aren’t floating properly?
Ensure the fishing line is tied securely and that the lengths are adjusted so the fish hang in the desired positions. You might need to play around with the placement on the lid.
This DIY Mason Jar Aquarium is such a fun and simple way to add a touch of enchantment to your day. It’s a wonderful craft that brings a little bit of the ocean’s magic right to your fingertips. We hope you have as much fun making yours as we do! For more creative ideas and DIY fun, be sure to follow our adventures on Pinterest!

DIY Mason Jar Aquarium
Equipment
- Mason jar with lid
- Hot glue gun
- Separate Bowl or Cup
- Measuring Cup
Ingredients
For the Mason Jar Aquarium
- 1 standard quart-sized Mason Jar with Lid The clearer, the better
- small handful Aquarium Rocks or Marbles For the colorful "seabed"
- few drops Blue Food Coloring To give your water that authentic, serene ocean hue
- few Plastic Fish Different sizes or types for variety
- 1 Aquarium Plant A touch of green to make your habitat look lush and lively
- piece Fishing Line To help your little swimmers "float" and move gracefully
- 2 cups Water For the aquarium base; distilled water can help with clarity
- 1 Hot Glue Gun
- enough Glue Sticks For all your gluing needs
Instructions
- Step 1: Start by pouring a small handful of your aquarium rocks or marbles into the bottom of your clean mason jar. These will give your aquarium a nice, stable base and a splash of color.
- Step 2: Now, carefully arrange your aquarium plant among the rocks. Think about how you'd like it to look – maybe nestled in a corner or standing tall in the center.
- Step 3: If your plant feels a bit wobbly, use a tiny dab of hot glue where the base of the plant meets the rocks to keep it firmly in place. This is a great tip, especially if you plan to move the jar around.
- Step 4: In a separate bowl or cup, mix about 2 cups of water with a few drops of blue food coloring. Stir until you have a nice, even blue. You can always add more coloring if you want a deeper shade. Then, gently pour this beautiful blue water into your mason jar, filling it almost to the top, leaving a little space.
- Step 5: Take a piece of fishing line and tie one end securely around the front of a plastic fish. Tie the other end around its tail. This creates a "line" for your fish to hang from.
- Step 6: Now, carefully open the mason jar lid. Using your hot glue gun, secure the free ends of the fishing lines to the inside of the lid. You can glue them at different heights to give the impression of fish swimming at different levels. This is a really fun part where you can get creative!
- Step 7: Gently place the lid back onto the mason jar and screw it on tightly. You want to make sure everything is secure.
- Step 8: For extra peace of mind and to prevent any leaks, run a bead of hot glue around the outside edge of the lid where it meets the jar. Then, screw the lid ring on tightly over the glued lid. Let it cool completely. This creates a nice, secure seal.