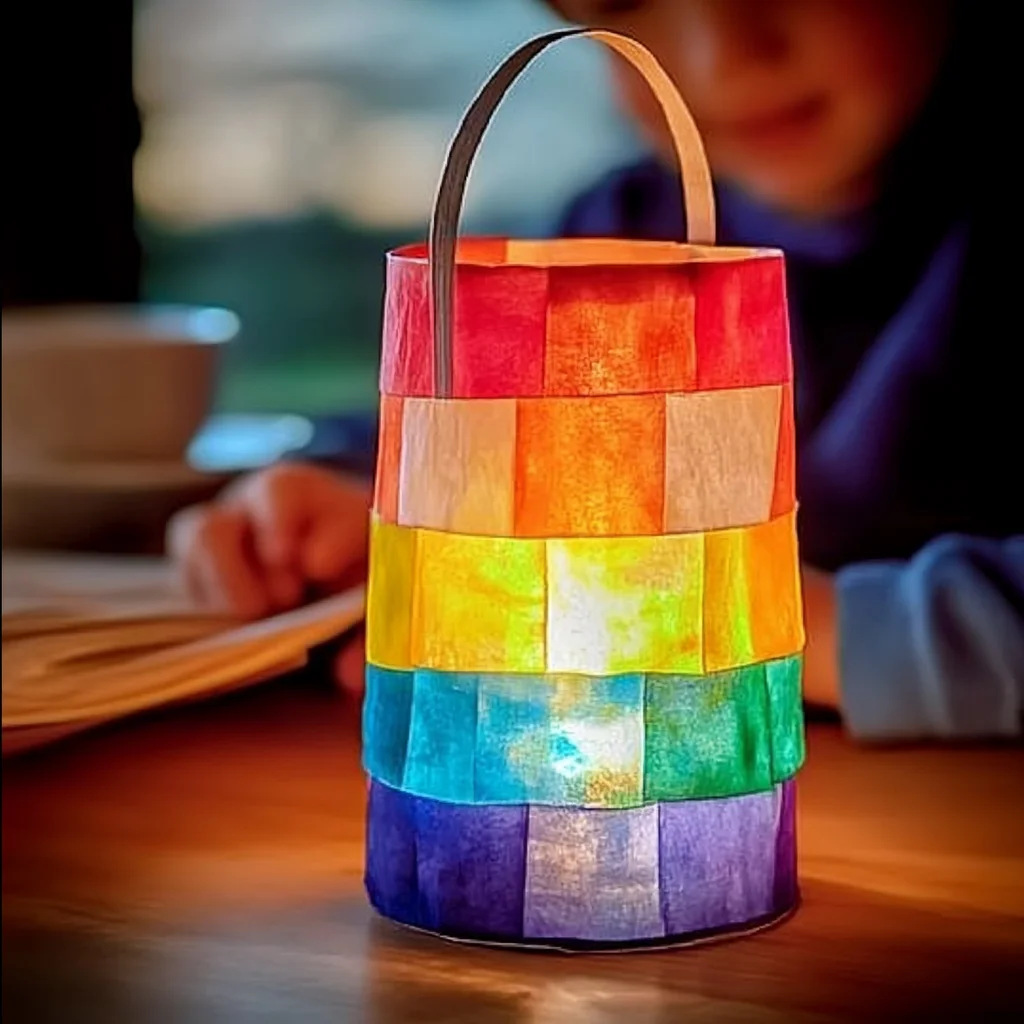
Remember those magical evenings as a kid, clutching a glowing lantern as dusk settled in? There’s something so special about homemade creations, especially when they bring a little bit of sparkle and wonder into our lives. Today, we’re diving into a super simple, incredibly fun craft that will have your little ones (and maybe even you!) beaming with pride. This DIY Kids Lantern Craft is an absolute winner for a rainy afternoon, a birthday party activity, or just a sweet way to create some charming outdoor decor.
Why You’ll Love DIY Kids Lantern Craft
- Fast: Seriously, you can whip these up in no time!
- Easy: Even the littlest hands can help with this one.
- Giftable: Imagine the smiles when these are gifted!
- Crowd-pleasing: Perfect for playdates or family gatherings.
Ingredients
Gathering your supplies is half the fun! Here’s what you’ll need to bring these little lanterns to life:
- 1 clean, empty plastic container (think milk jugs, water bottles, yogurt tubs, or even a sturdy mason jar – whatever you have on hand!)
- 1 battery-operated tealight or glow stick (for safe, magical illumination!)
- Tissue paper, scrap paper, or old magazines (this is where the color comes in!)
- White glue or Mod Podge (your sticky, sealing magic!)
- Paintbrush or sponge (for spreading the glue love)
- Scissors (for a little paper prep)
- Hole punch (for the handle)
- String or pipe cleaner for handle (to make it easy to carry)
- Optional: stickers, washi tape, glitter, nature bits like leaves or pressed flowers (to add that extra special touch!)
How to Make DIY Kids Lantern Craft
Alright, let’s get crafting! It’s easier than you think.
-
Prep Your Container
First things first, grab your plastic container and give it a good wash and dry. Make sure to peel off any sticky labels – a little rubbing alcohol can help with stubborn residue. If you’re using a milk jug or a larger bottle, carefully use scissors to cut off the top, creating a nice open space. If you’re using a mason jar, you can keep the lid on or off, depending on your design!
-
Get Your Stained-Glass On!
Now for the really colorful part! Tear your tissue paper, scrap paper, or magazine pages into small pieces. Think about creating a beautiful mosaic effect. Grab your paintbrush or sponge and apply a layer of white glue or Mod Podge all over the outside of your container. Start sticking down those paper pieces, overlapping them a bit. Don’t worry about perfection here; the more random and layered, the more enchanting it looks! Once your container is covered, give it one more good coat of glue or Mod Podge over the top of the paper. This seals everything and gives it a lovely finish. If you’re feeling extra crafty, this is a great time to add some of those optional decorations like glitter or pressed flowers. You might even find inspiration for decorating your lantern from other fun crafts like our DIY Crayon Star Suncatchers – it’s all about creative expression!
-
Add a Handle
Time to give your lantern a way to be carried! Use your hole punch to carefully make two holes near the top rim of your container. Make sure they’re on opposite sides. Now, thread your string or pipe cleaner through these holes. Twist or tie the ends securely to create a sturdy handle. And voilà! Your lantern is ready to be held.
-
Light It Up!
This is the moment of magic! Gently place your battery-operated tealight or glow stick inside the lantern. Make sure it’s sitting securely at the bottom.
-
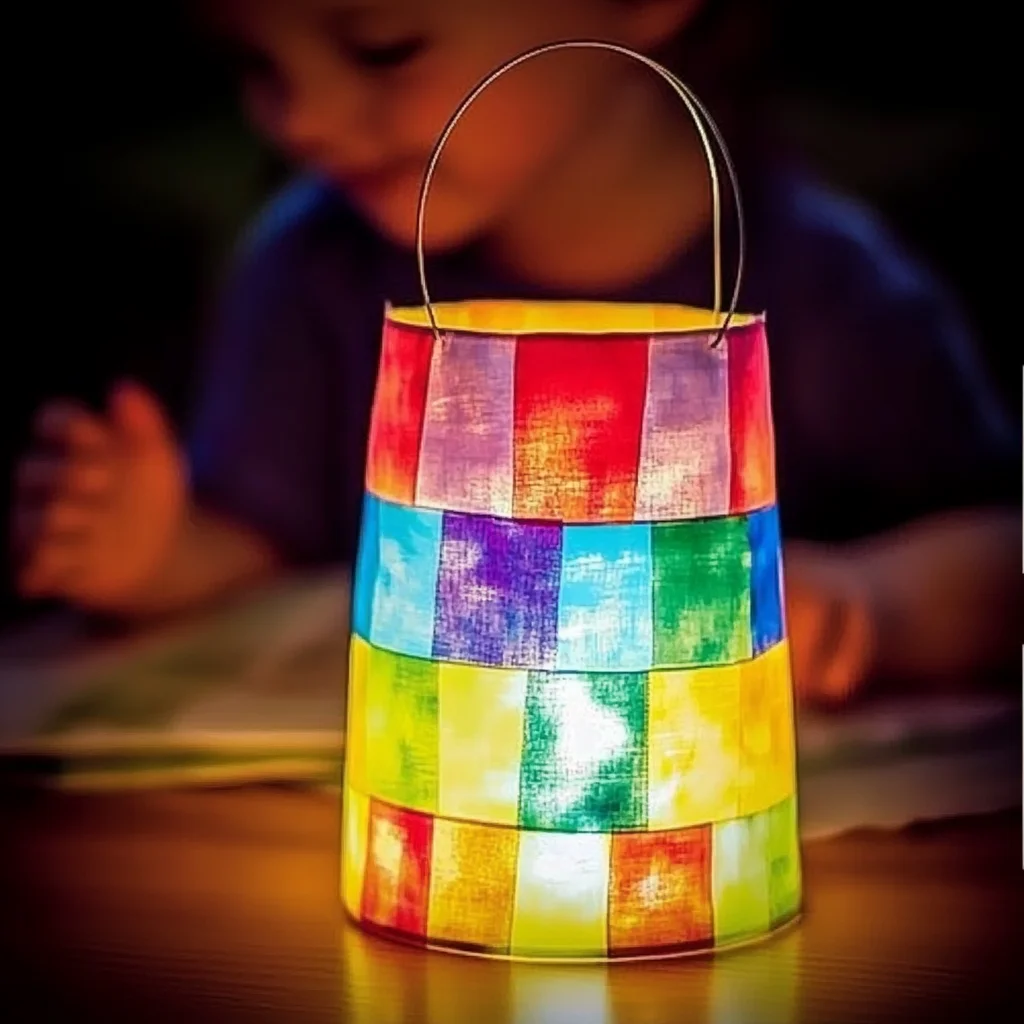
Enjoy the Glow!
Turn off the room lights, or take your creation outside as the sun begins to set. Watch your beautiful DIY lantern cast a warm, enchanting glow. It’s so satisfying to see your handmade creation come to life! It reminds me of the simple joys, much like whipping up a batch of delicious Blueberry Pie Bombs – pure happiness!
Substitutions & Additions
Feeling creative? You can totally mix and match!
- Different Containers: While plastic works great because it’s safe and easy to cut, you could try a clean glass jar if adult supervision is high and you’re using battery-operated lights only.
- Paper Power: Old book pages, maps, or even printed photos can add a unique touch. For a super whimsical look, try layering different colors of tissue paper.
- Embellishments: Don’t shy away from adding buttons, yarn, or even small fabric scraps for texture. You could even try some fun paint techniques for a different effect. If you’re looking for more painting fun, check out our DIY Baking Soda Painting Craft for inspiration!
- Handle Alternatives: Use sturdy twine, ribbon, or even colorful craft wire for your handle.
Tips for Success
A few little tricks to make your crafting experience even smoother:
- Patience with Glue: Mod Podge is great because it dries clear and smooth. If you use white glue, make sure to thin it slightly with a little water if it’s too thick, so it spreads easily.
- Dry Time: Allow the glue layers to dry completely before adding the handle or the light. This prevents anything from peeling off.
- Sharp Scissors: Make sure your scissors are sharp enough to cut through the plastic container cleanly, especially if you’re trimming a jug or bottle.
- Prep Ahead: You can tear all your paper pieces and prepare your handles in advance, making the actual crafting session super quick and enjoyable.
How to Store DIY Kids Lantern Craft
These lanterns are pretty durable, but to keep them looking their best:
- Store them in a dry place when not in use.
- If storing for a long time, you can wrap them in tissue paper or place them in a box to protect them from dust and scratches.
- They are best enjoyed indoors or in sheltered outdoor spaces to protect the paper from moisture.
FAQs
Got questions? We’ve got answers!
- Can I use real candles in these lanterns? No, absolutely not! Because we are using plastic containers and paper, real candles are a fire hazard. Always use battery-operated tealights or glow sticks for safety.
- How long will the glue take to dry? It usually takes about 20-30 minutes for a thin layer of glue or Mod Podge to dry to the touch. For a completely secure finish, especially if you’ve layered a lot of paper, it’s best to let it dry for a couple of hours, or even overnight, before handling it too much.
- Can kids make this completely on their own? Depending on the age of the child, adult help might be needed for cutting the plastic container and punching holes. Younger children can definitely handle tearing paper and gluing!
We hope you and your little ones have a blast making these enchanting DIY Kids Lanterns! If you enjoyed this craft, be sure to check out our other fun projects! For more creative inspiration, follow us on Pinterest!

DIY Kids Lantern Craft
Equipment
- Plastic container (milk jug, water bottle, yogurt tub, mason jar)
- Scissors
- Paintbrush or sponge
- Hole punch
Ingredients
For the Lantern
- 1 clean, empty plastic container milk jugs, water bottles, yogurt tubs, or mason jars work well
- 1 battery-operated tealight or glow stick
- tissue paper, scrap paper, or old magazines for color and decoration
- white glue or Mod Podge for adhering paper and sealing
- string or pipe cleaner for the handle
- optional embellishments stickers, washi tape, glitter, nature bits, etc.
Instructions
- Step 1: Prep Your Container First things first, grab your plastic container and give it a good wash and dry. Make sure to peel off any sticky labels – a little rubbing alcohol can help with stubborn residue. If you’re using a milk jug or a larger bottle, carefully use scissors to cut off the top, creating a nice open space. If you’re using a mason jar, you can keep the lid on or off, depending on your design!
- Step 2: Get Your Stained-Glass On! Now for the really colorful part! Tear your tissue paper, scrap paper, or magazine pages into small pieces. Think about creating a beautiful mosaic effect. Grab your paintbrush or sponge and apply a layer of white glue or Mod Podge all over the outside of your container. Start sticking down those paper pieces, overlapping them a bit. Don't worry about perfection here; the more random and layered, the more enchanting it looks! Once your container is covered, give it one more good coat of glue or Mod Podge over the top of the paper. This seals everything and gives it a lovely finish. If you’re feeling extra crafty, this is a great time to add some of those optional decorations like glitter or pressed flowers.
- Step 3: Add a Handle Time to give your lantern a way to be carried! Use your hole punch to carefully make two holes near the top rim of your container. Make sure they’re on opposite sides. Now, thread your string or pipe cleaner through these holes. Twist or tie the ends securely to create a sturdy handle. And voilà! Your lantern is ready to be held.
- Step 4: Light It Up! This is the moment of magic! Gently place your battery-operated tealight or glow stick inside the lantern. Make sure it’s sitting securely at the bottom.
- Step 5: Enjoy the Glow! Turn off the room lights, or take your creation outside as the sun begins to set. Watch your beautiful DIY lantern cast a warm, enchanting glow. It’s so satisfying to see your handmade creation come to life!