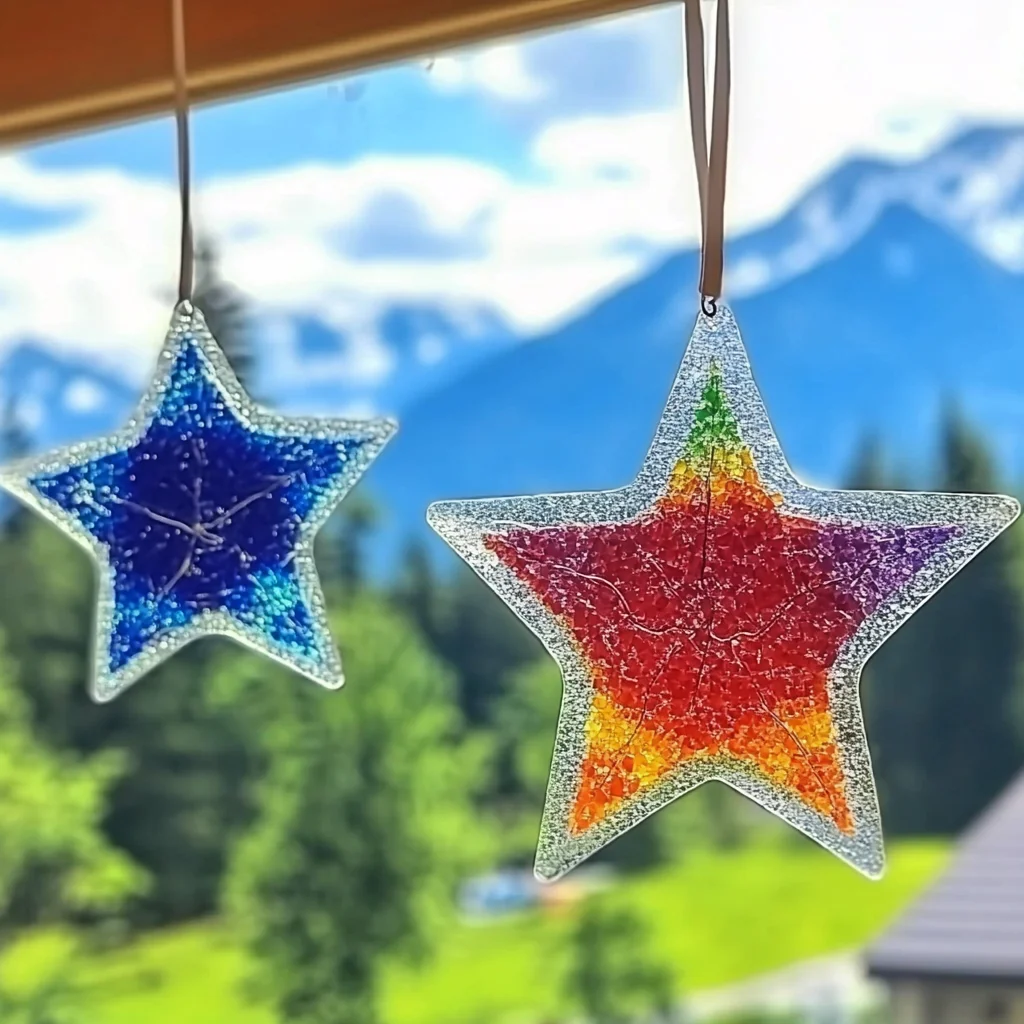
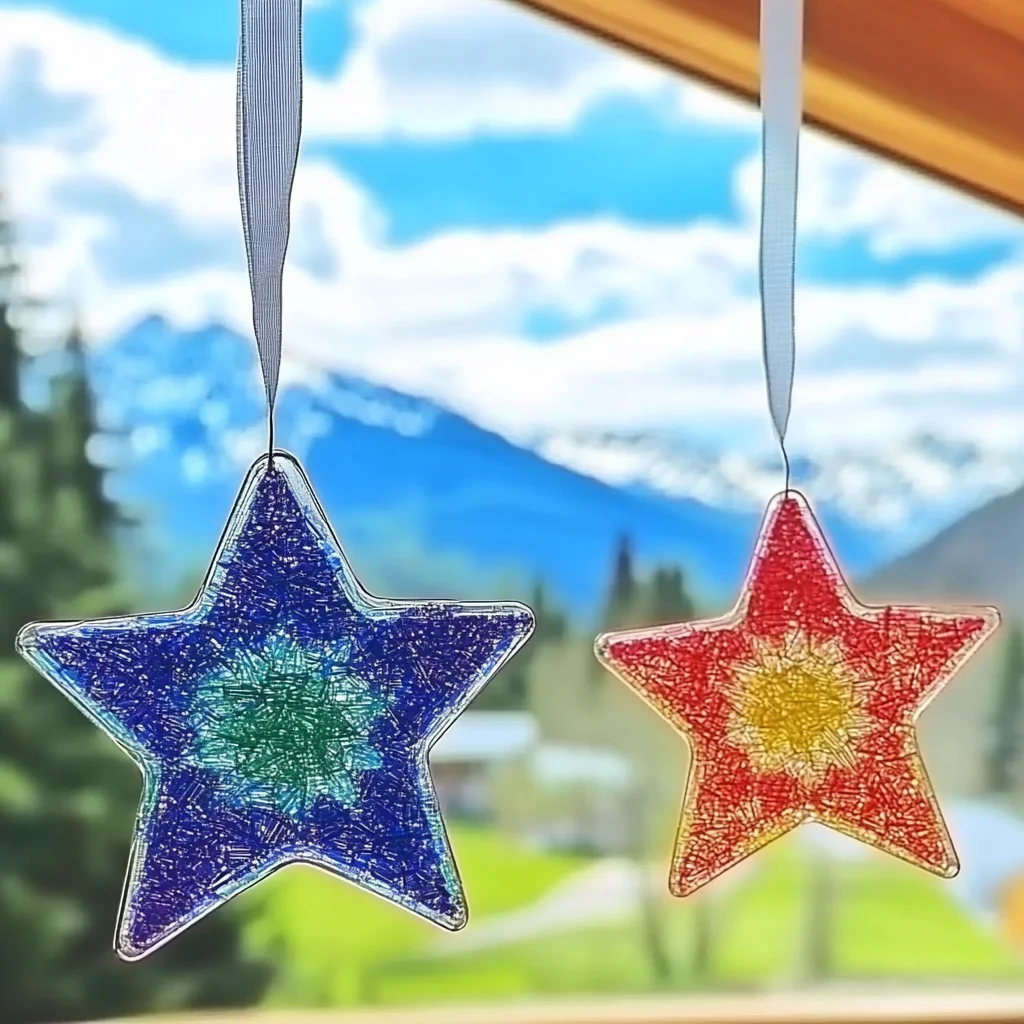
Remember those long, lazy afternoons when the sun streamed through the window, painting patterns on the floor? There’s something so incredibly nostalgic about those simple moments, and today, we’re going to recapture that magic with a craft that’s as fun to make as it is beautiful to behold. Get ready to transform those leftover crayon nubs into dazzling Crayon Star Sun Catchers that will brighten any room! This project is ridiculously easy, super quick, and the results are absolutely enchanting. Perfect for a rainy day activity, a classroom craft, or even a sweet handmade gift for someone special.
Why You’ll Love Crayon Star Sun Catchers
- Fast: You can whip up a batch of these in no time!
- Easy: So simple, even the littlest artists can help create them.
- Giftable: These make incredibly thoughtful, personalized gifts for grandparents, teachers, or friends.
- Crowd-pleasing: Everyone loves a bit of sparkle and color, and these deliver!
Ingredients
Gathering your supplies is a breeze. You likely have most of these items around the house already!
- Old Crayons: This is the perfect way to use up all those broken bits and stubs. The more colors, the merrier!
- Wax Paper: The secret ingredient that helps everything melt and stick together beautifully.
- Parchment Paper: This will protect your baking sheets and make cleanup a snap.
How to Make Crayon Star Sun Catchers
Let’s get crafting! It’s a simple process, and the excitement builds as you see the colors melt and transform.
- Preheat your oven: Set your oven to a low temperature, around 200°F (93°C). We want to melt, not burn!
- Grate those crayons: This is where the fun begins! Use a cheese grater to grate your old crayons. You can sort them by color or mix them up for vibrant, marbled effects. I like to use a separate grater just for crafts to avoid any waxy residue on my kitchen tools.
- Prep your wax paper: Tear pieces of wax paper into whatever shapes you like. Stars are classic for sun catchers, but feel free to experiment with hearts, circles, or even freeform blobs!
- Line your baking sheet: Cover a baking sheet with a sheet of parchment paper. This is your foundation for a mess-free project.
- Layer the color: Carefully place your wax paper shapes onto the parchment-lined baking sheet. Now, sprinkle the grated crayon shavings onto the wax paper. Don’t overload it, but make sure you have a good layer of color. You can create cool patterns or just fill the space.
- Sandwich it all: Place another piece of wax paper on top of the crayon shavings. Then, top that with another sheet of parchment paper. This creates a nice little package to ensure even melting.
- Melt away: Carefully place the layered sheets into your preheated oven. Let them bake for about 10 minutes, or until the crayon shavings have completely melted. Keep an eye on them – you want them melted and smooth, not bubbly and burnt!
- Cool down: Once melted, carefully remove the baking sheet from the oven. Let the sun catchers cool down completely on the baking sheet. Patience is key here; trying to peel them too soon can lead to a melty mess.
- Reveal the magic: Once cool, gently peel off the parchment paper from both sides. Then, carefully peel away the wax paper. Voila! You should have beautiful, translucent crayon sun catchers ready to shine.
Substitutions & Additions
Want to jazz up your sun catchers even more? Here are a few ideas:
- Different Shapes: Instead of stars, try cutting out cookie cutters from the wax paper before adding crayons.
- Glitter Power: A tiny pinch of fine craft glitter sprinkled with the crayon shavings can add extra sparkle.
- Layering Colors: For a stained-glass effect, you can layer different colors of crayon shavings in distinct sections.
- Hole Punch: Before melting, you can punch a small hole in the top of your wax paper shape to easily hang your sun catcher later.
Tips for Success
A few pointers to make your crafting experience even smoother:
- Crayon Quality: While any crayon works, some brands melt a bit more evenly than others. Don’t be afraid to experiment!
- Grating Size: Finer crayon shavings will melt more uniformly, but chunkier bits can create interesting texture.
- Don’t Overbake: Keep a close eye on the oven. Overbaked crayons can become too dark or even burn, losing their translucency.
- Prep Ahead: Grate your crayons and cut your wax paper shapes in advance if you’re doing this with a group. This makes the actual assembly much quicker. You might also find it helpful to prepare some batches of these easy cake mix toffee bars while you wait for the oven to preheat for a little extra treat!
How to Store Crayon Star Sun Catchers
Once your beautiful creations are ready, storing them is simple. Lay them flat between sheets of parchment paper in a box or a large envelope. Keep them out of direct sunlight to prevent them from melting again. They should last for ages, bringing a pop of color to your windows whenever you need it.
FAQs
- Can children do this craft themselves? Yes! With adult supervision for grating crayons and handling the oven, this is a fantastic craft for kids.
- What temperature should the oven be? A low temperature of 200°F (93°C) is ideal for melting the crayons without burning them.
- Can I use other types of paper? Wax paper is essential for this project as it’s heat-resistant and allows the melted crayon to adhere and create a translucent effect. Parchment paper is used to protect your baking sheets.
These Crayon Star Sun Catchers are such a simple yet impactful way to bring a little cheer and color into your world. They remind me a bit of the vibrant colors you might see in a batch of Jolly Rancher Glow in the Dark Candy Apples, but in a different, more delicate form! If you enjoyed this craft, be sure to check out other fun DIY projects on our site, like how to make your own bioplastic suncatchers for another eco-friendly and beautiful window decoration. Happy crafting!
For more inspiring DIY projects and delicious recipes, follow us on Pinterest!

Crayon Star Sun Catchers
Equipment
- Cheese Grater
- baking sheet
- oven
Ingredients
- Old Crayons The more colors, the merrier!
- Wax Paper The secret ingredient that helps everything melt and stick together beautifully.
- Parchment Paper This will protect your baking sheets and make cleanup a snap.
Instructions
- Step 1: Preheat your oven to 200°F (93°C). We want to melt, not burn!
- Step 2: Grate your old crayons. You can sort them by color or mix them up for vibrant, marbled effects. Use a separate grater just for crafts to avoid any waxy residue on your kitchen tools.
- Step 3: Tear pieces of wax paper into whatever shapes you like. Stars are classic for sun catchers, but feel free to experiment with hearts, circles, or even freeform blobs!
- Step 4: Cover a baking sheet with a sheet of parchment paper. This is your foundation for a mess-free project.
- Step 5: Carefully place your wax paper shapes onto the parchment-lined baking sheet. Sprinkle the grated crayon shavings onto the wax paper. Don’t overload it, but make sure you have a good layer of color. You can create cool patterns or just fill the space.
- Step 6: Place another piece of wax paper on top of the crayon shavings. Then, top that with another sheet of parchment paper. This creates a nice little package to ensure even melting.
- Step 7: Carefully place the layered sheets into your preheated oven. Let them bake for about 10 minutes, or until the crayon shavings have completely melted. Keep an eye on them – you want them melted and smooth, not bubbly and burnt!
- Step 8: Once melted, carefully remove the baking sheet from the oven. Let the sun catchers cool down completely on the baking sheet. Patience is key here; trying to peel them too soon can lead to a melty mess.
- Step 9: Once cool, gently peel off the parchment paper from both sides. Then, carefully peel away the wax paper. Voila! You should have beautiful, translucent crayon sun catchers ready to shine.