
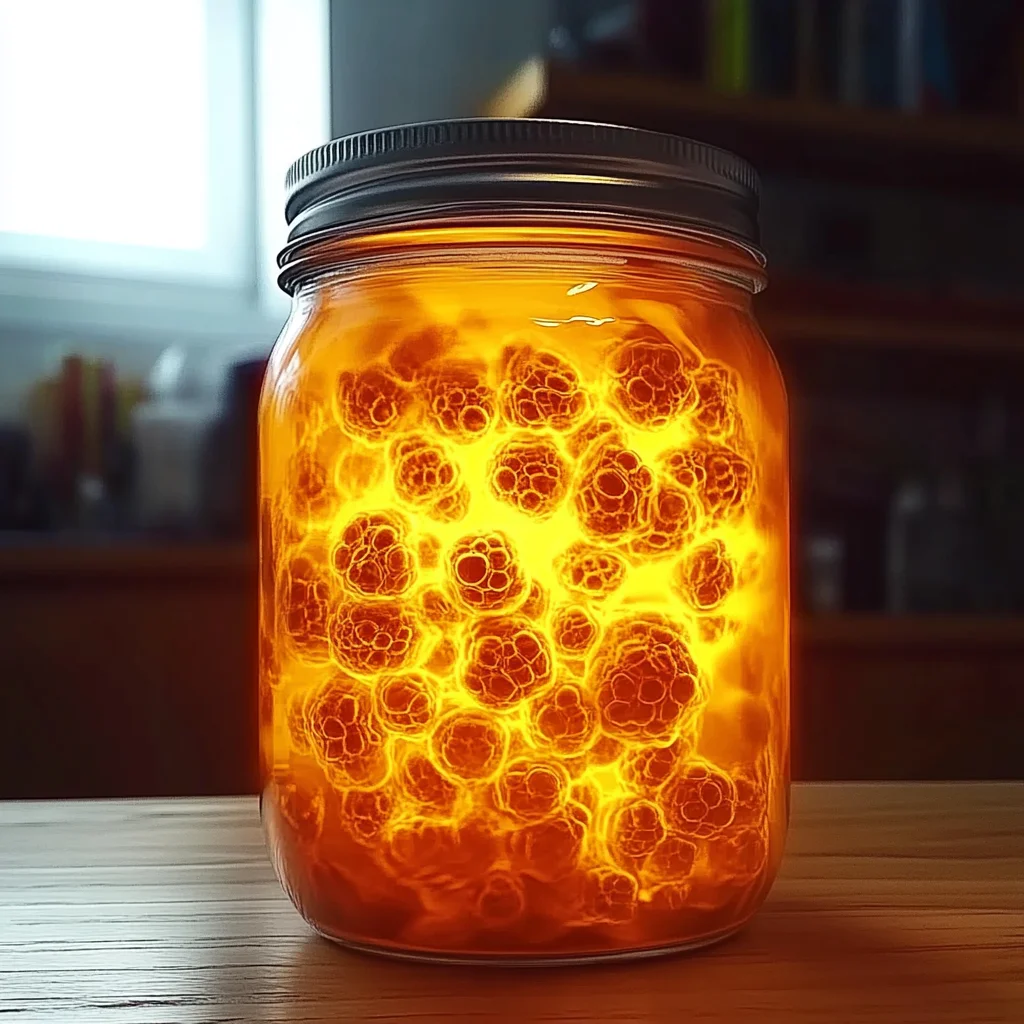
Have you ever gazed at a lava lamp, mesmerized by the colorful, bubbling movement inside? The gentle swirls and pops seem to transport you to a different world, don’t they? Today, I’m excited to share a delightful DIY project that will bring that same enchanting experience right into your home—without the hefty price tag! Making your very own Boiling Lava Lamp Jar is not only a fun activity, but it’s also a wonderful way to explore science, creativity, and mindfulness. Just imagine the colors swirling together, the excitement in the air as you watch your creation come to life, and the joy of sharing it with family and friends. Let’s dive in!
Why You’ll Love Boiling Lava Lamp Jar
- Beginner-friendly
- Budget-friendly
- Creative and fun
- Great for kids and families
- Perfect for gifts or decorations
- Customizable
The Heart Behind This DIY
This Boiling Lava Lamp Jar is special for so many reasons! Not only does it provide a visual spectacle, but it also encourages curiosity and experimentation. As you mix the ingredients and observe the reaction, you’re engaging with basic principles of chemistry in a fun way. Crafting invites you to slow down and be present in the moment, fostering mindfulness and creativity. Plus, it’s a wonderful chance to bond with loved ones, creating lasting memories as you share laughter and excitement while experimenting together.
A Gentle Look at the Process
As we embark on this creative journey, you can expect a delightful mix of colors and a bit of scientific magic. The process of layering the water and oil, followed by the bubbling reaction when you add the Alka-Seltzer, will fill your heart with joy and awe. You’ll find yourself lost in the mesmerizing movements, creating a soothing atmosphere that is perfect for relaxation or a thoughtful gift. Just imagine floating away on a cloud of creativity and inspiration as you craft!
Materials You’ll Need
- Clear glass jar with a lid: This will be the vessel for your lava lamp magic.
- Water: The base for your colorful concoction.
- Vegetable oil: This will create the beautiful separation you’ll observe.
- Food coloring: Choose your favorite colors to make it vibrant!
- Alka-Seltzer tablets: The secret ingredient for the bubbling effect.
- Optional: glitter: For an extra touch of sparkle and fun!
Step-by-Step Directions
Step 1
Start by filling your clear glass jar about one-third full with water. You can use warm water to help the food coloring mix better. Just picture the water glistening as it fills the jar, ready to create a colorful masterpiece!
Step 2
Next, add a few drops of your chosen food coloring to the water. Stir gently until the color is evenly distributed. Watching the vibrant hues swirl and dance in the water is such a joyful experience!
Step 3
Now, pour vegetable oil into the jar until it is nearly full, leaving some space at the top. You’ll see the oil float on top of the water, creating a beautiful separation. It’s like watching a mini science experiment unfold!
Step 4
Be patient and allow the oil and water to separate completely. This is a great moment to chat with your family about why they don’t mix—it’s a perfect science lesson!
Step 5
Take an Alka-Seltzer tablet and break it into quarters. Drop one piece into the jar and watch the magic happen! The chemical reaction will create bubbling action that mimics the mesmerizing flow of a real lava lamp. Enjoy every moment of this exciting transformation!
Step 6
If you want the bubbling action to last longer, simply add more pieces of the Alka-Seltzer tablet as needed. It’s like a beautiful dance that you control!
Step 7
For a final touch, sprinkle in some glitter before sealing the jar with the lid. This optional step adds an enchanting sparkle that makes your lava lamp truly special. Imagine how beautiful it will look when the bubbles rise and the glitter twirls around!
Creative Ways to Use Boiling Lava Lamp Jar
Once you’ve completed your Boiling Lava Lamp Jar, you might wonder how to display it. Here are some fun ideas! Place it on your desk as a calming decoration, or use it as a nightlight to create a peaceful atmosphere in your child’s room. It also makes for a thoughtful gift—imagine the joy on a friend’s face when they receive a handmade lava lamp! You can even host a small crafting party and make several together, creating a colorful collection for your home.
How to Store, Preserve, or Reuse Boiling Lava Lamp Jar
To keep your Boiling Lava Lamp Jar looking fresh, store it in a cool, dry place away from sunlight. If the bubbling action slows down or stops, you can simply add more pieces of Alka-Seltzer to reignite the fun. If you ever want to change the look, just empty the jar and start the process again with new colors and glitter!
Creative Variations and Customizations
- Color variations: Experiment with different food coloring combinations for unique effects.
- The theme ideas: Create a holiday-themed jar by using seasonal colors like red and green for Christmas or pastels for Easter.
- Seasonal adaptations: Change the glitter to match the seasons—think gold and orange for fall!
- Kid-friendly modifications: Allow kids to choose their favorite colors and even add small toys to the jar before sealing.
- Advanced creative upgrades: Incorporate essential oils for a scented twist or use glow-in-the-dark paint for nighttime fun.
Tips for Success
- Common mistakes to avoid: Make sure the oil and water are fully separated before adding the Alka-Seltzer.
- Safety tips: Always supervise children during the process, especially when handling the Alka-Seltzer.
- Preparation suggestions: Gather all your materials beforehand to ensure a smooth crafting experience.
- Cleanup recommendations: Keep a damp cloth nearby to wipe any spills as you work.
- Expert crafting tips: Experiment with different jar sizes for various effects—larger jars create grander displays!
FAQs About Boiling Lava Lamp Jar
Can beginners make this?
Absolutely! This project is perfect for beginners and is easy to follow.
Can children participate?
Yes, this is a great project for kids with adult supervision. They will love watching the bubbles!
How long does it last?
The bubbling effect lasts as long as you keep adding Alka-Seltzer. Once the fizz stops, you can start again!
Can I customize it?
Definitely! Feel free to play with colors, glitter, and themes to create a truly unique lava lamp.
A Final Creative Note
As you wrap up your Boiling Lava Lamp Jar project, take a moment to celebrate your creativity and the joy of crafting something with your own hands. Remember, each creation is a reflection of your unique personality and imagination. I hope this DIY project inspires you to explore more crafts and enjoy the simple pleasures of making. For more delicious recipes, check out these fluffy blueberry pancakes or fun Kool-Aid gummy treats for treats you will love! Don’t forget to follow our Pinterest for more DIY inspiration!
Garlic Butter Chicken Bites with Creamy Parmesan Pasta
Equipment
- Large skillet
- Large Pot
- Tongs or Spatula
Ingredients
For the Garlic Butter Chicken Bites
- 1 lb boneless chicken breasts cut into bite-sized pieces
- 2 tbsp olive oil
- 3 tbsp unsalted butter
- 3 cloves garlic minced
For the Creamy Parmesan Pasta
- 12 oz fettuccine or linguine
- 1.5 cups heavy cream
- 1 cup Parmesan cheese grated
Instructions
- Step 1: Cook pasta in a large pot of salted water until al dente. Reserve 1/2 cup of pasta water. Drain and set aside.
- Step 2: In a skillet, heat olive oil over medium-high. Season chicken with paprika, Italian seasoning, salt, and pepper. Sear for 3-4 minutes per side until golden and cooked through. Remove and set aside.
- Step 3: In the same skillet, melt butter and add minced garlic. Saute for 1 minute. Return chicken to the pan and toss in garlic butter.
