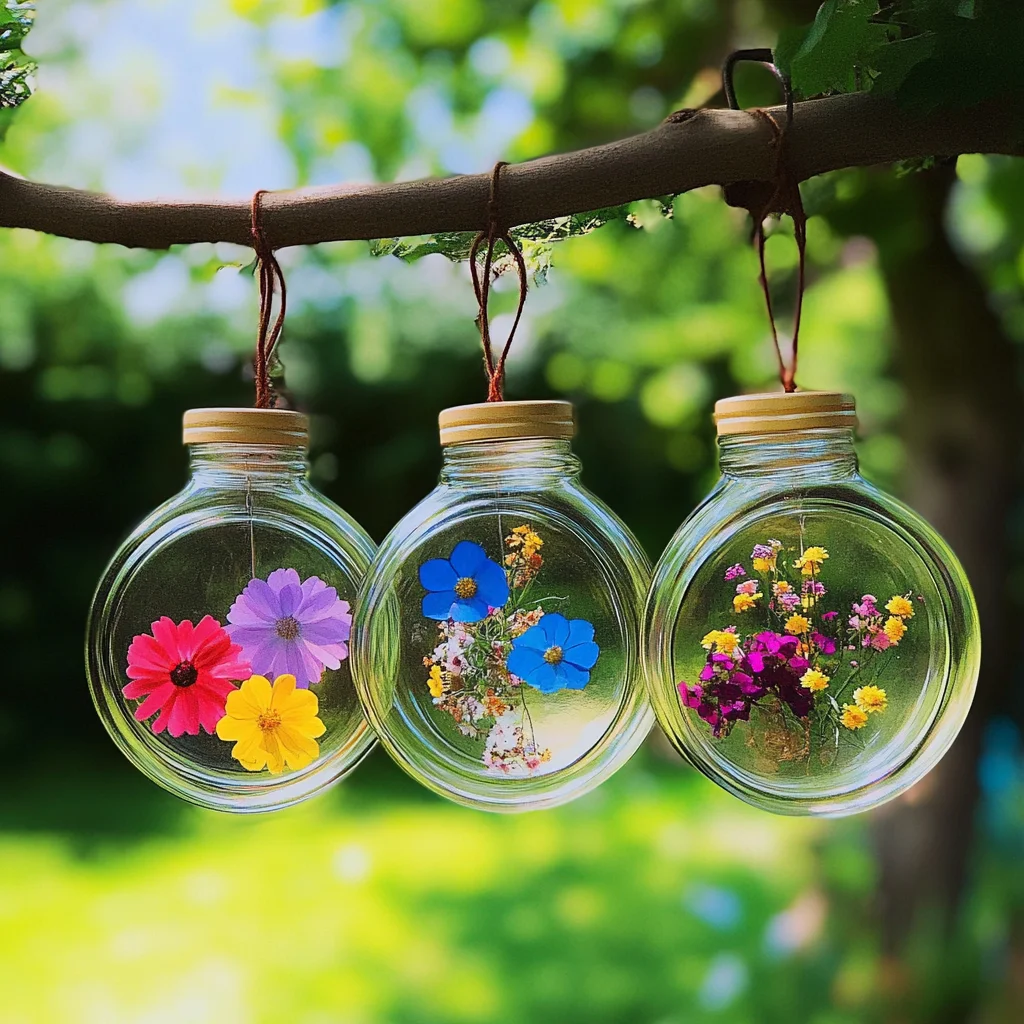
Remember those summer afternoons spent in the garden, the gentle rustle of leaves, and the way sunlight dappled through the trees? There’s something so nostalgic and comforting about bringing a little bit of that magic into our own outdoor spaces. Today, I’m so excited to share a super simple, incredibly charming craft that will do just that: a DIY Garden Suncatcher Wind Chime! This project is not only a delightful way to spend an afternoon, but it also adds a burst of color and sparkle to your garden, patio, or balcony. Plus, it’s a fantastic handmade gift idea!
Why You’ll Love This DIY Garden Suncatcher Wind Chime
- Fast: You can whip this up in under an hour!
- Easy: Perfect for beginners and kids alike.
- Giftable: Makes a thoughtful and beautiful present for friends and family.
- Crowd-pleasing: Guaranteed to add cheer to any outdoor space.
Ingredients
Gathering your supplies is the first fun step! Here’s what you’ll need:
- Small flower blooms and petals: Freshly picked or even dried flowers work beautifully. Think daisies, violas, clover blossoms, or even just colorful petals.
- 12-18 inch stick: Look for a nice, sturdy stick in your yard. It’s the anchor for your chimes.
- 3 Mason jar lids: You’ll need two larger ones and one narrow one. The metal rings are what we’ll be using.
- Clear contact paper: This magical stuff is key to preserving your floral treasures.
- Black permanent marker: For tracing those lovely circles.
- Scissors: A good pair for cutting the contact paper.
- Glue (optional): A dab of glue can help secure the suncatchers in the rings.
- Ribbon: For hanging your chimes and creating the main hanger.
- Large suction cup hook (optional): If you want to hang it on a window or smooth surface.
How to Make Your DIY Garden Suncatcher Wind Chime
Alright, let’s get crafting! It’s easier than you think.
- Collect Your Blooms: Head out to your garden (or a park!) and gently gather small flower blooms and pretty petals. Make sure they are relatively flat for the best results.
- Prep the Contact Paper: Cut two squares of clear contact paper for each mason jar lid you’re using. Make sure each square is larger than the mason jar ring so you have plenty of overlap.
- Trace and Mark: Place one mason jar ring onto a square of contact paper and carefully trace around the inside of the ring with your black permanent marker. This will be your cutting guide.
- Sticky Side Up: Peel the backing off one square of contact paper. Lay it flat on your work surface, sticky side up.
- Arrange Your Flowers: Now for the artistic part! Delicately arrange your collected flowers and petals onto the sticky side of the contact paper. Get creative with your designs! I like to layer mine for a fuller look.
- Seal the Deal: Carefully take the second square of contact paper and place it sticky side down over your flower arrangement. Gently press them together, starting from the center and working your way out to push out any air bubbles. You want a smooth, flat suncatcher.
- Cut Out the Suncatchers: Using your tracing from step 3 as a guide, carefully cut out the circle from the layered contact paper. It’s best to trim slightly inside the traced line so the marker doesn’t show.
- Create a Hanging Hole: About half an inch from the edge of your newly cut suncatcher circle, carefully punch or poke a small hole. This is where your ribbon will go to hang it.
- Place in the Ring: Gently place your beautiful floral suncatcher inside one of the mason jar rings. If you want extra security, add a tiny dab of glue around the inner edge of the ring before pressing the suncatcher into place.
- Prepare the Stick: Select a nice, straight stick. Aim for something around 12 inches long, but it can be a bit longer or shorter depending on how many chimes you want.
- Arrange the Chimes: Decide how you want your mason jar lid chimes to hang from the stick. You can stagger them, hang them all at the same level, or get really creative!
- Attach the First Suncatcher: Thread a piece of ribbon through the hole you made in your first suncatcher. Tie one end of the ribbon securely to your stick at the desired height.
- Repeat for More Chimes: Repeat steps 9 through 12 for the remaining mason jar lids and suncatchers.
- Create the Hanger: Cut a longer piece of ribbon and securely tie it to both ends of your stick. This will be the main hanger for your wind chime.
- Hang and Enjoy! Find a perfect spot in your garden or hang it from a window using a large suction cup hook. Now, listen to the gentle tinkling and enjoy the colorful display! You might even want to make a few more to hang near your plants, perhaps inspired by how we create DIY Bioplastic Suncatchers.
Substitutions & Additions
Feeling inspired to mix things up? You totally can!
- Different Blooms: Don’t have flowers? Try colorful leaves, herbs like lavender or rosemary sprigs, or even small dried berries.
- Glitter: For an extra sparkle, sprinkle a little ultra-fine glitter onto the sticky contact paper before adding the second layer.
- Beads: Thread some colorful beads onto the ribbon before tying it to the stick for added movement and sound.
- Painted Stick: Give your stick a coat of paint (chalkboard paint, or bright colors!) before you start adding the chimes for a more customized look.
- More Suncatchers: If you have more mason jar lids, simply add more floral suncatchers to your stick! Just make sure the stick is sturdy enough to hold them.
Tips for Success
Here are a few little tricks I’ve learned along the way:
- Press Firmly: When sealing the contact paper, really take your time to press out all the bubbles. This helps protect the flowers and gives a cleaner look.
- Dry Flowers: If you’re using flowers you’ve pressed yourself, make sure they are completely dry before sealing them in the contact paper. Moisture can cause them to mold.
- Sharp Scissors: A sharp pair of scissors will make cutting the contact paper much easier and cleaner.
- Prep Ahead: You can collect and press your flowers a few weeks in advance. This makes the actual crafting day a breeze!
- Even Distribution: Try to arrange your flowers and petals evenly on the contact paper so the suncatcher looks balanced from both sides.
How to Store Your DIY Garden Suncatcher Wind Chime
These chimes are meant to be enjoyed outdoors! However, if you need to bring them in for the winter or protect them from harsh weather, here’s what to do:
- Bring Indoors: Gently bring your wind chime inside and store it in a dry place, like a shed, garage, or even a basement.
- Protect from Elements: If you’re leaving them out year-round, be aware that prolonged exposure to direct sun and rain can eventually fade the colors of the flowers. While the contact paper offers some protection, it’s not entirely waterproof.
- Shelf Life: With proper care, these lovely chimes can last for a season or even longer. The beauty of using flowers is their natural, fleeting charm!
FAQs
- Can I use fresh flowers that are still a bit damp? It’s best to use flowers that are completely dry. Even a little moisture can cause them to degrade or mold inside the suncatcher over time.
- Will the colors fade? Yes, natural flower colors can fade over time with prolonged exposure to sunlight and weather. This is part of their charm!
- Can kids make this? Absolutely! This is a fantastic craft for kids. You might want to help with the cutting of the contact paper and poking the hole, but they can definitely handle arranging the flowers. It’s a great way to connect with nature, much like our other fun craft ideas like Crayon Star Sun Catchers or Easy DIY Clear Glue Suncatchers.
- What if I don’t have mason jar lids? You can use other sturdy metal rings of a similar size, or even cut out thick cardboard circles and cover them with foil for a different look.
I hope you have a wonderful time creating your own beautiful garden suncatcher wind chimes! They truly add a touch of handmade happiness to any space. If you make one, I’d love to see it! Don’t forget to follow us on Pinterest for more creative inspiration!

Garden Suncatcher Wind Chime
Equipment
- Mason jar lids (3)
- Scissors
- Black permanent marker
- Tool to poke a hole (e.g., awl or skewer)
- Optional: Glue
- Optional: Large suction cup hook
Ingredients
- Small flower blooms and petals Freshly picked or dried
- 12-18 inch stick Sturdy and relatively straight
- 3 Mason jar lids Two larger, one narrow. Metal rings will be used.
- 1 roll Clear contact paper
- 1 Black permanent marker
- 1 pair Scissors Sharp
- Optional: small amount Glue For securing suncatchers
- Several feet Ribbon For hanging
- Optional: 1 Large suction cup hook For smooth surfaces
Instructions
- Step 1: Collect Your Blooms: Gently gather small, flat flowers and petals from your garden or a park.
- Step 2: Prep Contact Paper: Cut two squares of contact paper for each mason jar ring, ensuring each square is larger than the ring.
- Step 3: Trace and Mark: Place a mason jar ring on a contact paper square and trace around the inside with a black marker as a cutting guide.
- Step 4: Sticky Side Up: Peel the backing off one contact paper square and lay it flat, sticky side up.
- Step 5: Arrange Flowers: Delicately arrange your flowers and petals onto the sticky contact paper.
- Step 6: Seal the Suncatcher: Place the second contact paper square, sticky side down, over the flowers. Press firmly from the center outwards to remove air bubbles.
- Step 7: Cut Suncatchers: Use the traced line as a guide to cut out the circular suncatcher, trimming slightly inside the line.
- Step 8: Create Hanging Hole: About half an inch from the edge of the suncatcher, carefully poke a small hole for hanging.
- Step 9: Place in Ring: Gently place the finished suncatcher inside a mason jar ring. Add a tiny dab of glue for extra security if desired.
- Step 10: Prepare Stick: Select a sturdy, straight stick, approximately 12-18 inches long.
- Step 11: Attach Suncatchers: Thread ribbon through the hole of a suncatcher and tie it securely to the stick at the desired height. Repeat for all prepared suncatchers, arranging them as desired.
- Step 12: Create Main Hanger: Cut a longer piece of ribbon and tie it securely to both ends of the stick to create the main hanging loop.
- Step 13: Hang and Enjoy: Find a perfect spot in your garden, patio, or hang from a window using a suction cup hook. Admire your handmade garden suncatcher wind chime!