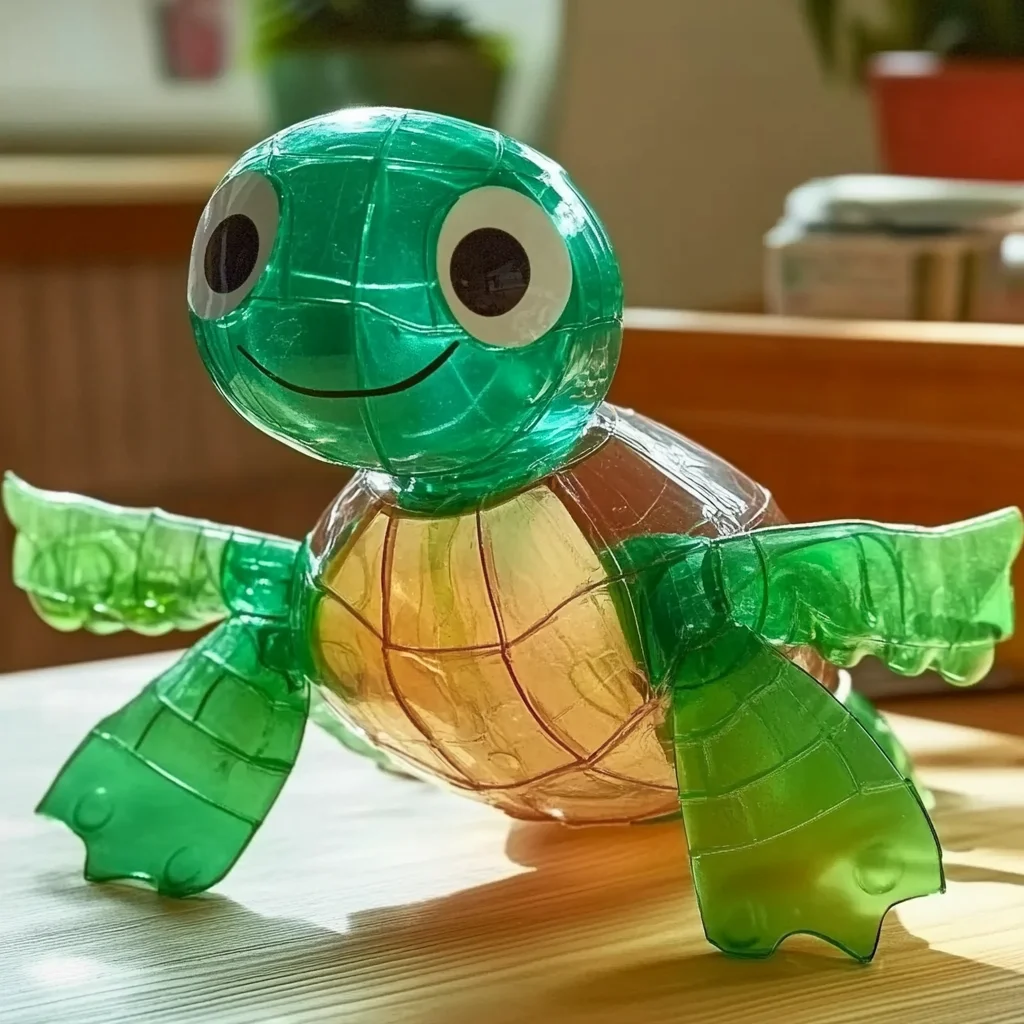
Remember those carefree days of crafting with whatever you could find around the house? There’s something truly special about transforming everyday items into something magical. Today, we’re going back to those roots with a delightful project that’s not only incredibly easy but also gives new life to a common household item: the DIY Plastic Bottle Turtle! This little guy is perfect for a rainy afternoon, a classroom activity, or even a sweet handmade gift. Get ready to dive into some crafting fun!
Why You’ll Love This DIY Plastic Bottle Turtle Craft
- Fast: You can whip up one of these adorable turtles in no time!
- Easy: Perfect for beginners and kids of all ages.
- Giftable: Makes a unique and thoughtful present.
- Crowd-pleasing: Everyone loves a cute turtle!
- Eco-friendly: A fantastic way to upcycle plastic bottles.
Ingredients You’ll Need
Gathering your supplies is super simple. You probably have most of these items already!
- 1 clear plastic bottle (with a rounded bottom): This will form the adorable shell of your turtle. Make sure it’s clean and dry!
- Green construction paper or foam sheet: This is for the turtle’s body parts – head, legs, and tail. You can also use other colors if you’re feeling creative!
- Googly eyes: The classic way to bring your turtle to life.
- Acrylic paint: Choose your favorite shades of green, brown, or even some fun patterns for the shell.
- Paintbrushes: A few different sizes will be helpful for painting the shell and adding details.
- Scissors: Sharp enough to cut through the paper or foam.
- Glue: Craft glue or a hot glue gun (with adult supervision) works best.
- Black marker (optional): For drawing extra details like patterns on the shell or a cute smile.
How to Make Your Adorable DIY Plastic Bottle Turtle
Let’s get crafting! This is where the magic happens.
-
Prepare the Shell
First, grab your clean plastic bottle. Carefully use your scissors to cut off the bottom 2–3 inches. This rounded section will be the perfect domed shell for your turtle. If you’re doing this with younger children, an adult should definitely handle this step.
-
Paint the Shell
Now for the fun part! Take your acrylic paints and paint the inside of the bottle bottom. This gives the shell a nice, smooth finish. Let your imagination run wild with colors! Once painted, set it aside to dry completely. This is a great time to maybe get started on another fun craft, like our DIY Crayon Star Sun Catchers!
-
Craft the Body Parts
While the shell is drying, it’s time to make the turtle’s body. Cut out four identical leg shapes, one head shape, and one tail shape from your green construction paper or foam sheet. Think of simple oval or rounded shapes for the legs and head, and a little teardrop for the tail.
-
Assemble the Body
Lay out your cut-out body parts. You can glue them all onto a flat piece of green paper or foam to create a stable base for the turtle. Or, if you’re feeling a bit more adventurous, you can glue them directly to the sides and bottom of the shell later. I like to create the body first on a separate piece, it makes it easier to get everything lined up!
-
Attach the Shell
Once the paint on your bottle bottom is completely dry, carefully turn it upside down. Apply glue around the edges of the opening and press it firmly onto your assembled turtle body (or the flat surface you used). Make sure it’s securely attached!
-
Add the Finishing Touches
Now, let’s give your turtle some personality! Glue the googly eyes onto the head. If you have a black marker, you can draw a cute mouth, some adorable shell patterns, or even some little toes on the legs. You’ve created a masterpiece!
Substitutions & Creative Additions
Don’t be afraid to get creative with this craft! Here are a few ideas:
- Different Shells: While a plastic bottle bottom is great, you could also use a half of a plastic Easter egg or even cut out a large circle from cardboard and paint it.
- Sparkle and Shine: Add glitter to the paint for a dazzling shell, or glue on sequins.
- Textured Shell: Glue small pebbles, buttons, or even dried beans onto the shell before painting for a unique texture.
- Googly Eyes Alternatives: If you don’t have googly eyes, you can paint circles and add black dots, or cut small circles from black and white paper.
- Plant a Succulent: For a living turtle, carefully clean the bottle bottom, paint the outside, and use it as a small planter for a tiny succulent! You might need to add a small drainage hole if you do this.
- Hanging Turtle: Punch a small hole through the top of the shell and add a string to hang it as a decoration.
Tips for Success
A few little tricks to make your crafting experience even smoother:
- Ventilation: If you’re using strong glues or paints, make sure to work in a well-ventilated area.
- Drying Time: Be patient and let the paint dry completely before moving on to the next step to avoid smudging.
- Sharp Scissors: Using sharp scissors makes cutting the paper or foam much easier and cleaner.
- Test Your Glue: If using a new type of glue, test it on scrap material first to ensure it adheres well to both the plastic and the paper/foam.
- Prep Ahead: You can cut out all the body parts in advance if you’re making several turtles or doing this with a group.
How to Store Your DIY Plastic Bottle Turtle
These little turtles are quite sturdy for display! You can place them on shelves, desks, or even use them as garden decorations (though they might not hold up to the elements for too long outdoors). If you’ve painted them, the acrylic paint should be quite durable. Store them away from direct sunlight to prevent fading if they have any paper components.
Frequently Asked Questions
Q: Can kids do this craft independently?
A: Younger children will need adult supervision for cutting and possibly painting, but older kids can likely manage most steps on their own. It’s a great project for bonding!
Q: What if I don’t have green paper?
A: Feel free to use any color paper or even fabric scraps for the turtle’s body! Brown, yellow, or even bright pink would be fun.
Q: How can I make the shell more durable?
A: Once the paint is dry, you can apply a layer of clear sealant or Mod Podge to the inside of the shell for extra durability and a glossy finish.
We hope you had as much fun creating your DIY Plastic Bottle Turtle as we did! It’s amazing what you can make with a little imagination and some recycled materials. For more crafty inspiration and delicious recipes, be sure to follow us on Pinterest!

DIY Plastic Bottle Turtle
Equipment
- Scissors
- Paintbrushes
- Glue gun (optional)
Ingredients
- 1 clear plastic bottle (with a rounded bottom) Make sure it's clean and dry!
- Green construction paper or foam sheet For body parts (head, legs, tail). Other colors can be used.
- Googly eyes
- Acrylic paint Green, brown, or other colors for the shell.
- Glue Craft glue or hot glue gun.
- Black marker (optional) For drawing details.
Instructions
- Step 1: Carefully cut off the bottom 2–3 inches of the clean plastic bottle. This rounded section will be the turtle's shell. (Adult supervision recommended for this step).
- Step 2: Paint the inside of the bottle bottom with acrylic paints for a smooth shell finish. Let it dry completely.
- Step 3: While the shell dries, cut out four leg shapes, one head shape, and one tail shape from green construction paper or foam.
- Step 4: Assemble the turtle's body by gluing the head, legs, and tail together, or onto a flat piece of paper/foam.
- Step 5: Once the shell is dry, turn it upside down and glue it securely onto the assembled turtle body.
- Step 6: Glue googly eyes onto the head. Use a black marker to add a mouth, shell patterns, or other details.