
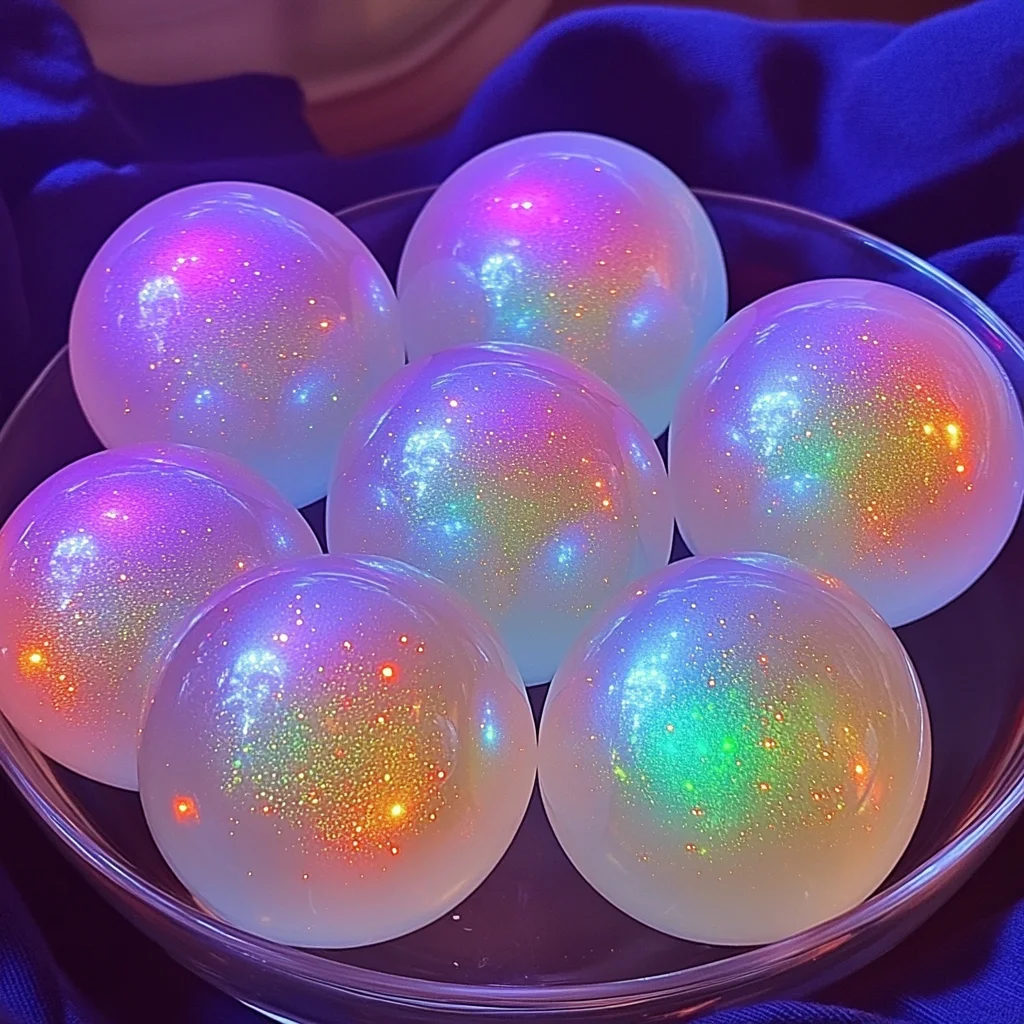
Remember those days as a kid, eagerly shaking a can of glow-in-the-dark paint, dreaming of creating something magical? Or perhaps you recall the sheer joy of a perfectly bounced ball, defying gravity with every spring? Well, get ready to tap into that childlike wonder because today we’re diving into a super fun, totally achievable DIY project: homemade rainbow glow bouncy balls! These aren’t just toys; they’re little bursts of vibrant, bouncy magic that you can create right in your own kitchen. They’re quick, surprisingly easy, and the results are just so satisfying. Plus, they make fantastic little gifts or party favors that are sure to impress!
Why You’ll Love Homemade Rainbow Glow Bouncy Balls
- Fast: You can whip up a batch of these in no time at all!
- Easy: Simple steps, common household ingredients – perfect for beginners.
- Giftable: Package them up for friends, family, or classmates.
- Crowd-pleasing: Who doesn’t love a good bouncy ball, especially one that glows?
Ingredients
Gathering your supplies is half the fun! Here’s what you’ll need to bring these bouncy wonders to life:
- 1 tablespoon borax powder: This is our magic ingredient that helps the bouncy balls form their structure.
- 1/2 cup warm water: Warm water helps the borax dissolve completely.
- 1 tablespoon cornstarch: This adds to the bouncy texture and helps everything bind together.
- 2 tablespoons white school glue: The base for our bouncy balls. Make sure it’s the classic white school glue for the best results.
- Neon food coloring or glow-in-the-dark paint: This is where the magic happens! Use your favorite neon colors or a glow-in-the-dark paint for extra wow factor.
- Small bowls or disposable cups: To mix our ingredients in.
- Craft sticks or spoons for stirring: For mixing up those colorful concoctions.
- Plastic gloves (optional): If you want to keep your hands completely clean, especially when working with food coloring or paint.
How to Make Homemade Rainbow Glow Bouncy Balls
Alright, let’s get our hands a little creative! Follow these simple steps and get ready to bounce:
-
Prepare the Borax Solution
In a small bowl, combine the 1 tablespoon of borax powder with 1/2 cup of warm water. Give it a good stir until the borax is completely dissolved. This is your “activator” solution.
-
Create Your Color Base
In a separate bowl, pour in your 2 tablespoons of white school glue. Now, add a few drops of your neon food coloring or glow-in-the-dark paint. I love to experiment with different color combinations, maybe even trying out some ideas from my rainbow sugar explosions for color inspiration!
-
Add the Cornstarch
To the glue and color mixture, add the 1 tablespoon of cornstarch. Stir this all together until it’s nicely combined. It might look a little lumpy at first, but keep stirring!
-
Activate the Bounce!
This is the exciting part! Slowly start adding about 1 tablespoon of your prepared borax solution to the glue mixture. As you stir, you’ll notice the mixture starting to thicken and come together. Keep stirring quickly and consistently.
-
Shape Your Bouncy Ball
Once the mixture becomes too thick to stir easily, it’s time to get your hands in there! If you’re using gloves, put them on now. Take the gooey mixture out of the bowl and start rolling it between your palms. Keep rolling and shaping it until it forms a smooth ball. It might feel a little sticky at first, but the more you roll, the smoother it will get.
-
Let Them Set
Now for the hardest part: waiting! Let your newly formed bouncy balls sit for about 10 minutes. This gives them a chance to fully set and firm up, ensuring they’ll have that great bounce.
-
Bounce Away!
Once they’re set, give them a gentle test bounce. How fun is that? You’ve just made your own glowing, bouncy creations!
Substitutions & Additions
Feeling inspired to get even more creative? Here are a few ideas:
- Glitter Power: Add a pinch of glitter to your glue mixture for extra sparkle! It looks especially magical with the glow-in-the-dark paint.
- Different Glues: While white school glue works best, you can experiment with clear glue for a slightly different look.
- Scented Fun: Add a drop or two of your favorite essential oil to the glue mixture for a scented bouncy ball. Think of the fun aromas from my DIY gel air fresheners!
- Multi-Colored Balls: Divide your glue mixture into smaller bowls, color each one differently, and then carefully roll them together to create striped or swirled effects. It’s a bit like making DIY bouncing rainbow balls!
Tips for Success
To ensure your bouncy ball-making adventure is a smashing success, keep these tips in mind:
- Don’t Add Too Much Borax Solution: Adding too much borax solution at once can make the mixture too stiff and difficult to work with. Add it gradually!
- Roll Firmly: When shaping the ball, roll it firmly between your hands to ensure it’s well-formed and smooth.
- Humidity Matters: In very humid conditions, your bouncy balls might take a little longer to set or might not bounce quite as high.
- Prep Ahead: You can pre-mix your borax solution and store it in a sealed container for up to a week. Just give it a stir before using.
How to Store Homemade Rainbow Glow Bouncy Balls
To keep your bouncy balls in tip-top shape and maintain their awesome elasticity, it’s best to store them in a sealed plastic bag or an airtight container when you’re not playing with them. This prevents them from drying out. With proper storage, they should last for a good while!
FAQs
Here are a few common questions you might have:
- Q: Can kids make these bouncy balls?
A: Yes! With adult supervision, this is a fantastic activity for kids. They’ll love the hands-on aspect and the glowing results. - Q: Why aren’t my bouncy balls bouncing?
A: This could be due to a few things: not enough borax solution, too much cornstarch, or the ball wasn’t rolled firmly enough. Try adjusting the ratios slightly on your next batch. - Q: Can I use glitter glue?
A: Glitter glue might work, but it can sometimes affect the texture and bounce. It’s best to stick with plain white school glue for the most reliable results.
Have fun creating your own glowing spheres of joy! If you enjoyed this craft and are looking for more creative projects, be sure to follow us on Pinterest!
DIY Rainbow Glow Bouncy Balls
Equipment
- Small bowls or disposable cups
- Craft sticks or spoons
- Plastic gloves (optional)
- Sealed plastic bag or airtight container (for storage)
Ingredients
For the Bouncy Balls
- 1 tablespoon borax powder our magic ingredient that helps the bouncy balls form their structure
- 1/2 cup warm water helps the borax dissolve completely
- 1 tablespoon cornstarch adds to the bouncy texture and helps everything bind together
- 2 tablespoons white school glue the base for our bouncy balls. Make sure it's the classic white school glue for the best results.
- neon food coloring or glow-in-the-dark paint this is where the magic happens! Use your favorite neon colors or a glow-in-the-dark paint for extra wow factor.
Instructions
- Step 1: Prepare the Borax Solution
In a small bowl, combine the 1 tablespoon of borax powder with 1/2 cup of warm water. Give it a good stir until the borax is completely dissolved. This is your "activator" solution. - Step 2: Create Your Color Base
In a separate bowl, pour in your 2 tablespoons of white school glue. Now, add a few drops of your neon food coloring or glow-in-the-dark paint. I love to experiment with different color combinations, maybe even trying out some ideas from my rainbow sugar explosions for color inspiration! - Step 3: Add the Cornstarch
To the glue and color mixture, add the 1 tablespoon of cornstarch. Stir this all together until it’s nicely combined. It might look a little lumpy at first, but keep stirring! - Step 4: Activate the Bounce!
This is the exciting part! Slowly start adding about 1 tablespoon of your prepared borax solution to the glue mixture. As you stir, you'll notice the mixture starting to thicken and come together. Keep stirring quickly and consistently. - Step 5: Shape Your Bouncy Ball
Once the mixture becomes too thick to stir easily, it's time to get your hands in there! If you're using gloves, put them on now. Take the gooey mixture out of the bowl and start rolling it between your palms. Keep rolling and shaping it until it forms a smooth ball. It might feel a little sticky at first, but the more you roll, the smoother it will get. - Step 6: Let Them Set
Now for the hardest part: waiting! Let your newly formed bouncy balls sit for about 10 minutes. This gives them a chance to fully set and firm up, ensuring they’ll have that great bounce. - Step 7: Bounce Away!
Once they're set, give them a gentle test bounce. How fun is that? You've just made your own glowing, bouncy creations!