
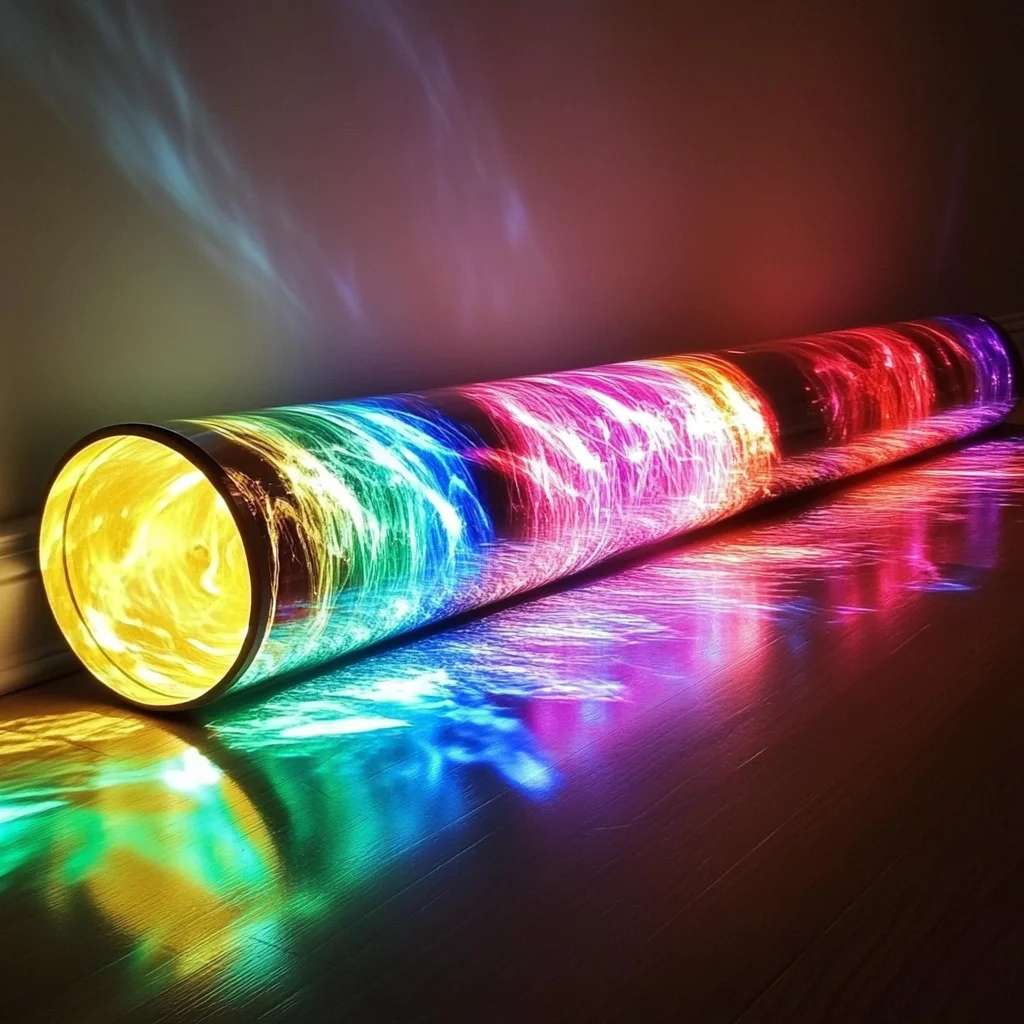
Remember those magical nights when you were a kid, wishing on stars and creating your own little worlds? There’s something so special about playing with light and color, isn’t there? Well, get ready to relive that wonder because I’ve got a super simple, incredibly fun craft that will fill your room with dazzling rainbows. This DIY Rainbow Light Show is perfect for a cozy night in, a party activity, or even just a fun way to de-stress. You can create your own magical light show with just a few household items!
Why You’ll Love DIY Rainbow Light Show
- Fast: Seriously, you can whip this up in minutes!
- Easy: No complicated steps here, just pure, simple fun.
- Giftable: Imagine making a few of these for friends – they’d be thrilled!
- Crowd-pleasing: Kids and adults alike will be mesmerized by the colorful display.
Ingredients
Gathering your supplies is a breeze. You probably already have most of these lurking around your house!
- Empty cardboard tubes: Think toilet paper rolls or paper towel rolls. They’re the perfect canvas for your light show!
- Cling film (plastic wrap): This is what we’ll color to create our rainbow magic.
- Rubber bands or tape: To keep that cling film nice and snug on the tube.
- Permanent markers (variety of bright colors): Get creative with reds, oranges, yellows, greens, blues, and purples!
- Scissors: For trimming the cling film.
- Flashlight or phone light: This is your light source! A brighter one will give a more vibrant effect.
- Craft stick or pencil (optional): If you want a little handle to make rotating easier.
- Dark room or dim lighting area: The darker, the more dramatic the rainbows will be!
How to Make DIY Rainbow Light Show
Alright, let’s get crafting! It’s so straightforward, you’ll be amazed at the results.
- Prep your tube: Grab an empty cardboard tube. We’re going to create our rainbow screen on one end.
- Color the magic: Cut a square of cling film that’s a bit bigger than the opening of your cardboard tube. Lay it flat and let your inner artist shine! Using your permanent markers, color bold, swirly, or striped rainbow designs directly onto the cling film. Don’t be shy with the colors! I like to go for thick, vibrant bands of color.
- Secure the screen: Carefully stretch the colored cling film over one end of the cardboard tube. Make sure it’s pulled taut and smooth. Secure it tightly with a rubber band or a few pieces of tape around the edges. You want it to look like a little colorful drumhead.
- Set the scene: Find a dark or dimly lit room. This is crucial for seeing those amazing colors pop!
- Shine a light: Take your flashlight or phone light and shine it through the open end of the cardboard tube. Aim the beam directly at the colored cling film you just created.
- Let the show begin! Now, slowly rotate the tube or move the light around. Watch as beautiful, dancing rainbow patterns project onto your walls and ceiling! It’s truly mesmerizing.
- Add a handle (optional): If you want a bit more control, you can tape or insert a craft stick or pencil into the open end of the tube. This gives you a nice handle to easily twist and turn your rainbow projector.
Isn’t that just the coolest? You can experiment with different color combinations on the cling film to see what kind of magical effects you can create. It’s almost as satisfying as making a batch of easy cake mix toffee bars or whipping up some copycat Wendy’s Frosty!
Substitutions & Additions
Feel free to get even more creative with this simple craft!
- Different Designs: Instead of just stripes, try dots, swirls, or even abstract patterns.
- Multiple Colors on One Screen: Layer colors or create gradients on the cling film for more complex light effects.
- Add Glitter: For an extra sparkle, you could try adding a tiny bit of glitter to the cling film before stretching it over the tube.
- Decorate the Tube: Before adding the cling film, you could decorate the outside of the cardboard tube with more markers, paint, or even wrapping paper.
- Use Different Lights: While a flashlight is great, you could also experiment with colored LED lights for a different kind of glow. If you’re looking for other fun science-y crafts, check out how to make glow in the dark bubbles!
Tips for Success
A few little tricks to make your rainbow light show even more spectacular:
- Taut Cling Film is Key: Make sure the cling film is stretched very tightly. Loose film will result in blurry or distorted rainbows.
- Bright Colors Work Best: Use vibrant permanent markers for the most impactful colors.
- Experiment with Light Source: The intensity of your flashlight will affect the brightness of the projected image.
- Darkness is Your Friend: The darker the room, the more vivid your rainbow display will be.
- Prep Ahead: You can color multiple cling film squares ahead of time, so you can easily swap them out and create different light shows whenever the mood strikes. This is a great way to prepare for a party, just like having a batch of 4th of July Oreo balls ready to go!
How to Store DIY Rainbow Light Show
These are so simple and fun, you’ll probably want to make a few! To store them, simply keep the cardboard tubes in a dry place. If the cling film screen gets damaged, you can easily replace it by coloring a new piece of cling film and reattaching it. They don’t really “go bad,” so you can keep them as long as you like!
FAQs
Here are a few common questions:
- Can kids do this craft on their own? Yes! With a little supervision for younger children when using scissors, this is a fantastic craft for kids of all ages.
- What if I don’t have permanent markers? While permanent markers give the best color saturation, you could try thick Crayola markers or even washable markers, but the colors might be less vibrant.
- Can I use something other than cling film? You could try thin plastic bags, but cling film usually works best because it’s so pliable and easy to stretch taut.
I hope you have as much fun making and playing with your DIY Rainbow Light Show as I do! It’s such a simple way to bring a little extra magic into your day. If you’re always looking for fun and easy DIYs, be sure to follow our Pinterest for more creative ideas!
DIY Rainbow Light Show
Equipment
- Empty cardboard tubes
- Cling film (plastic wrap)
- Rubber bands or tape
- Permanent markers
- Scissors
- Flashlight or phone light
- Craft stick or pencil (optional)
Ingredients
- Empty cardboard tubes toilet paper rolls or paper towel rolls
- Cling film (plastic wrap) for coloring
- Rubber bands or tape for securing cling film
- Permanent markers variety of bright colors
- Scissors
- Flashlight or phone light your light source
- Craft stick or pencil (optional) for a handle
Instructions
- Step 1: Prep your tube: Grab an empty cardboard tube. We're going to create our rainbow screen on one end.
- Step 2: Color the magic: Cut a square of cling film that's a bit bigger than the opening of your cardboard tube. Lay it flat and let your inner artist shine! Using your permanent markers, color bold, swirly, or striped rainbow designs directly onto the cling film. Don't be shy with the colors! I like to go for thick, vibrant bands of color.
- Step 3: Secure the screen: Carefully stretch the colored cling film over one end of the cardboard tube. Make sure it's pulled taut and smooth. Secure it tightly with a rubber band or a few pieces of tape around the edges. You want it to look like a little colorful drumhead.
- Step 4: Set the scene: Find a dark or dimly lit room. This is crucial for seeing those amazing colors pop!
- Step 5: Shine a light: Take your flashlight or phone light and shine it through the open end of the cardboard tube. Aim the beam directly at the colored cling film you just created.
- Step 6: Let the show begin! Now, slowly rotate the tube or move the light around. Watch as beautiful, dancing rainbow patterns project onto your walls and ceiling! It's truly mesmerizing.
- Step 7: Add a handle (optional): If you want a bit more control, you can tape or insert a craft stick or pencil into the open end of the tube. This gives you a nice handle to easily twist and turn your rainbow projector.