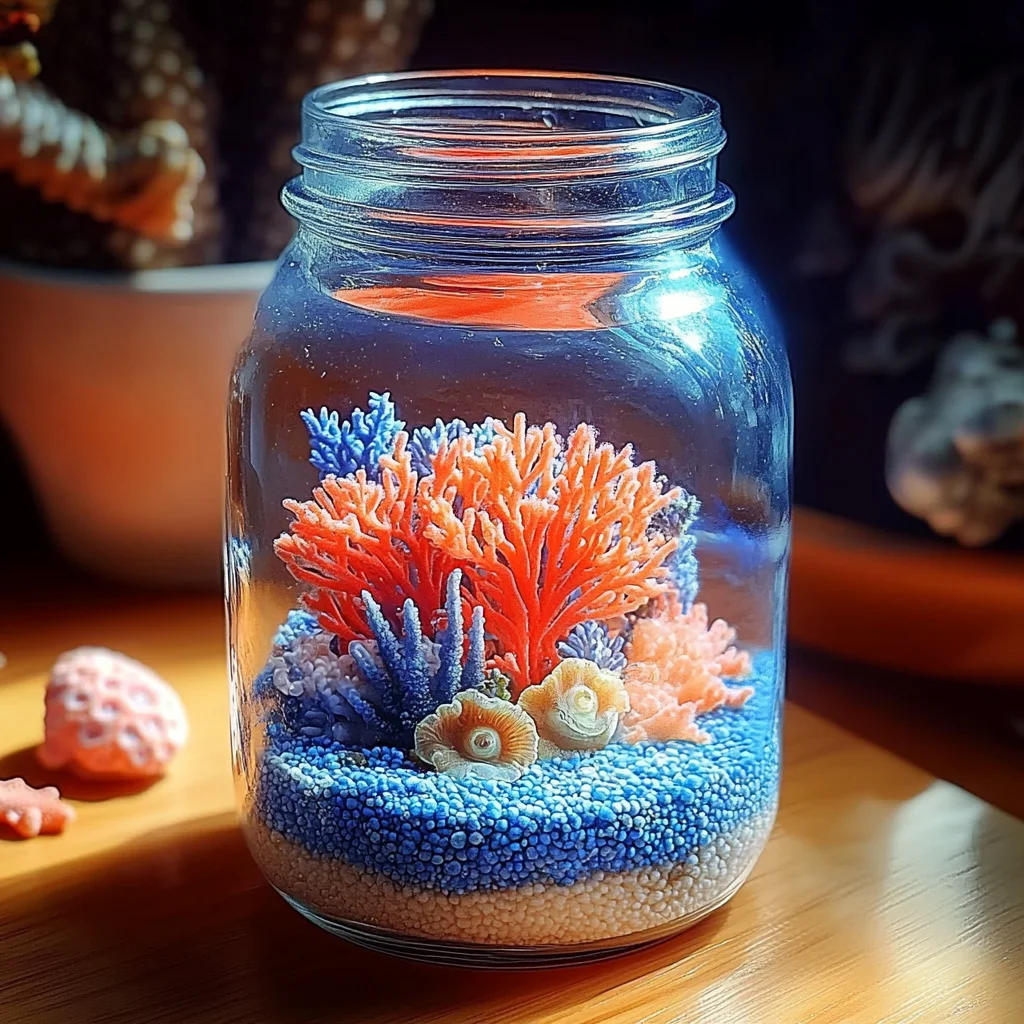
Have you ever gazed into the ocean, mesmerized by the vibrant colors and bustling life beneath the waves? The beauty of underwater ecosystems can inspire us to create, and today, I invite you to bring a piece of that magic into your home with a DIY Reef in a Jar. This enchanting project not only allows you to express your creativity but also serves as a calming, meditative experience—perfect for a cozy afternoon spent with loved ones. Imagine the satisfaction of crafting your own miniature underwater paradise, feeling the textures of sand and pebbles, and seeing the playful arrangement of corals and sea creatures come to life. Let’s dive in!
Why You’ll Love DIY Reef in a Jar
- Beginner-friendly
- Budget-friendly
- Creative and fun
- Great for kids and families
- Perfect for gifts or decorations
- Customizable
The Heart Behind This DIY
Creating a DIY Reef in a Jar is more than just a fun activity; it’s a wonderful way to connect with your imagination and those around you. As you layer the sand, pebbles, and vibrant corals, you will find yourself in a state of mindfulness, focusing on each element and how it contributes to your unique creation. This process encourages not only creativity but also builds confidence as you see your vision transform into a tangible piece of art. Plus, it’s a fantastic opportunity to bond with family or friends, sharing stories and laughter as you work together. Crafting is a joyful way to express yourself and create lasting memories!
A Gentle Look at the Process
As you embark on this crafting journey, expect to experience a delightful mix of textures and colors. You will begin by preparing your jar, a simple yet beautiful vessel for your reef. Layer by layer, you will build your creation, feeling the soft sand under your fingers and arranging the colorful corals just right. With each step, you will find joy in the little details, from the sparkle of the water to the playful placement of sea creatures. It’s a relaxing process that allows for creativity to flow freely, leaving you with a stunning piece that captures the essence of the ocean.
Materials You’ll Need
- Clear glass jar with lid: This will be the home for your reef, showcasing all your hard work.
- Aquarium grade sand: This creates the base for your underwater environment.
- Small pebbles or gravel: These add texture and depth to your reef.
- Small artificial corals: Choose vibrant colors to bring your reef to life.
- Small plastic sea creatures: Fish, starfish, or any ocean-themed additions you like.
- Driftwood or rocks: Optional, but they add a natural touch to your design.
- Water: To fill your jar and create a realistic underwater effect.
- Decorative shell: An optional final touch to enhance the oceanic vibe.
Step-by-Step Directions
Step 1
Begin by cleaning your glass jar thoroughly. Make sure it is free of dust and debris so your reef can shine bright.
Step 2
Add the aquarium grade sand to the bottom of the jar, spreading it evenly to create a solid base layer. Feel the softness of the sand as you pour it in.
Step 3
Layer the small pebbles or gravel on top of the sand, distributing it evenly. The mix of colors and textures will start to come to life!
Step 4
Position the artificial corals in the jar, arranging them in a way that pleases your eye. Have fun with this part—there are no wrong choices!
Step 5
Place the small plastic sea creatures among the corals and pebbles, ensuring they are securely positioned. Imagine them swimming through the reef!
Step 6
If desired, add small pieces of driftwood or rocks to enhance the reef’s appearance. This can add a lovely natural feel.
Step 7
Carefully pour water into the jar until it is filled to your desired level. Take your time to avoid disturbing your beautiful arrangement.
Step 8
Optionally, add a decorative shell to complete the look. This little detail can make a big difference!
Step 9
Secure the lid on the jar if you’d like to keep the contents protected. Your reef is now ready to be showcased!
Creative Ways to Use DIY Reef in a Jar
Once your DIY Reef in a Jar is complete, the possibilities for enjoying it are endless! You can place it on a windowsill, allowing natural light to illuminate the colors, or use it as a centerpiece on your dining table. It also makes a thoughtful gift for birthdays or housewarmings. Children can use it as a playful decoration in their room, sparking their imagination as they dream of ocean adventures. Not to mention, it’s a perfect conversation starter when friends come over!
How to Store, Preserve, or Reuse DIY Reef in a Jar
To keep your DIY Reef in a Jar looking fabulous, store it in a cool, dry place away from direct sunlight. If you notice any dust settling on the jar, simply wipe it down with a soft cloth. If you ever feel inspired to change things up, you can carefully remove the contents and start fresh with new materials, creating an entirely new underwater scene!
Creative Variations and Customizations
- Color variations: Use different colored sands or corals to match your decor.
- Theme ideas: Consider a tropical reef or a deep-sea exploration theme!
- Seasonal adaptations: Add holiday-themed elements for festive displays.
- Kid-friendly modifications: Use edible materials for a fun twist.
- Advanced creative upgrades: Experiment with LED lights to illuminate your reef.
Tips for Success
- Common mistakes to avoid: Make sure not to overfill the jar, as it can disturb the arrangement.
- Safety tips: If using small items, ensure they are safe for children if they are participating.
- Preparation suggestions: Gather all materials before starting to make the process smoother.
- Cleanup recommendations: Have a small vacuum handy for any sand spills.
- Expert crafting tips: Take your time with the arrangement; there’s no rush!
FAQs About DIY Reef in a Jar
Can beginners make this?
Absolutely! This project is beginner-friendly and perfect for anyone looking to explore their creativity.
Can children participate?
Yes! This is a fun activity for children, with adult supervision for the pouring of water.
How long does it last?
Your reef can last indefinitely if stored properly and kept dust-free.
Can I customize it?
Definitely! Feel free to mix and match colors and themes to make it uniquely yours.
A Final Creative Note
As you wrap up your crafting session, take a moment to admire your beautiful DIY Reef in a Jar. Celebrate the creativity and self-expression that brought it to life, and remember that every handmade project is a reflection of your unique journey. Whether you’re crafting alone or with loved ones, you’ve created something truly special today. For more delicious recipes, check out the delightful blueberry cheesecake swirl rolls or the tasty easy peaches and cream pie for treats you will love! And for more DIY inspiration, be sure to follow our Pinterest account for endless ideas!