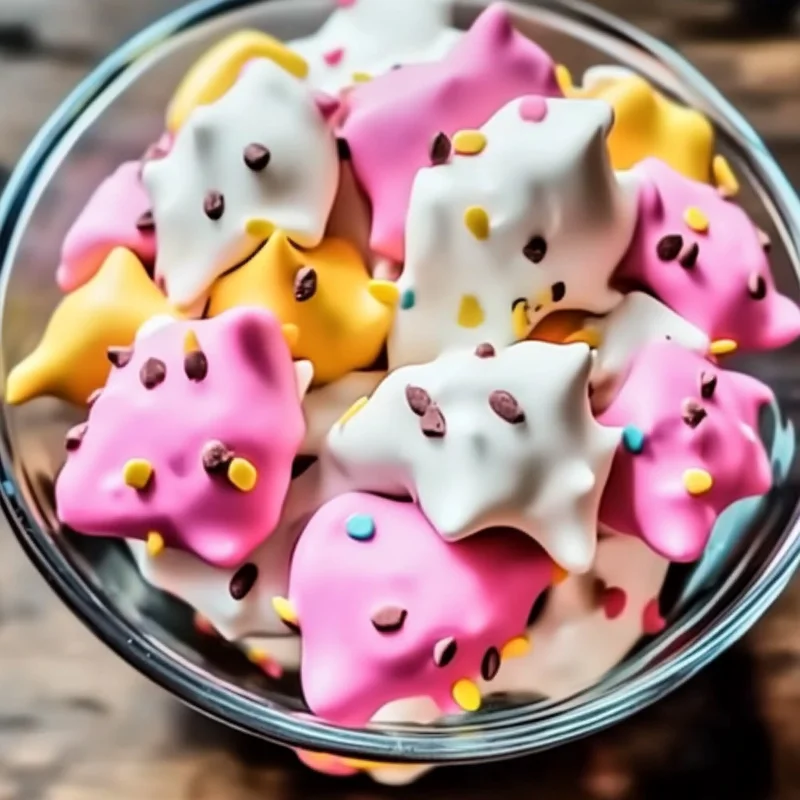
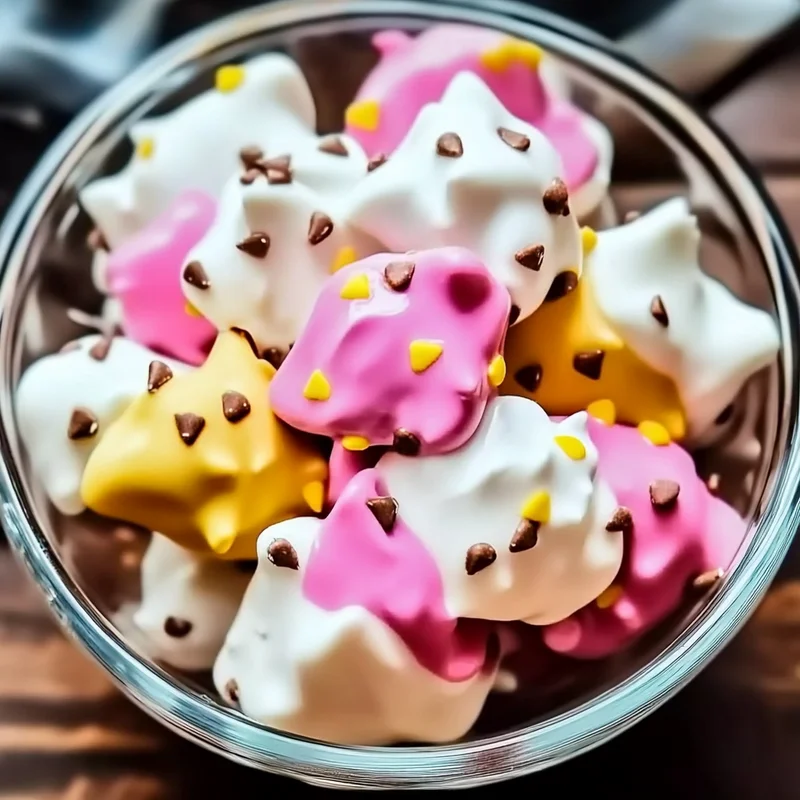
Oh my goodness, do I have a treat for you today! Sometimes, you just need something sweet and simple that brings back happy memories, right? This Easy Frozen Cool Whip Candy is exactly that kind of magic. It’s the kind of recipe that feels like a little secret – how can something so incredibly easy taste so delightful? It’s like a little cloud of sweet, frozen goodness that melts in your mouth. Whether you’re looking for a super quick dessert, a fun project with the kids, or a sweet bite after dinner, this recipe is about to become your new go-to. Seriously, you probably have most of the ingredients in your pantry and freezer right now!
Why You’ll Love This Recipe
- Fast: Ready to freeze in minutes!
- Easy: Literally just mix and freeze. No baking required!
- Giftable: Package these up for a sweet homemade gift.
- Crowd-pleasing: Kids and adults alike adore these little bites.
Ingredients
Here’s what you’ll need to whip up these dreamy frozen treats:
- 1 (8-ounce) container of Cool Whip, thawed: Make sure it’s fully thawed but still cold! This is the base that makes them so light and fluffy.
- 1 package (3.4 ounces) of instant pudding mix (any flavor): This is where the flavor magic happens and helps the candy set up. Vanilla, chocolate, butterscotch, cheesecake… the possibilities are endless!
- 1 cup powdered sugar: Adds sweetness and helps with the texture, making them lovely and smooth.
- 1 teaspoon vanilla extract: A little extra warmth and flavor, especially nice if you’re using vanilla or chocolate pudding.
- Food coloring (optional): Totally up to you, but a few drops can make them extra fun and festive!
- Sprinkles or colored sugar (optional, for decoration): Adds a pop of color and makes them look extra special.
How to Make It
Okay, get ready for possibly the easiest recipe instructions ever! You’re going to love how quickly this comes together.
- First things first, grab a medium mixing bowl. You want one that gives you plenty of room to mix.
- Add the thawed Cool Whip, the dry instant pudding mix right from the package, the powdered sugar, and the vanilla extract into the bowl.
- Now, grab your spatula or a sturdy spoon and start mixing! You’ll want to mix until everything is really well combined. Keep going until the mixture is thick, smooth, and creamy. It might look a little loose at first, but it will thicken as you mix.
- If you’re feeling colorful, now’s the time to add your food coloring. Just a few drops usually does the trick! Mix it in until you get a nice, even color throughout the mixture.
- Next, get a baking sheet or a tray ready. Line it with parchment paper or wax paper – this is key so your candies don’t stick!
- Now, it’s time to portion out your candies. You can use a spoon to drop spoonfuls onto the prepared tray, or for neater, more uniform shapes, I love using a small cookie scoop or a melon baller. Just scoop and drop onto the paper!
- If you’re using sprinkles or colored sugar, sprinkle them on top of the candies right away, before they go into the freezer. This is where you can make them extra pretty!
- Pop the entire tray into the freezer. You’ll need to let them freeze for about 2 to 3 hours, or until they are nice and firm. You’ll know they’re ready when you can easily lift them off the paper.
Substitutions & Additions
This recipe is super forgiving and easy to customize! Here are a few ideas to get your creative juices flowing:
- Pudding Power: Don’t limit yourself to vanilla! Try chocolate pudding for a fudge-like bite, lemon or cheesecake for a zesty treat, or even pistachio for something unexpected.
- Extract Excitement: Swap the vanilla extract for almond extract, peppermint extract (especially around the holidays!), or even a little coconut extract.
- Mix-Ins: Gently fold in mini chocolate chips, chopped nuts, or even some crushed freeze-dried fruit after you’ve mixed everything together. Be careful not to overmix once you add them.
- Real Whipped Cream: While the recipe is designed for Cool Whip’s stability, you can experiment with stabilized homemade whipped cream, but the texture and freezing might differ slightly. Cool Whip really makes it easy!
Tips for Success
This recipe is pretty foolproof, but here are a couple of pointers to make sure yours turn out perfectly every time:
- Cool Whip Cues: Make SURE your Cool Whip is thawed but still cold. If it’s frozen, it won’t mix properly. If it’s warm or melted, the texture won’t be right and it might not set well.
- Instant Only: Use INSTANT pudding mix, not cook-and-serve. The instant pudding has ingredients that help it set up without heat, which is exactly what you need here.
- Mix it Well: Don’t be afraid to mix thoroughly. You want the pudding powder fully incorporated and the mixture thick before scooping.
- Patience in the Freezer: Give them the full 2-3 hours (or even a bit longer if needed) to freeze until firm. Trying to move them too early will result in mushy candies.
- Paper Power: Don’t skip the parchment or wax paper! It prevents sticking and makes lifting the frozen candies off the tray a breeze.
How to Store It
These little frozen candies are best stored right back in the freezer! Once they are fully frozen on the tray, you can transfer them to an airtight container or a freezer-safe bag. They tend to freeze into individual pieces nicely, especially if you used parchment paper. Stored properly in the freezer, they should last for about 2-3 weeks, though I doubt they’ll stick around that long!
FAQs
Got questions? I’ve got answers!
Q: Can I use sugar-free pudding mix?
A: Yes, absolutely! Sugar-free instant pudding mix works just fine in this recipe.
Q: Why didn’t my candy set up firmly?
A: This could be because the Cool Whip wasn’t fully thawed but still cold, or you might not have used instant pudding mix. Make sure you used instant, thawed Cool Whip, and gave them enough time in a cold freezer.
Q: Can I leave them out at room temperature?
A: No, these need to stay frozen! They will become soft and melt if left at room temperature.
Q: How many does this recipe make?
A: It really depends on the size of your spoonfuls or scoops, but typically this recipe makes around 24-36 small candies.

Easy Frozen Cool Whip Candy
Equipment
- medium mixing bowl
- spatula or sturdy spoon
- baking sheet or tray
- parchment paper or wax paper
- small cookie scoop or melon baller optional
- freezer
- airtight container or freezer-safe bag for storage
Ingredients
Ingredients
- 1 container Cool Whip 8-ounce, thawed and cold
- 1 package instant pudding mix 3.4 ounces, any flavor, dry
- 1 cup powdered sugar
- 1 teaspoon vanilla extract
- Food coloring optional, a few drops
- Sprinkles or colored sugar optional, for decoration
Instructions
- First things first, grab a medium mixing bowl. You want one that gives you plenty of room to mix.
- Add the thawed Cool Whip, the dry instant pudding mix right from the package, the powdered sugar, and the vanilla extract into the bowl.
- Now, grab your spatula or a sturdy spoon and start mixing! You’ll want to mix until everything is really well combined. Keep going until the mixture is thick, smooth, and creamy. It might look a little loose at first, but it will thicken as you mix.
- If you’re feeling colorful, now’s the time to add your food coloring. Just a few drops usually does the trick! Mix it in until you get a nice, even color throughout the mixture.
- Next, get a baking sheet or a tray ready. Line it with parchment paper or wax paper – this is key so your candies don’t stick!
- Now, it’s time to portion out your candies. You can use a spoon to drop spoonfuls onto the prepared tray, or for neater, more uniform shapes, I love using a small cookie scoop or a melon baller. Just scoop and drop onto the paper!
- If you’re using sprinkles or colored sugar, sprinkle them on top of the candies right away, before they go into the freezer. This is where you can make them extra pretty!
- Pop the entire tray into the freezer. You’ll need to let them freeze for about 2 to 3 hours, or until they are nice and firm. You’ll know they’re ready when you can easily lift them off the paper.