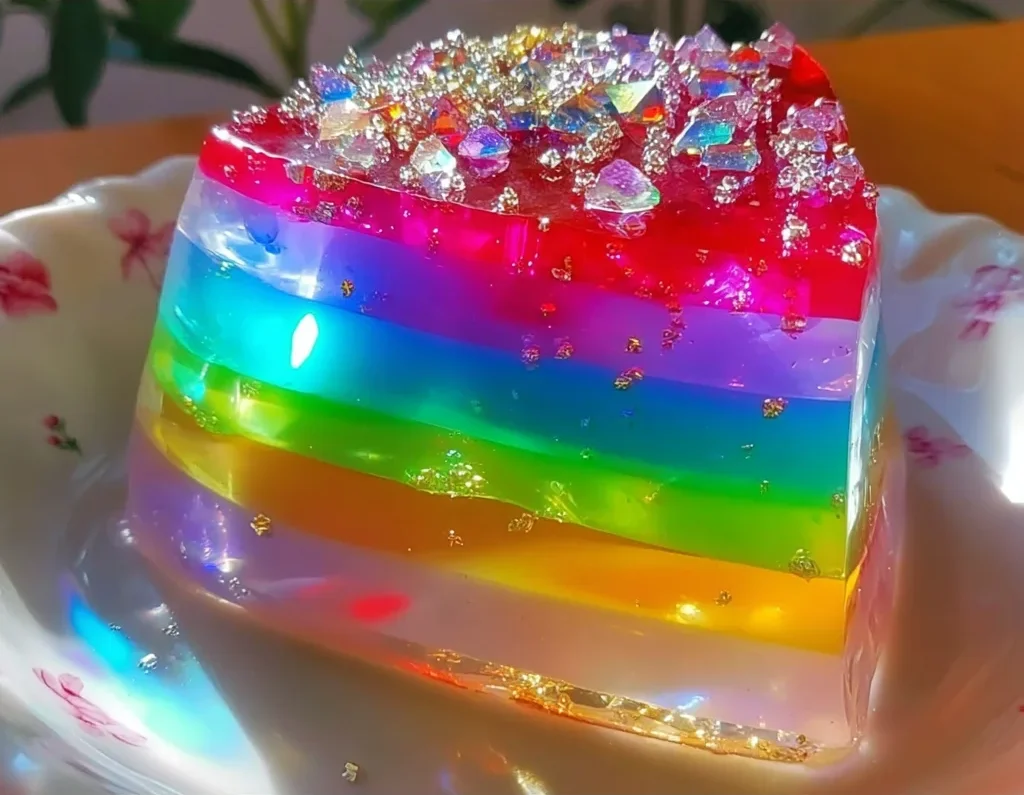
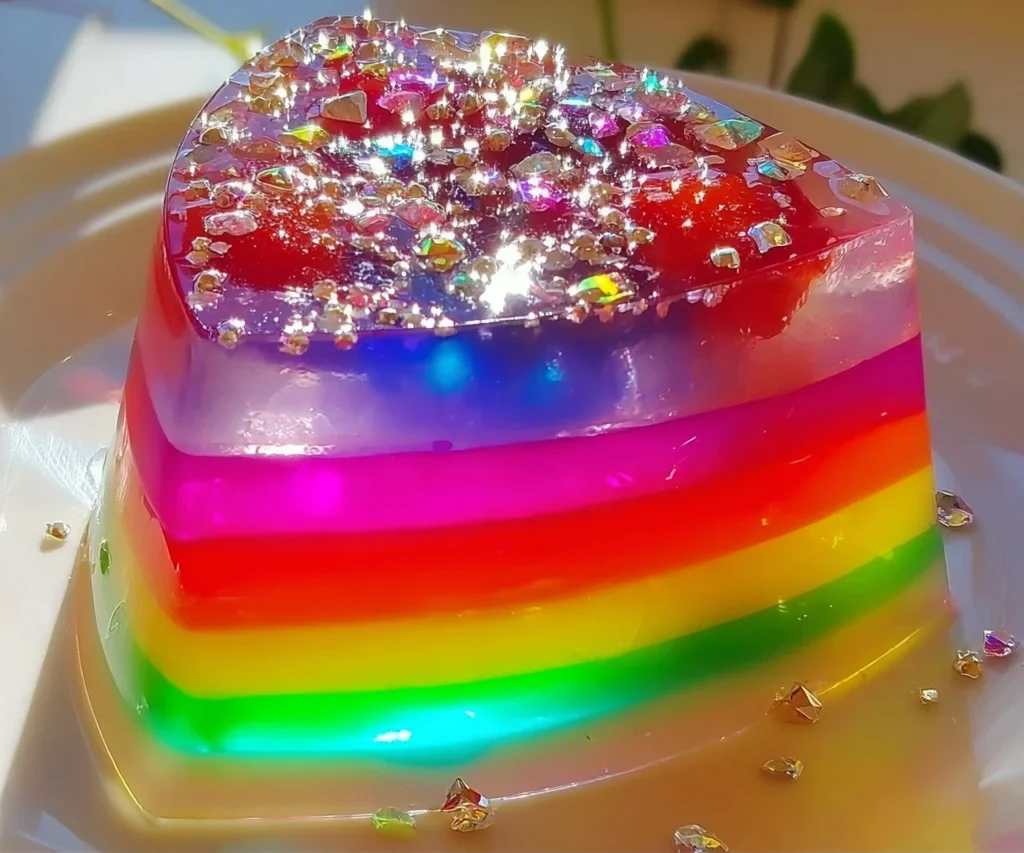
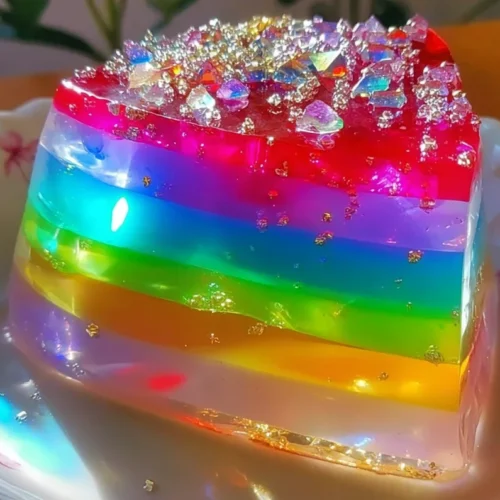
Hey there, baking (or should I say, jelly-making!) friends! Do you remember those magical moments as a kid, maybe seeing a rainbow after a storm or the dazzling colors of hard candies? This Rainbow Crystal Jelly Cake brings back all that joy and wonder in dessert form! It’s not a “cake” in the traditional sense – no flour, no baking – but it is a glorious, wobbly tower of pure, colorful happiness. And guess what? It’s SO much easier than you think! I made this recently for a family get-together, and everyone’s eyes lit up. It’s truly a show-stopper that requires minimal effort but delivers maximum impact. Ready to add some sparkle to your day?
Why You’ll Love This Recipe
- Fast: Minimal active time, mostly just waiting for layers to chill.
- Easy: No baking required, simple steps perfect for beginners!
- Giftable: Package up individual servings for a sweet, colorful treat.
- Crowd-pleasing: Who can resist a wobbly, colorful rainbow dessert? Kids and adults adore it!
Ingredients
Gather ’round, let’s talk about the simple stars of this colorful show. You won’t need a long list, just a few key players to create this crystal-clear magic!
- 10g agar-agar powder (unflavored): This is our vegetarian gelling agent! Make sure it’s powder, as flakes need different ratios. It gives that perfect wobbly-but-firm texture.
- 800ml water: Our liquid base. Simple tap water works perfectly.
- 100g granulated sugar: Just enough sweetness to balance the flavors. You can adjust this slightly to your liking.
- 1/2 teaspoon vanilla extract: A little splash of warmth and classic flavor.
- 1/2 cup sweetened condensed milk: Ah, the secret ingredient for that lovely milky layer look and creamy sweetness!
- 1/2 cup coconut milk: Adds a subtle richness and tropical hint, and helps create the opaque white layers between the colors.
- Gel food coloring (red, orange, yellow, green, blue, purple): Gel works best as it’s concentrated and won’t add too much liquid. You’ll want a good set of rainbow colors!
- Edible glitter or luster dust (optional, for shimmer): This is where the “crystal” part really shines! A little sprinkle adds sparkle.
How to Make It
Alright, apron on? Let’s make some rainbow magic happen! Don’t worry, it’s super straightforward.
- Get Started: In a medium saucepan, combine the agar-agar powder and water. Give it a good stir to help the agar-agar dissolve as much as possible initially. Turn the heat to medium and bring this mixture to a gentle boil, stirring occasionally. You need to boil agar-agar to activate its gelling properties properly – usually 1-2 minutes of simmering after boiling is good!
- Sweeten Up: Once it’s boiling gently, reduce the heat slightly. Add in the granulated sugar and stir, stir, stir until every single crystal is dissolved. This only takes a minute or two.
- Add Creaminess & Flavor: Now, whisk in the vanilla extract, sweetened condensed milk, and coconut milk. Mix everything thoroughly until you have a smooth, unified liquid base.
- Divide the Base: Carefully divide this warm jelly mixture as evenly as possible into 6 heatproof bowls. These will be your color stations!
- Color Time! Add a different gel food color to each bowl. Start with just a tiny drop or two – you can always add more to get your desired intensity. Stir each bowl well until the color is uniform. Isn’t watching the colors swirl in just the best part?!
- Prep Your Mold: Lightly grease your silicone or non-stick jelly mold (or individual molds). A tiny bit of neutral oil or cooking spray on a paper towel works wonders to ensure easy unmolding later.
- Layer One (Red!): Pour the red jelly mixture into the prepared mold. Pop it in the refrigerator for about 10–15 minutes. You want it to be set enough that the next layer won’t mix in, but not so firm that the layers won’t adhere together. It should be just firm to the touch but still a little soft.
- Keep Layering: Gently, gently pour or spoon the next layer (orange) over the set red layer. Take your time! Repeat this process with yellow, green, blue, and finally purple, chilling each layer for 10-15 minutes in between adding the next. This is the part that takes a little patience, but trust me, the result is worth it!
- Final Chill: Once your beautiful stack of colors is complete and the purple layer is added, refrigerate the entire cake for at least 2 hours (or ideally, longer) until it’s completely firm and fully set.
- Unmold & Serve! This is the grand reveal! Carefully unmold your jelly cake. If using a silicone mold, gently peel the edges away and then invert onto your serving plate. If using a stiffer mold, you might need to briefly dip the bottom in warm water (just a few seconds!) to help release it, then invert quickly. If you like, give it a sprinkle of edible glitter or luster dust for that extra sparkle. Serve chilled and watch everyone ooh and aah!
Substitutions & Additions
Want to play around with the recipe? Go for it! Here are a few ideas:
- Different Milk: Not a fan of coconut milk? You can try swapping it out for evaporated milk or even just more sweetened condensed milk for an extra creamy result.
- Less Sweet: If you prefer it less sweet, you can slightly reduce the granulated sugar, but keep the condensed milk as it’s key for the white layers.
- Vegan: This recipe is already vegan thanks to agar-agar! Just ensure your sugar is vegan-friendly.
- Flavors: Instead of (or in addition to) vanilla, try a little almond extract, a drop of food-grade essential oil like orange or peppermint, or even some fruit juice added to specific color layers (reducing the water slightly).
- Fruit Fun: You can suspend small pieces of soft fruit (like berries or mandarin segments) within the layers once they are partially set (just before adding the next layer).
- Different Colors: Don’t want a rainbow? Make layers in your favorite colors for a holiday or special event!
Tips for Success
Even though it’s easy, a few tips can make sure your Rainbow Crystal Jelly Cake turns out perfectly:
- Dissolve the Agar-Agar: Don’t skip the initial boil! Agar-agar needs to boil for a couple of minutes to fully dissolve and activate properly. If it doesn’t set, this is usually why.
- Layering Temperature: The key is to pour the next layer when the one beneath is set but still slightly sticky on top. If it’s too hard, the layers might separate when unmolded. If it’s too soft, the colors will bleed. 10-15 minutes in the fridge is usually the sweet spot, but this can vary based on your fridge temperature and mold size. Gently touch the top – if it feels firm and cool but yields slightly, it’s ready.
- Gentle Pouring: Pour the new layer slowly over the back of a spoon held just above the set layer. This helps distribute the liquid gently and prevents it from breaking the layer below.
- Mold Choice: Silicone molds are the easiest for unmolding this type of dessert. If using a rigid mold, make sure it’s truly non-stick or very well-greased.
- Prep Ahead: You can make the full white base mixture (Steps 1-3) ahead of time and store it in the fridge. When ready to make the cake, gently re-warm it on the stove (don’t boil vigorously) until liquid again, then proceed with dividing and coloring. Or, you can divide and color the bases and keep them in separate covered bowls in the fridge, gently re-warming each color as you need it for layering.
How to Store It
Once your beautiful jelly cake is complete, you’ll want to keep it happy and jiggly in the fridge!
Store the Rainbow Crystal Jelly Cake in an airtight container in the refrigerator. It will keep well for 4-5 days. Make sure it’s covered so it doesn’t dry out or absorb fridge smells.
FAQs
Can I use gelatin instead of agar-agar?
Yes, you can, but the texture will be slightly different (gelatin is more wobbly, agar-agar is a bit firmer). You’ll also need to adjust the quantity and method, as gelatin usually requires blooming in cold liquid first and shouldn’t be boiled. This recipe is specifically developed for agar-agar, which is also vegetarian/vegan!
Why did my layers separate?
This usually happens if the layer below was too firm or dry when you poured the next layer on top. Make sure you are layering when the previous layer is set but still slightly soft/sticky to the touch (usually 10-15 minutes in the fridge).
My jelly didn’t set! What went wrong?
The most common reason for agar-agar not setting is that it wasn’t boiled long enough initially to fully dissolve and activate. Ensure you bring the water/agar-agar mixture to a boil and let it simmer gently for at least 1-2 minutes, stirring well.
Can I use natural food coloring?
Absolutely! Be mindful that natural colors might not be as vibrant or might change color slightly when mixed with the milky base. You may also need to use more to achieve the desired shade.
Vibrant Rainbow Crystal Jelly Cake
Equipment
- Medium saucepan
- Heatproof Bowls
- Jelly Mold
- whisk
Ingredients
For the Jelly
- 10 g agar-agar powder unflavored
- 800 ml water
- 100 g granulated sugar
- 0.5 tsp vanilla extract
- 0.5 cup sweetened condensed milk
- 0.5 cup coconut milk
- Gel food coloring red, orange, yellow, green, blue, purple
- Edible glitter or luster dust optional, for shimmer
- neutral oil or cooking spray for greasing mold
Instructions
- Step 1: In a medium saucepan, combine the agar-agar powder and water. Stir well. Heat over medium heat and bring to a gentle boil, stirring occasionally. Simmer for 1-2 minutes to activate the gelling properties.
- Step 2: Reduce heat slightly. Add the granulated sugar and stir until completely dissolved (about 1-2 minutes).
- Step 3: Whisk in the vanilla extract, sweetened condensed milk, and coconut milk. Mix thoroughly until the liquid is smooth and unified.
- Step 4: Carefully divide this warm jelly mixture as evenly as possible into 6 heatproof bowls.
- Step 5: Add a different gel food color (red, orange, yellow, green, blue, purple) to each bowl. Start with a small amount and stir well until the desired color intensity is reached and the color is uniform in each bowl.
- Step 6: Lightly grease your silicone or non-stick jelly mold (or individual molds) with a tiny bit of neutral oil or cooking spray on a paper towel.
- Step 7: Pour the red jelly mixture into the prepared mold. Refrigerate for about 10–15 minutes, or until set but still slightly soft and sticky to the touch.
- Step 8: Gently pour or spoon the next layer (orange) over the set red layer. Repeat this process with yellow, green, blue, and finally purple, chilling each layer for 10-15 minutes in between adding the next. Pour slowly over the back of a spoon to avoid disturbing the layer below.
- Step 9: Once all layers are added and the purple layer is poured, refrigerate the entire cake for at least 2 hours (or ideally, longer) until it is completely firm and fully set.
- Step 10: Carefully unmold the jelly cake. Serve chilled. Optionally garnish with edible glitter or luster dust for sparkle.