
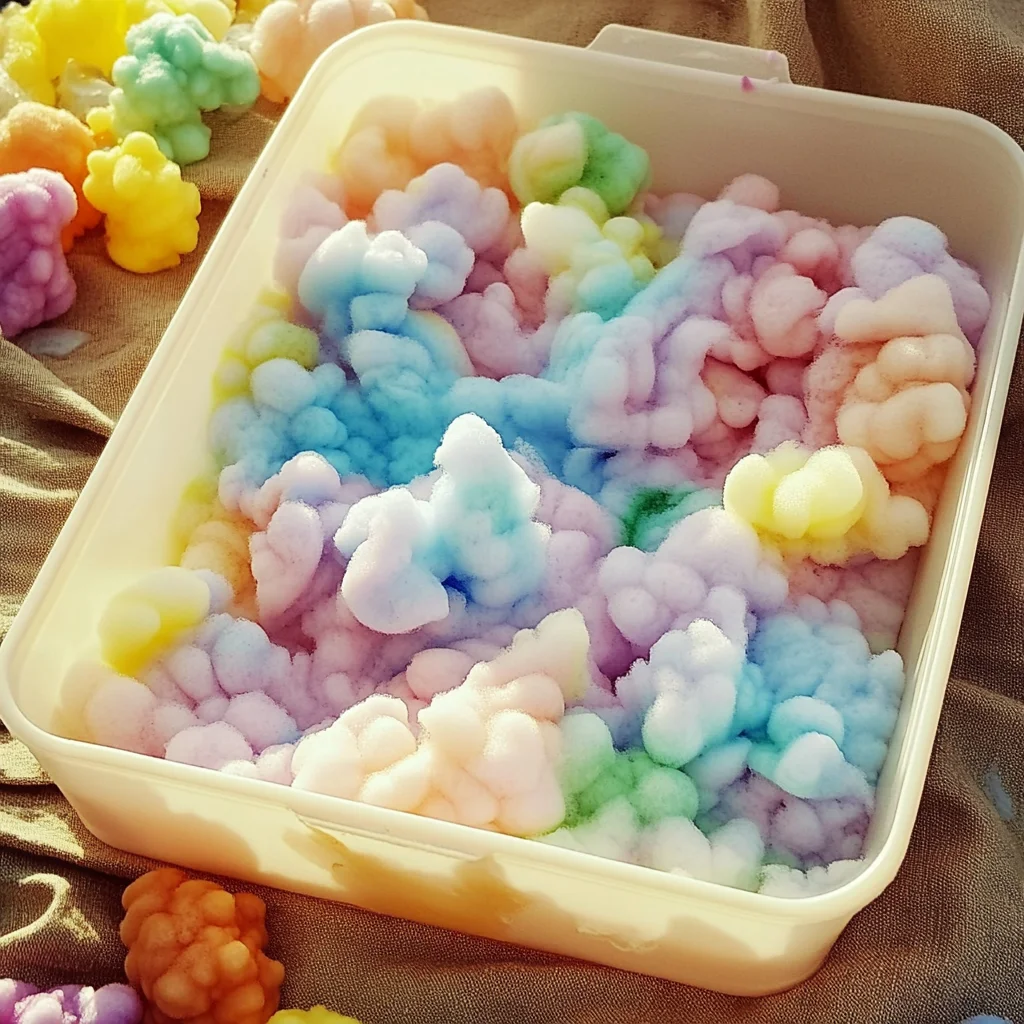
Imagine the soft, fluffy texture of shaving foam, the vibrant colors dancing before your eyes, and the delightful feeling of creating something entirely your own. This Easy Shaving Foam Paint Tutorial is not just a craft; it’s a magical sensory experience that invites you to unleash your creativity while having fun. Whether you’re a child, a parent, or simply someone looking to explore your artistic side, this project will bring joy and relaxation to your day. Picture yourself surrounded by a rainbow of colors, the gentle sound of mixing, and the satisfaction of transforming simple materials into a beautiful piece of art.
Why You’ll Love Easy Shaving Foam Paint Tutorial
- Beginner-friendly
- Budget-friendly
- Creative and fun
- Great for kids and families
- Perfect for gifts or decorations
- Customizable
The Heart Behind This DIY
Crafting is a beautiful way to express ourselves and connect with others. The Easy Shaving Foam Paint project encourages mindfulness, allowing you to focus on the textures, colors, and the joy of creation without distractions. As you blend the shaving foam and glue, you’ll find yourself in a meditative state, feeling the stress of the day melt away. This project isn’t just about making art; it’s about building confidence, nurturing creativity, and creating lasting memories with family and friends.
A Gentle Look at the Process
As you embark on this delightful journey of crafting, you can expect to dive into a world of colors and textures. The process is simple and calming, starting with your materials coming together to form a fluffy, paint-like consistency. You’ll feel the coolness of the shaving foam and glue as they blend seamlessly, and you might even find yourself adding a splash of color that speaks to your artistic spirit. The best part? You’ll have the freedom to apply this paint in various ways, exploring different techniques to create unique textures and effects.
Materials You’ll Need
- 1 cup shaving foam – This will give your paint a light and airy texture.
- 1 cup white school glue – Acts as a binder to help the paint stick to your canvas.
- Food coloring (optional) – Add vibrant colors to your paint for a personalized touch.
Step-by-Step Directions
Step 1
In a mixing bowl, combine 1 cup of shaving foam and 1 cup of white school glue. Gently stir the ingredients together until they are well blended, creating a fluffy mixture that resembles a cloud. Take a moment to enjoy the texture as it transforms before your eyes.
Step 2
If you want to add some color to your creation, now is the time! Add a few drops of food coloring to the mixture. Swirl it gently with a spatula or spoon until the color is evenly distributed. Watch as the shades swirl and blend, creating a mesmerizing palette of colors.
Step 3
Now that your shaving foam paint is ready, you can use it immediately! Grab some brushes, sponges, or even your fingers to apply the paint onto paper, canvas, or any surface you desire. Don’t be afraid to experiment with different techniques and see what textures and effects you can create.
Creative Ways to Use Easy Shaving Foam Paint Tutorial
This fluffy paint is incredibly versatile! You can create beautiful wall art to brighten up your home, make personalized greeting cards, or even decorate gift wraps for special occasions. Consider using your masterpieces as unique gifts for friends or family. The possibilities are endless, and each piece will carry a special memory of the fun you had making it.
How to Store, Preserve, or Reuse Easy Shaving Foam Paint Tutorial
If you have leftover shaving foam paint, simply store it in an airtight container. This will keep your paint fresh for future projects. Just remember to give it a good stir before using it again, as it may settle over time.
Creative Variations and Customizations
- Color variations – Experiment with different food coloring combinations to create unique shades.
- Theme ideas – Create seasonal art, such as autumn leaves or winter snowflakes.
- Seasonal adaptations – Make pastel colors for spring or bright shades for summer.
- Kid-friendly modifications – Let kids add glitter or small beads for extra sparkle.
- Advanced creative upgrades – Use stencils or layering techniques for more complex designs.
Tips for Success
- Common mistakes to avoid – Don’t overmix the paint after adding food coloring; it can dull the vibrancy.
- Safety tips if applicable – Ensure that the workspace is covered, as this paint can be messy.
- Preparation suggestions – Gather all materials before starting to streamline the process.
- Cleanup recommendations – Use warm soapy water to clean brushes and surfaces once you finish.
- Expert crafting tips – Enjoy the process! There’s no right or wrong way to create with this paint.
FAQs About Easy Shaving Foam Paint Tutorial
Can beginners make this?
Absolutely! This project is perfect for beginners and anyone looking to have fun with colors.
Can children participate?
Yes! Kids will love the sensory experience of working with shaving foam paint, making it a fantastic family activity.
How long does it last?
When stored properly in an airtight container, the paint can last for several weeks.
Can I customize it?
Definitely! Feel free to experiment with colors, textures, and application techniques to make it your own.
A Final Creative Note
As you wrap up this delightful DIY project, remember that the joy of crafting lies in the journey, not just the destination. Celebrate your creativity and the wonderful moments spent making something special. I hope this Easy Shaving Foam Paint Tutorial inspires you to explore more DIY projects and express yourself through art. For more delicious recipes, check out blueberry lemon ricotta pancakes or grilled chicken bites with creamy garlic sauce for treats you will love!
For more DIY inspiration, follow our Pinterest page!
Foam Bubble Pile
Equipment
- Mixing Bowl
- Whisk or Electric Mixer
- Baking Sheet or Large Tray
- Spatula
Ingredients
For the Foam Bubble Pile
- 1 cup foaming hand soap
- 1 cup water
- food coloring optional
- cornstarch optional for texture variation
Instructions
- Step 1: Combine 1 cup of foaming hand soap with 1 cup of water in a mixing bowl. Add a few drops of food coloring if desired and stir gently.
- Step 2: Whisk the mixture vigorously or use an electric mixer until it becomes light, airy, and full of foam. Continue incorporating air until you have the desired amount of fluffy foam.
- Step 3: Spoon or pour the foam onto a baking sheet or large tray. Spread it gently with your hands or a spatula to create a generous play area.
- Step 4: Use plastic or metal cups to scoop and shape the foam into towers, domes, piles, or other forms. You can also use your hands to squish and mold the foam.
- Step 5: Explore the foam by building structures, creating patterns, combining colors, and making temporary prints by gently pressing paper onto the surface.
