
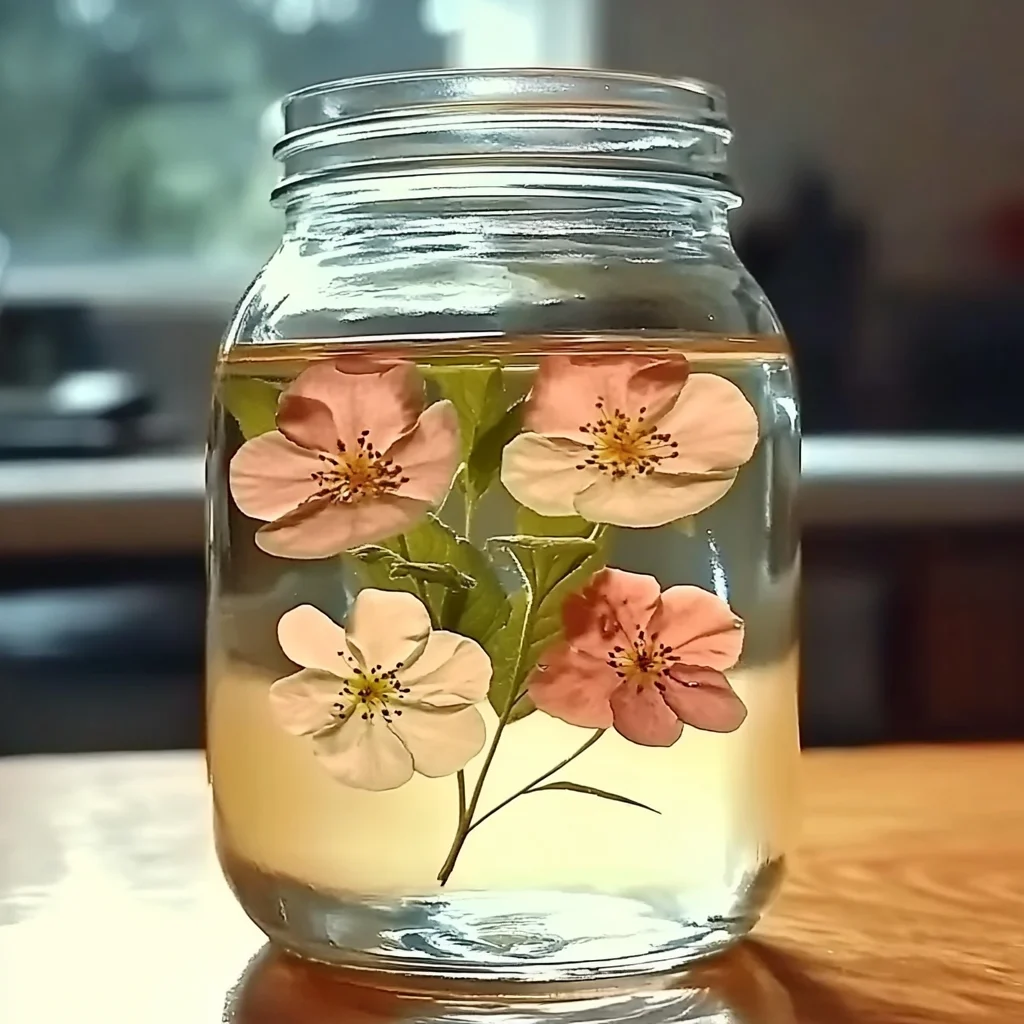
Imagine stepping into your home, greeted by the delightful aroma of fresh lavender or zesty lemon. The air feels light, inviting, and oh-so-refreshing. Today, I want to share with you a simple yet magical DIY project that not only enhances your living space but also brings a sense of calm and creativity to your day. DIY gel air fresheners are not just about pleasant scents; they are a canvas for your creativity and a wonderful way to express yourself through fragrance. As we create these little jars of joy, you’ll feel the stress of the day melt away, leaving behind an invigorating sense of accomplishment and peace.
Why You’ll Love DIY Gel Air Fresheners
- Beginner-friendly
- Budget-friendly
- Creative and fun
- Great for kids and families
- Perfect for gifts or decorations
- Customizable
The Heart Behind This DIY
There’s something therapeutic about crafting, isn’t there? When we engage in a hands-on project like making gel air fresheners, we tap into our creativity and mindfulness. Each step allows us to focus on the textures, colors, and scents, turning the activity into a delightful sensory experience. This project is perfect for families looking to bond or for anyone seeking a peaceful moment of self-care. Plus, every time you catch a whiff of your custom scent, you’ll be reminded of the love and joy you poured into creating something beautiful.
A Gentle Look at the Process
Creating your own gel air fresheners is a delightful journey. You’ll start with simple ingredients, mixing and melting them together, as the warm scents begin to fill your kitchen. The process is easy and forgiving, perfect for novice crafters and seasoned DIY enthusiasts alike. As you pour the mixture into charming little jars, you’ll feel a sense of satisfaction, knowing that you are not only beautifying your space but also making it smell wonderful. Let’s embark on this aromatic adventure together!
Materials You’ll Need
- 1 cup water – This forms the base of your gel air freshener.
- 2 tablespoons unflavored gelatin – This gives your air freshener its gel-like consistency.
- 2 tablespoons salt – Salt acts as a preservative, helping your air freshener last longer.
- 2 teaspoons essential oil – Choose your favorite fragrance for a personal touch.
- Food coloring (optional) – Add a splash of color to brighten up your jars.
- Small glass jars or containers – These will hold your beautiful gel creations.
Step-by-Step Directions
Step 1
Start by bringing 1 cup of water to a boil in a saucepan. The sound of bubbling water is like a gentle invitation to begin your crafting journey.
Step 2
Once the water is boiling, gradually whisk in the unflavored gelatin until it is completely dissolved. Watch as the water transforms, creating a smooth and silky base for your air freshener.
Step 3
Add 2 tablespoons of salt to the mixture and stir until it is well combined. The salt not only enhances the preservation of your gel but also gives it a delightful texture.
Step 4
Remove the saucepan from heat and let it cool slightly. This is a perfect time to breathe in the warm, inviting scent of the mixture.
Step 5
Stir in your chosen essential oil along with food coloring if you desire. Imagine the aroma filling your home as you mix it in. I love using lavender for a calming effect or citrus for an energizing boost.
Step 6
Pour the mixture into your small glass jars or containers. This is where your creativity really shines! You can layer colors or mix them together for a marbled effect.
Step 7
Allow the gel to set at room temperature for several hours or until firm. As it cools, you’ll feel the anticipation of the lovely scent that awaits you.
Step 8
Once set, place your gel air fresheners in your desired areas to enjoy a fresh scent. Whether it’s on a windowsill, in your bathroom, or as a thoughtful gift, they will surely brighten up any space!
Creative Ways to Use DIY Gel Air Fresheners
Your beautiful gel air fresheners aren’t just meant to be tucked away; they can be a charming part of your décor! Place them around your home to create inviting spaces. They make fantastic gifts for friends and family, especially when paired with a handwritten note. You can even use them as centerpieces for a gathering, adding a delightful scent that enhances the atmosphere. And if you’re feeling playful, try hiding them in your children’s rooms as a fun surprise!
How to Store, Preserve, or Reuse DIY Gel Air Fresheners
To keep your gel air fresheners fresh, store them in a cool, dry place away from direct sunlight. They can last for several weeks, but if you notice the scent fading, simply add a few more drops of essential oil to refresh them. And if you ever want to change the scent or color, you can easily repurpose the jars by melting down the existing gel and starting anew.
Creative Variations and Customizations
- Try different color combinations to match your home decor.
- Use seasonal scents like cinnamon for fall or peppermint for winter holidays.
- Create themed air fresheners for special events or holidays.
- Encourage kids to participate by letting them choose their favorite colors and scents.
- For the advanced crafter, experiment with adding dried flowers or herbs for a unique touch.
Tips for Success
- Be careful not to overheat the mixture, as this can affect the gel’s consistency.
- Always supervise children when using boiling water and hot mixtures.
- Prepare your containers before starting the project to streamline the process.
- For easy cleanup, use a bowl to catch any spills while pouring the mixture.
- Don’t be afraid to experiment with different scents and colors until you find your perfect blend!
FAQs About DIY Gel Air Fresheners
Can beginners make this?
Absolutely! This project is perfect for beginners and requires minimal materials and steps.
Can children participate?
Yes! Kids can help with mixing and pouring, but make sure they are supervised during the boiling steps.
How long does it last?
Typically, the gel air fresheners can last for several weeks, depending on the fragrance strength and environmental conditions.
Can I customize it?
Definitely! You can choose your favorite essential oils and colors to create a personalized scent experience.
A Final Creative Note
As we wrap up this delightful DIY project, I hope you feel inspired to fill your home with the beautiful scents of your own creation. Crafting these gel air fresheners is not just about the end product; it’s about the joy of making something with your own hands and the memories created along the way. So gather your materials and let your creativity flow. For more delicious recipes, check out my blueberry lemon ricotta pancakes or the easy pineapple rum cocktail for treats you will love! And don’t forget to follow our Pinterest for more DIY inspiration!
DIY Gel Air Fresheners
Equipment
- saucepan
- whisk
- Small Glass Jars
Ingredients
- 1 cup water This forms the base of your gel air freshener.
- 2 tbsp unflavored gelatin This gives your air freshener its gel-like consistency.
- 2 tbsp salt Salt acts as a preservative.
- 2 tsp essential oil Choose your favorite fragrance.
- Food coloring
- Small glass jars or containers
Instructions
- Step 1: Start by bringing 1 cup of water to a boil in a saucepan.
- Step 2: Gradually whisk in the unflavored gelatin until completely dissolved.
- Step 3: Add 2 tablespoons of salt to the mixture and stir until well combined.
- Step 4: Remove from heat and let cool slightly.
- Step 5: Stir in your chosen essential oil and food coloring if desired.
- Step 6: Pour the mixture into small glass jars or containers.
- Step 7: Allow the gel to set at room temperature for several hours or until firm.
- Step 8: Once set, place your gel air fresheners in desired areas to enjoy a fresh scent.
