
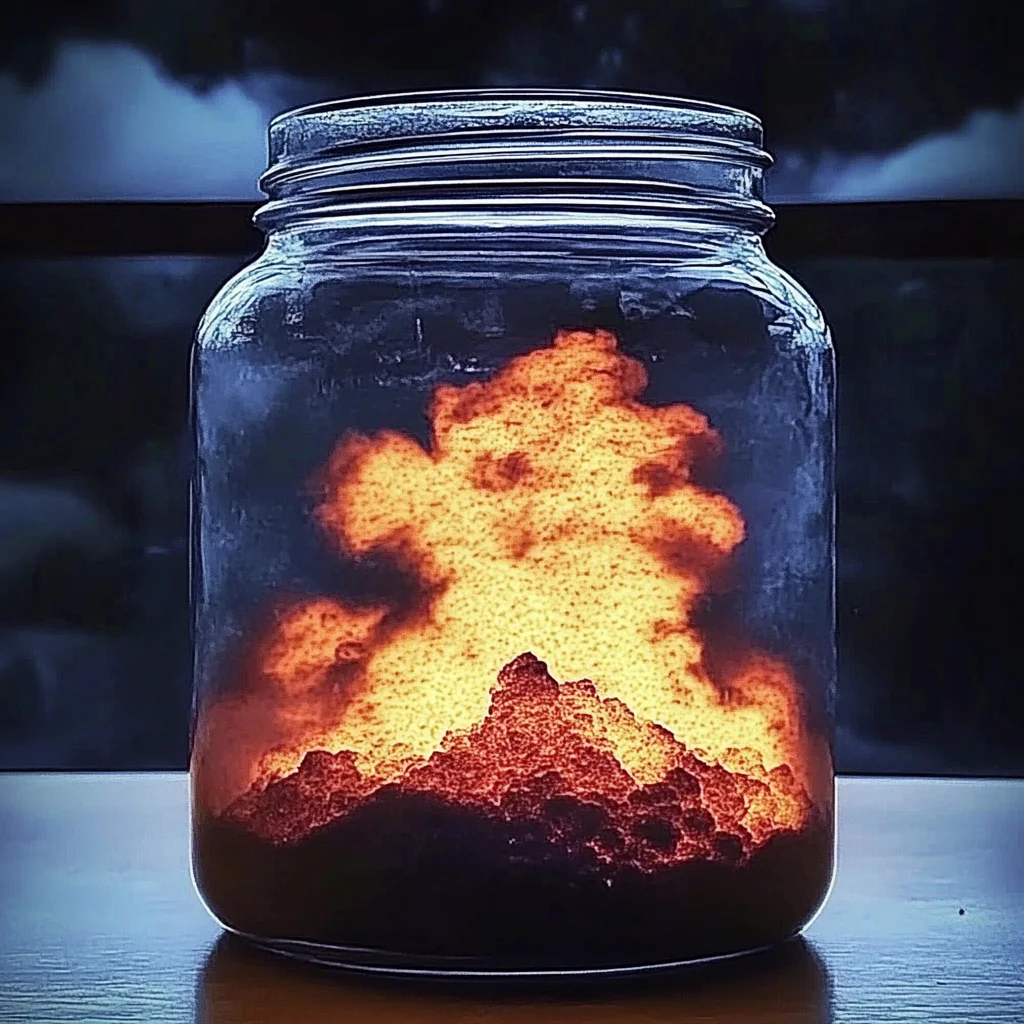
Have you ever watched a volcano erupt and felt your heart race with excitement? The sight of bubbling lava and the thrill of an unexpected explosion can evoke a sense of wonder that takes you back to your childhood. Today, I’m inviting you to embark on a fun and educational journey with me as we create our very own volcano eruption experiment right in your kitchen! This project is not just about making something cool; it’s about sharing moments of joy, laughter, and curiosity with your loved ones. Imagine the look of amazement on your child’s face as the colors burst forth and the fizzing sounds fill the air. It’s a delightful experience that combines creativity and science, leaving you with a masterpiece of nature right at home.
Why You’ll Love Volcano Eruption Experiment
- Beginner-friendly
- Budget-friendly
- Creative and fun
- Great for kids and families
- Perfect for gifts or decorations
- Customizable
The Heart Behind This DIY
One of the wonderful things about crafting is its ability to bring us together. The Volcano Eruption Experiment is perfect for sparking conversations about science while engaging young minds. This project encourages creativity, curiosity, and a sense of accomplishment as you watch the mixture bubble and overflow. It’s a fantastic way to practice mindfulness, as you focus on the colors, textures, and sounds of the eruption. Embracing such hands-on activities not only nurtures a child’s learning but also builds confidence—every eruption is a small victory!
A Gentle Look at the Process
As you gather your materials and prepare for the experiment, you can feel the excitement building. The process is simple and enjoyable, allowing you to take your time and savor each step. You will start by preparing your container and watching as you layer the ingredients, feeling the anticipation grow. When you finally combine the baking soda and vinegar, the eruption will be a breathtaking spectacle that fills the room with joy and laughter. It’s not just about the final product; it’s about the journey of creating it together.
Materials You’ll Need
- Baking soda (1 tablespoon) – The key ingredient for our eruption!
- Vinegar (1/4 cup) – The magical liquid that causes the bubbling reaction.
- Dish soap (1 teaspoon) – Adds some fun foaminess to the eruption.
- Food coloring (optional) – For those vibrant, eye-catching eruptions.
- Container (such as a plastic bottle or a small cup) – Where the magic will happen!
- Tray or baking sheet – To catch any overflow and keep your workspace tidy.
Step-by-Step Directions
Step 1
Begin by placing your container on a tray or baking sheet. This will catch any overflow, so you can enjoy the eruption without worrying about a mess!
Step 2
Add 1 tablespoon of baking soda into your container. Feel the texture of the baking soda between your fingers; it’s like a soft powder waiting for its moment to shine.
Step 3
If you’d like to add some color to your eruption, now is the time! Add a few drops of food coloring to the baking soda. Picture the vibrant hues mixing with the white powder, creating a beautiful canvas.
Step 4
In a separate measuring cup, combine 1/4 cup of vinegar with 1 teaspoon of dish soap. The dish soap will create more bubbles and foam, enhancing the eruption’s visual impact!
Step 5
Pour the vinegar mixture into the container with the baking soda. Stand back and watch in awe as the eruption happens! You’ll see fizzing and bubbling as the ingredients react, creating a mini volcanic explosion that’s sure to delight.
Creative Ways to Use Volcano Eruption Experiment
Once you’ve created your volcano, the possibilities are endless! You can use your eruption as a stunning centerpiece for a science-themed birthday party or even as an educational demonstration for curious friends. If you’re feeling particularly crafty, consider making multiple eruptions in different colors to create a vibrant display. The foam can also be a fun sensory experience for younger kids—let them touch and explore the bubbly texture!
How to Store, Preserve, or Reuse Volcano Eruption Experiment
Since this experiment is best enjoyed fresh, it’s not something you’ll want to store for later use. However, you can reuse the container and materials for another eruption whenever the mood strikes! Just clean everything thoroughly and start fresh with new ingredients.
Creative Variations and Customizations
- Color variations – Use different food coloring to create a rainbow effect.
- Theme ideas – Create themed eruptions for holidays, like red and green for Christmas.
- Seasonal adaptations – Make a fall-themed eruption with orange and yellow colors.
- Kid-friendly modifications – Allow kids to choose their favorite colors for a personal touch.
- Advanced creative upgrades – Experiment with different container shapes for unique eruption styles.
Tips for Success
- Avoid common mistakes like adding too much baking soda or vinegar; stick to the measurements for the best eruption.
- Safety tip: While this experiment is safe, it’s still a good idea to supervise young children during the process.
- Preparation suggestion: Gather all your materials before starting to ensure a smooth experience.
- Cleanup recommendation: Keep paper towels nearby for easy cleanup after the fun.
- Expert crafting tip: Experiment with different container sizes to see how it affects the eruption!
FAQs About Volcano Eruption Experiment
Can beginners make this?
Absolutely! This experiment is perfect for beginners of all ages.
Can children participate?
Yes, children can easily participate and enjoy the hands-on experience, especially with adult supervision.
How long does it last?
The eruption lasts only a few minutes, but the memories will last much longer!
Can I customize it?
Certainly! You can customize colors and themes to make it uniquely yours.
A Final Creative Note
As you wrap up your volcano eruption experiment, take a moment to reflect on the joy of creating something together. Every bubble, every color, and every sound brings a new spark of creativity into your life. Remember, crafting is not just about the end product; it’s about the journey and the connections we build along the way. For more delicious recipes, check out this delightful violet sugar recipe or this refreshing pineapple rum cocktail for treats you will love! Let’s keep creating and exploring the wonders of DIY together!
For more DIY inspiration, follow my Pinterest page!
Volcano Eruption Experiment
Equipment
- Small Bottle or Container
- Tray or Large Dish
- Measuring Cup
Ingredients
For the Volcano Eruption
- 1-2 tbsp baking soda
- 1/2 cup vinegar
- 1 tbsp dish soap helps create a foamy eruption
- food coloring optional
Instructions
- Step 1: Place a small bottle or container in the center of a tray or large dish to catch the foamy overflow. If desired, surround it with suitable craft materials to create a volcano-shaped mountain while keeping the opening clear.
- Step 2: Add 1 to 2 tablespoons of baking soda to the bottle. Add 1 tablespoon of dish soap and a few drops of food coloring if desired.
- Step 3: Measure 1/2 cup of vinegar in a separate cup. Add additional food coloring if desired for a more colorful eruption.
- Step 4: Pour the vinegar into the bottle containing the baking soda mixture and watch the colorful foam erupt. Step back slightly while the reaction is taking place.
- Step 5: Observe the bubbling, fizzing, foam, movement, and colors. Compare different ingredient quantities in repeated trials if desired, then clean the tray and surrounding area with water and soap.
