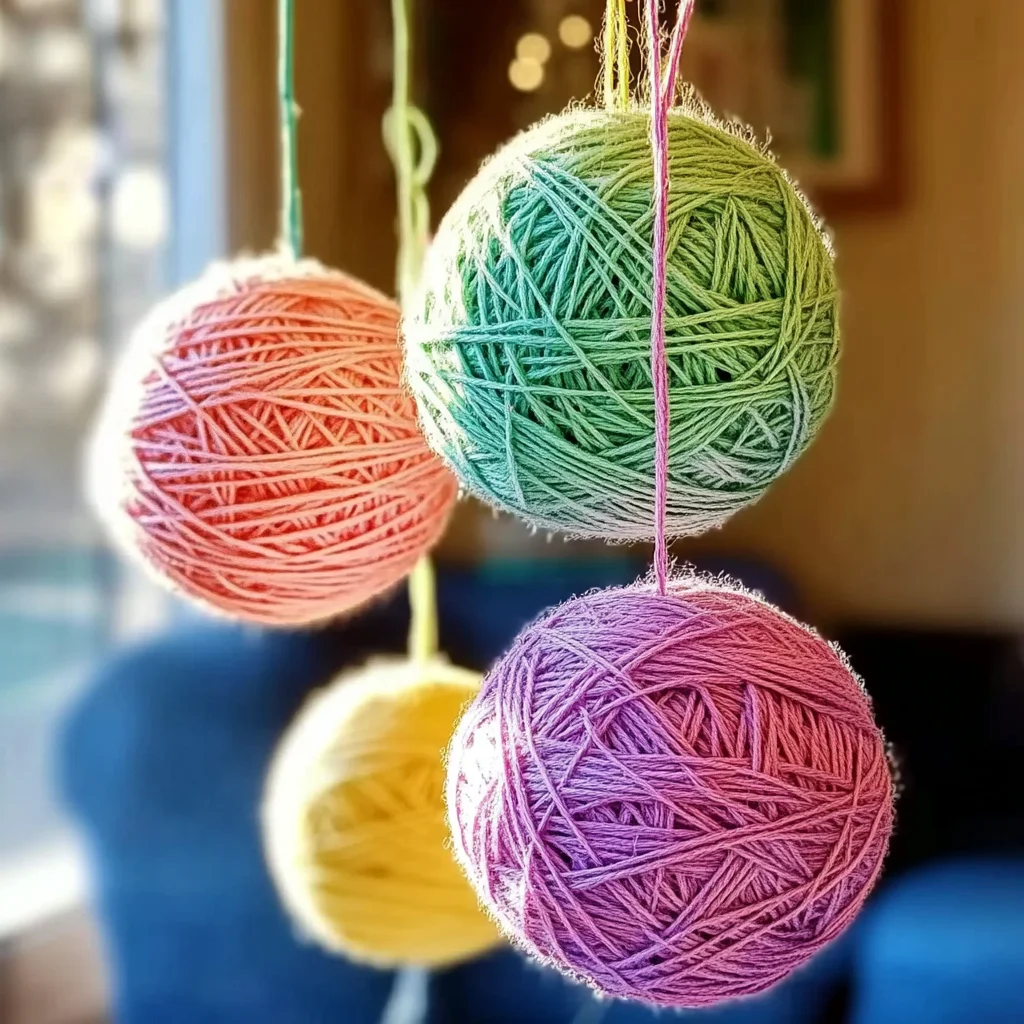
There’s something magical about crafting that brings back fond memories of simpler times. Perhaps you remember sitting at the kitchen table, surrounded by colorful supplies, as you poured your heart into a project. Today, I invite you to dive into a delightful DIY that captures that nostalgia—the Easy Thread Ball Decoration. This project not only sparks creativity but also serves as a wonderful way to relax and unwind. Imagine the soft textures of yarn slipping through your fingers, the gentle sound of glue being brushed on, and the joy of watching your creation take shape. Let’s get started on this charming adventure together!
Why You’ll Love DIY Easy Thread Ball Decoration
- Beginner-friendly
- Budget-friendly
- Creative and fun
- Great for kids and families
- Perfect for gifts or decorations
- Customizable
The Heart Behind This DIY
Crafting is a beautiful way to express yourself and connect with others. As you work on your Easy Thread Ball Decoration, you’ll find that each twist of the thread is a chance to let your imagination flow. This project brings a sense of mindfulness, allowing you to focus on the present moment while creating something special. It’s a fantastic educational experience for kids, teaching them about textures, colors, and even a bit of science as they see the glue dry and harden. Most importantly, crafting fosters confidence as you create something uniquely your own.
A Gentle Look at the Process
Imagine yourself in a cozy corner of your home, surrounded by vibrant threads and a hint of excitement in the air. The process begins with simple supplies and a playful spirit. You will inflate a balloon, dip colorful threads in a glue mixture, and wrap them around the balloon in a whimsical dance. As you see the threads come together, you’ll feel the anticipation of what is to come. Relax, enjoy each step, and let your creativity bloom!
Materials You’ll Need
- Cotton thread or yarn – This will be the star of your decoration, adding color and texture.
- Balloon – The base for your thread ball, choose a size that fits your vision.
- White glue or craft glue – This will hold your threads together beautifully.
- Water – To mix with the glue for a perfect consistency.
- Bowl for mixing glue – A simple vessel to combine your glue and water.
- Paintbrush or sponge brush – For easy application of the glue mixture.
- Scissors – To snip your thread to the desired length.
- Optional: Glitter, paint, or embellishments – Add a touch of sparkle or color to personalize your creation.
Step-by-Step Directions
Step 1
Inflate the balloon to your desired size and tie it securely. Picture it bobbing gently as you prepare to transform it into something special.
Step 2
In a bowl, mix equal parts white glue and water. The combination should feel smooth, and the scent of the glue will remind you of childhood art projects.
Step 3
Cut a length of cotton thread or yarn, approximately 3-5 yards long. I love to choose vibrant colors that make me smile, but feel free to pick whatever resonates with you!
Step 4
Dip the thread into the glue mixture, ensuring it is thoroughly coated. As you do this, you may notice the satisfying squish of the glue—such a fun sensory experience!
Step 5
Starting at the top of the balloon, wrap the thread around in various directions, leaving some gaps for the balloon to show through. The interplay of colors and textures will start to come alive.
Step 6
Continue wrapping until you achieve your desired coverage. It’s okay to play around and experiment; this is your unique creation!
Step 7
Allow the wrapped balloon to dry completely, preferably overnight. Take this time to relax and reflect on your crafting journey.
Step 8
Once dry, carefully pop and remove the balloon from inside the thread ball. Hear that satisfying pop? It’s like unwrapping a present!
Step 9
Optionally, add glitter, paint, or other embellishments to enhance your decoration. This is where your creativity can truly shine.
Step 10
Display your thread ball decoration as desired. Whether it’s a centerpiece on the table or a playful addition to your child’s room, it’s bound to bring joy.
Creative Ways to Use DIY Easy Thread Ball Decoration
Once your thread balls are complete, the fun doesn’t stop! You can hang them as whimsical decor, use them as colorful table centerpieces for parties, or even gift them to friends and family. Imagine how delightful it would be to present one of these handmade treasures at a gathering. You can also create a beautiful garland by stringing several together for a festive touch in your home. The possibilities are as endless as your imagination!
How to Store, Preserve, or Reuse DIY Easy Thread Ball Decoration
To store your thread ball decorations, simply place them in a dry, cool area away from direct sunlight. If you want to reuse them, consider changing their color or embellishments for different seasons or occasions. They can be a fresh addition to your home decor year-round!
Creative Variations and Customizations
- Color variations – Experiment with different shades of thread to create a vibrant display.
- Theme ideas – Create holiday-themed thread balls for festive decor.
- Seasonal adaptations – Use pastel colors for spring or warm tones for autumn.
- Kid-friendly modifications – Let children choose their own colors and embellishments for a personalized touch.
- Advanced creative upgrades – Try incorporating beads or sequins into the thread wrapping for added flair.
Tips for Success
- Common mistakes to avoid – Ensure the balloon is fully inflated to prevent collapsing during the drying process.
- Safety tips – If using scissors or other tools, supervise young children closely.
- Preparation suggestions – Have all your materials ready before you start to keep the process smooth.
- Cleanup recommendations – Use a drop cloth or newspaper to catch glue drips for easy cleanup.
- Expert crafting tips – Don’t rush the drying time; allowing it to set overnight will yield the best results.
FAQs About DIY Easy Thread Ball Decoration
Can beginners make this?
Absolutely! This project is simple and perfect for crafters of all skill levels.
Can children participate?
Yes! Kids will love helping with the wrapping and choosing their favorite colors.
How long does it last?
With proper care, your thread ball decoration can last for years, making it a cherished keepsake.
Can I customize it?
Definitely! Feel free to add your personal touch with different colors, patterns, and embellishments.
A Final Creative Note
As you wrap up this delightful project, take a moment to celebrate your creativity and the joy of making something with your own hands. Crafting is not just about the final product; it’s about the journey and the memories you create along the way. I hope this Easy Thread Ball Decoration inspires you to explore even more DIY adventures. For more delicious recipes, check out the delightful blueberry lemon ricotta pancakes or the fun Kool-Aid gummy treats for treats you will love! Remember, every craft is an opportunity to express yourself and share joy with others.
For even more DIY inspiration, don’t forget to check out Pinterest!