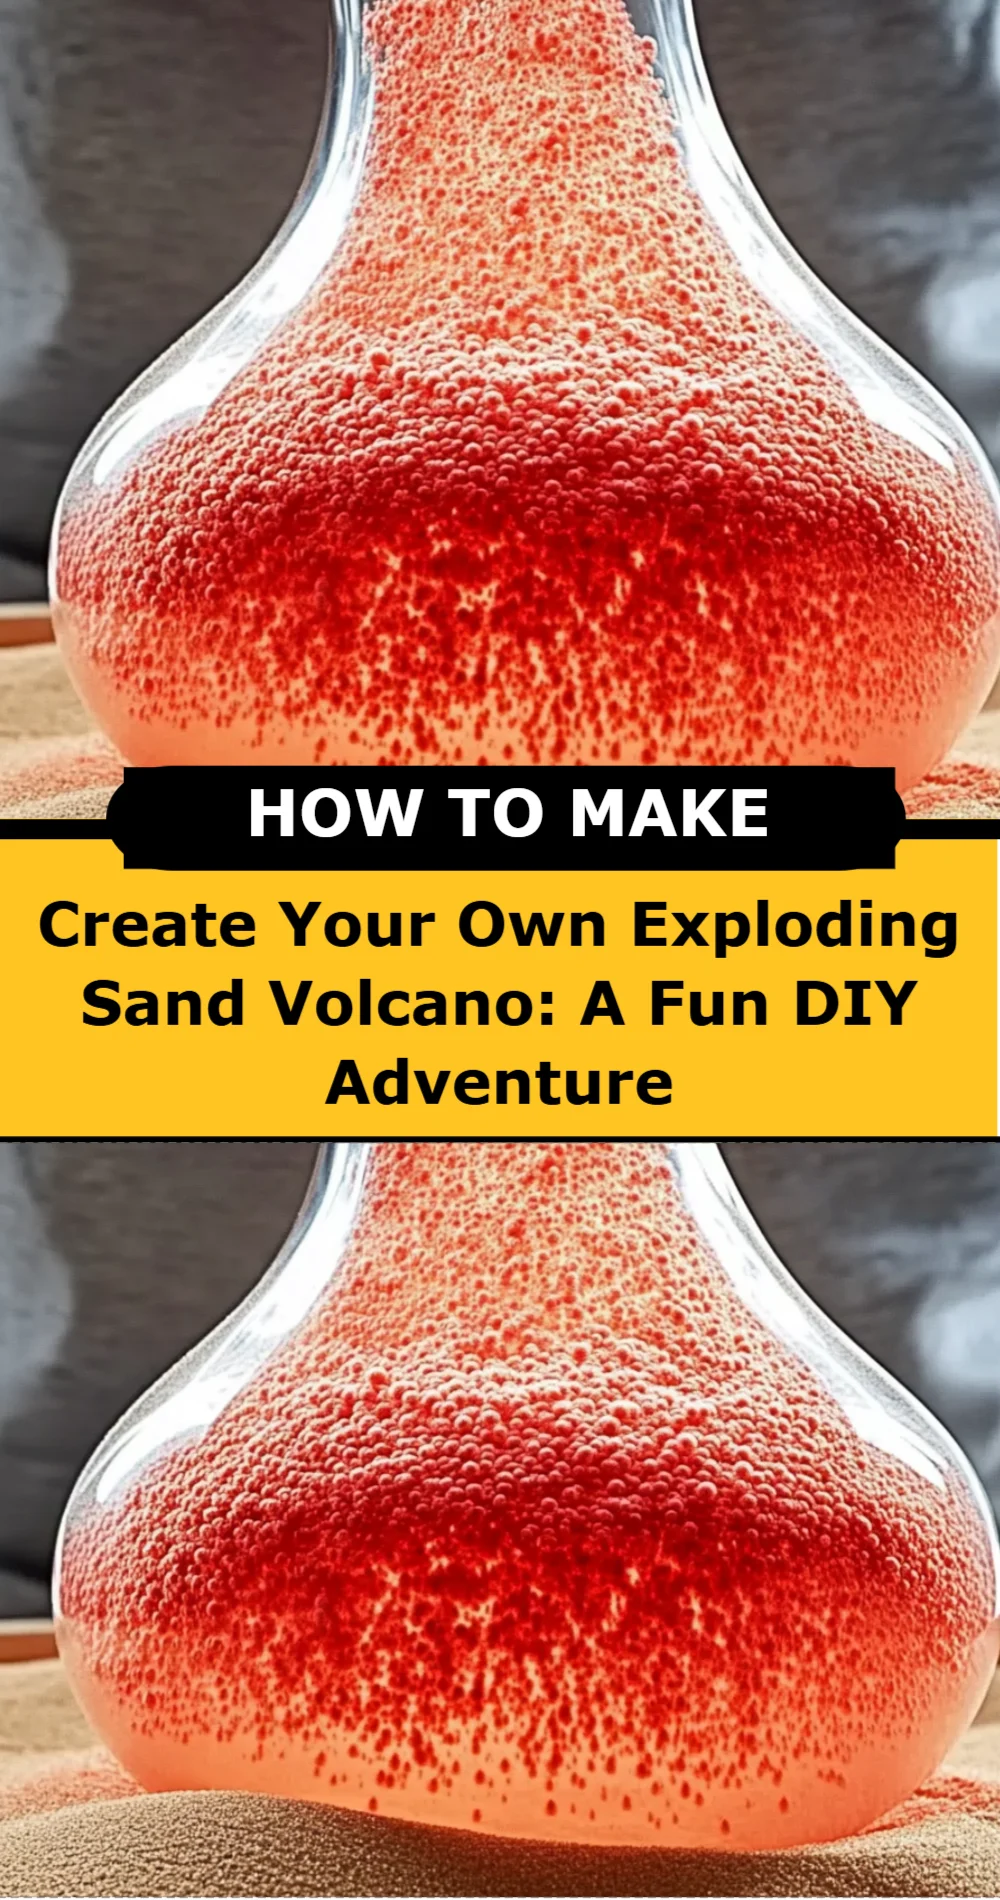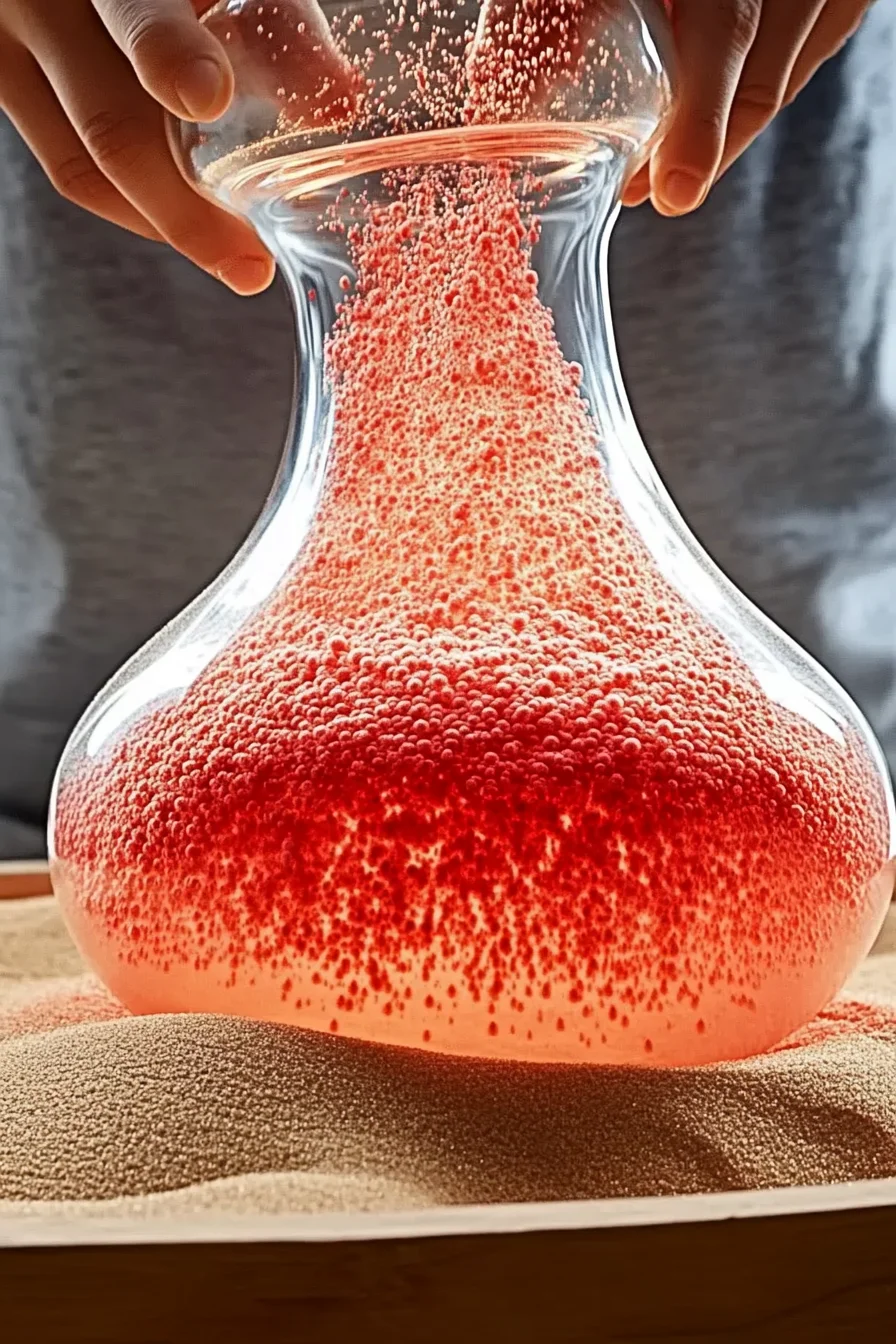
Imagine a sunny afternoon, laughter filling the air, and the excitement of discovery sparking in the hearts of little ones. Today, we’re diving into a delightful DIY project that combines science and art into one spectacular experience: the Exploding Sand Volcano! This project is not just a fun activity; it’s a wonderful way to ignite curiosity and creativity while engaging in a hands-on learning experience. Picture the joy on your child’s face as they watch their very own volcano erupt in a burst of color and fizz. How magical is that?
Why You’ll Love Exploding Sand Volcano
- Beginner-friendly
- Budget-friendly
- Creative and fun
- Great for kids and families
- Perfect for gifts or decorations
- Customizable
The Heart Behind This DIY
Creating an Exploding Sand Volcano is more than just a craft; it’s an opportunity to bond and connect. Crafting together encourages not only mindfulness but also nurtures creativity and confidence in both children and adults. As you mix, mold, and watch the eruption, you’ll be immersed in a sensory experience that stimulates the imagination. The process of making something with your own hands is incredibly rewarding, and you’ll be left with a vibrant masterpiece that celebrates the joy of creation!
A Gentle Look at the Process
As we embark on this project, you can expect a delightful journey of exploration. We will mix the materials, shape our volcano, and witness the magical moment when our creation comes to life! The excitement builds as you prepare for the eruption, and the anticipation of that colorful explosion will surely bring smiles and giggles all around. So, let’s roll up our sleeves and get ready for some messy fun!
Materials You’ll Need
- 1 cup of sand – the foundation of your volcano, providing texture and shape.
- 1/2 cup of baking soda – this will create the fizzy reaction when it meets vinegar.
- 1/2 cup of vinegar – the secret ingredient for the explosive eruption!
- 1 tablespoon of dish soap – it adds bubbles and enhances the eruption effect.
- Food coloring (optional) – to make your volcano eruption more vibrant and exciting!
- A container or tray for the volcano – to catch the eruption and keep the mess contained.
Step-by-Step Directions
Step 1
In a mixing bowl, combine 1 cup of sand with 1/2 cup of baking soda. Mix them together until they are well combined. The texture should feel grainy and slightly loose, perfect for shaping into a volcano!
Step 2
Now, take the sand and baking soda mixture and mold it into a volcano shape on your container or tray. You can create a wide base with a peak, just like a real volcano! Don’t worry about perfection; the beauty of this project lies in its creativity.
Step 3
In a separate cup, mix the 1/2 cup of vinegar with 1 tablespoon of dish soap. If you want to add some flair, include a few drops of food coloring to make your eruption colorful! Stir the mixture gently until combined.
Step 4
Now comes the exciting part! Pour the vinegar mixture into the center of your sand volcano. Step back and watch as your volcano erupts with a colorful explosion of fizz and bubbles! It’s a sight that will fill the room with joy and laughter.
Creative Ways to Use Exploding Sand Volcano
Once your volcano has erupted, you can display it as a fun science project, or even use it as a centerpiece for a birthday party! You can also create a mini volcanic landscape by adding toy dinosaurs or other decorations around it. The possibilities are endless, and your creation can spark imaginative play for days to come!
How to Store, Preserve, or Reuse Exploding Sand Volcano
If you want to preserve your volcano for a little while, you can let it dry out completely and then store it in a cool, dry place. However, if you’re ready for more eruptions, simply mix up a new batch of materials and enjoy the fun again!
Creative Variations and Customizations
- Color variations – use different food coloring to create multi-colored eruptions.
- Theme ideas – decorate your volcano to match a favorite movie or story.
- Seasonal adaptations – add holiday-themed decorations for festive eruptions.
- Kid-friendly modifications – let children choose their favorite colors and shapes.
- Advanced creative upgrades – experiment with different shapes and sizes of volcanoes.
Tips for Success
- Common mistakes to avoid – ensure the sand and baking soda are well mixed for the best eruption.
- Safety tips – always supervise children during the project, especially with the vinegar.
- Preparation suggestions – lay down some newspaper to keep your area clean.
- Cleanup recommendations – a damp cloth works wonders for cleaning up any spills.
- Expert crafting tips – encourage your kids to be creative with their volcano designs!
FAQs About Exploding Sand Volcano
Can beginners make this?
Absolutely! This project is beginner-friendly and perfect for all ages.
Can children participate?
Yes! Children will love this hands-on activity, and it’s a great opportunity for parents to guide them.
How long does it last?
The eruption is immediate, but you can preserve the volcano for future displays or further eruptions.
Can I customize it?
Definitely! You can use different colors, shapes, and decorations to make your volcano unique.
A Final Creative Note
As we wrap up this delightful DIY adventure, I hope you feel inspired to create your own Exploding Sand Volcano. Embrace the joy of crafting, the thrill of discovery, and the beauty of self-expression. Remember, it is in these moments of creativity that we connect with ourselves and each other. For more delicious recipes, check out Blueberry Lemon Ricotta Pancakes or Kool-Aid Gummy Treats for treats you will love! Happy crafting!
For more DIY inspiration, follow our Pinterest page!
Exploding Sand Volcano
Equipment
- Mixing Bowl
- Container or Tray
- Cup
Ingredients
Materials for Exploding Sand Volcano
- 1 cup sand the foundation of your volcano, providing texture and shape
- 1/2 cup baking soda creates the fizzy reaction when it meets vinegar
- 1/2 cup vinegar the secret ingredient for the explosive eruption
- 1 tbsp dish soap adds bubbles and enhances the eruption effect
Optional
- food coloring to make your volcano eruption more vibrant and exciting
Instructions
- Step 1: In a mixing bowl, combine 1 cup of sand with 1/2 cup of baking soda. Mix them together until they are well combined.
- Step 2: Mold the sand and baking soda mixture into a volcano shape on your container or tray.
- Step 3: In a separate cup, mix the 1/2 cup of vinegar with 1 tablespoon of dish soap and optional food coloring.
- Step 4: Pour the vinegar mixture into the center of your sand volcano and watch it erupt!
Notes