
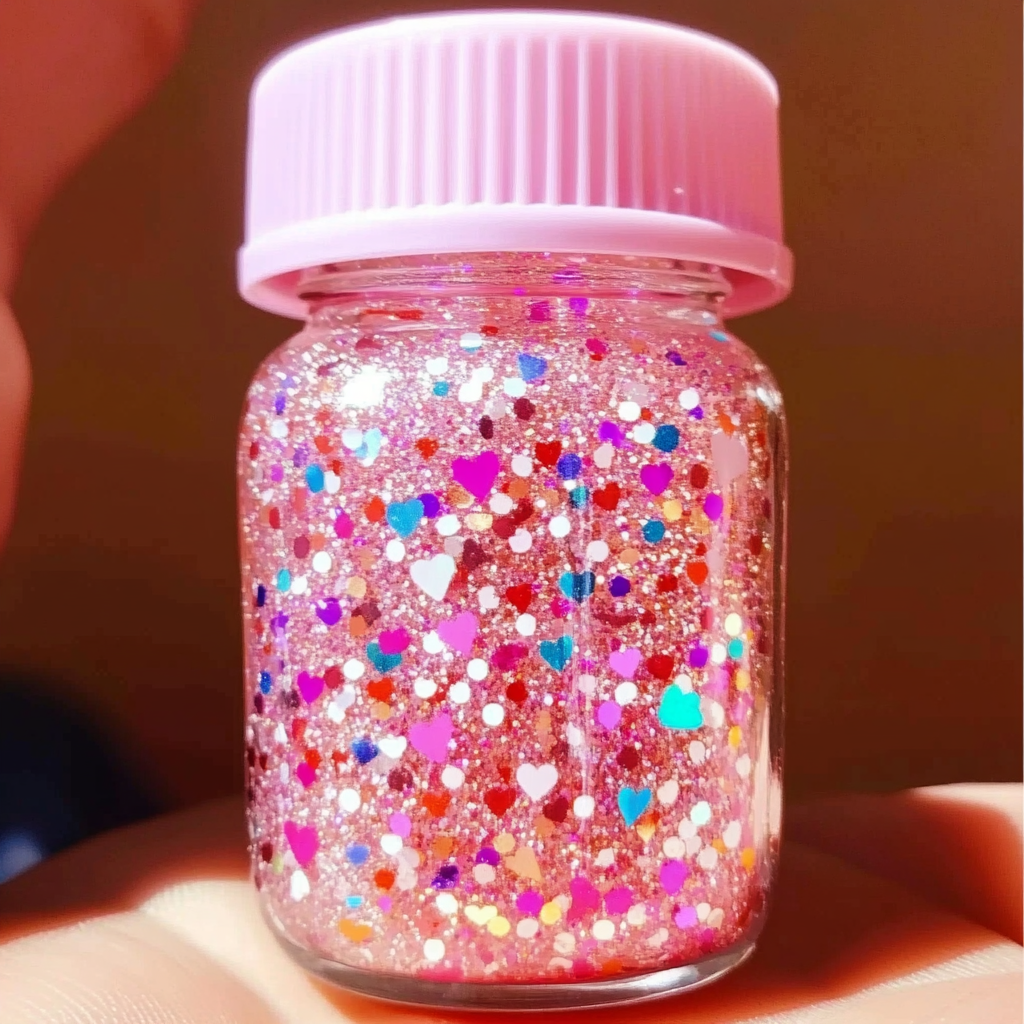
There’s something incredibly soothing about watching glitter swirl and dance in a jar, isn’t there? It takes me back to childhood days filled with wonder and imagination. Crafting a DIY glitter jar is not just a fun project; it’s a beautiful way to express creativity, practice mindfulness, and create a sensory experience that can brighten your day. Imagine holding a jar filled with shimmering colors, each shake releasing a little burst of joy. Whether you’re looking for a calming tool for yourself or a delightful gift for someone special, this project is sure to bring a sparkle to your life.
Why You’ll Love DIY Glitter Jar
- Beginner-friendly
- Budget-friendly
- Creative and fun
- Great for kids and families
- Perfect for gifts or decorations
- Customizable
The Heart Behind This DIY
Creating a DIY glitter jar goes beyond just assembling materials; it taps into the heart of what crafting is all about. This project is a wonderful way to practice mindfulness, as you focus on the soothing motions of mixing and shaking. It allows you to express your creativity as you choose the colors and glitter that resonate with you. Plus, it can be a great bonding activity for families, providing a space to connect and create together. I love how crafting fosters confidence too, especially when you see the beautiful creation you made with your own hands.
A Gentle Look at the Process
As we embark on this glittery adventure, expect a delightful sensory experience. The smoothness of the glue, the sparkle of the glitter, and the vibrancy of the colors will come together to create something truly special. You’ll be mesmerized as you watch the glitter swirl in the mixture, and then again as it settles in the jar. This project invites you to slow down and enjoy the process of creation, allowing your imagination to shine bright.
Materials You’ll Need
- Clear glass or plastic jar with a lid: This will be your canvas for the glitter magic.
- 1 cup water: Forms the base of your glittery concoction.
- 1 cup clear glue: Gives the glitter its mesmerizing swirl.
- 2 tablespoons glitter: Choose any color that brings you joy!
- Optional: food coloring: For a splash of color in your glitter water.
Step-by-Step Directions
Step 1
In a bowl, combine the water and clear glue. Stir gently until the mixture is well combined, creating a smooth, glossy base for your glitter.
Step 2
If you want to add some color, now is the time! Add a few drops of food coloring to the mixture and stir until the color is evenly distributed. The colors will bring a vibrant touch to your glitter jar.
Step 3
Next, add the glitter to the mixture. Use a spoon to stir well, ensuring the glitter is evenly mixed in. This is where the magic begins as the glitter starts to glisten!
Step 4
Carefully pour the mixture into your jar, leaving some space at the top. You want to allow room for the glitter to move and dance when you shake it.
Step 5
Secure the lid on the jar tightly. Make sure it’s closed well so you can shake it without worrying about spills.
Step 6
Now for the fun part! Shake the jar gently to mix the contents and create a stunning glitter effect. Watch as the glitter swirls around, creating a mesmerizing display.
Step 7
Take a moment to enjoy your creation! Your DIY glitter jar is ready to be admired and cherished.
Creative Ways to Use DIY Glitter Jar
Your glitter jar can serve many delightful purposes! Display it on a shelf or desk as a colorful decoration that catches the light beautifully. Use it as a calming tool; when you feel stressed, shake the jar and watch the glitter settle as a reminder to take a deep breath. It also makes a lovely gift for friends or family, especially when personalized with their favorite colors. You can even create a themed collection, such as seasonal jars for holidays or special occasions!
How to Store, Preserve, or Reuse DIY Glitter Jar
To preserve your glitter jar, keep it in a cool, dry place away from direct sunlight. If your jar starts to lose its sparkle, simply add a bit more glitter and glue mixture! These jars can be reused by changing the contents or by making new ones with different themes or colors, keeping the crafting spirit alive in your home.
Creative Variations and Customizations
- Color variations: Experiment with different glitter colors and food coloring combinations.
- Theme ideas: Create jars for seasons, holidays, or specific events.
- Seasonal adaptations: Use winter snowflake glitter or fall leaves!
- Kid-friendly modifications: Let kids choose their favorite colors and even add small toys inside.
- Advanced creative upgrades: Incorporate glow-in-the-dark glitter or even small beads for added texture.
Tips for Success
- Common mistakes to avoid: Make sure to secure the lid tightly to prevent spills.
- Safety tips: If using glass jars, handle with care and supervise children during crafting.
- Preparation suggestions: Gather all materials ahead of time to keep the process smooth.
- Cleanup recommendations: Use a tray or newspaper to catch any glitter spills.
- Expert crafting tips: Don’t be afraid to get creative with colors and textures; it’s all about what inspires you!
FAQs About DIY Glitter Jar
Can beginners make this?
Absolutely! This project is perfect for beginners and requires no special skills.
Can children participate?
Yes! Kids will love helping with mixing and choosing colors, making it a great family activity.
How long does it last?
As long as the lid is securely closed, your glitter jar can last for a long time without losing its charm.
Can I customize it?
Definitely! Feel free to personalize your glitter jar with different colors, themes, or even small decorative items inside.
A Final Creative Note
Crafting is such a beautiful journey of self-expression and creativity. Making your own DIY glitter jar is not just about the final product; it’s about the joy and calm that comes from creating something with your own hands. I hope you feel inspired to gather your materials and start creating your very own glittery masterpiece! For more delicious recipes, check out the blueberry cheesecake swirl rolls recipe or the easy key lime pie cookies for treats you will love!
For more DIY inspiration, follow our Pinterest account!
Create Your Own Magical DIY Glitter Jar
Equipment
- Bowl
- Jar (clear glass or plastic with a lid)
- spoon
Ingredients
Materials You’ll Need
- 1 cup water Forms the base of your glittery concoction.
- 1 cup clear glue Gives the glitter its mesmerizing swirl.
- 2 tbsp glitter Choose any color that brings you joy!
- Optional: food coloring
Instructions
- Step 1: In a bowl, combine the water and clear glue. Stir gently until the mixture is well combined, creating a smooth, glossy base for your glitter.
- Step 2: If you want to add some color, now is the time! Add a few drops of food coloring to the mixture and stir until the color is evenly distributed.
- Step 3: Next, add the glitter to the mixture. Use a spoon to stir well, ensuring the glitter is evenly mixed in.
- Step 4: Carefully pour the mixture into your jar, leaving some space at the top.
- Step 5: Secure the lid on the jar tightly.
- Step 6: Shake the jar gently to mix the contents and create a stunning glitter effect.
- Step 7: Take a moment to enjoy your creation! Your DIY glitter jar is ready to be admired and cherished.
