Have you ever gazed at a sparkling gem and wondered how nature creates such beauty? Imagine bringing that sparkle into your home with a simple and delightful DIY project! Making Borax crystal gems is not only a fun activity to share with family and friends but also a magical experience that will leave you in awe of what your own hands can create. As you immerse yourself in this project, you’ll feel the warmth of creativity filling the air, and the joy of watching your unique crystals take shape will surely brighten your day.
Why You’ll Love How to Make Borax Crystal Gems
- Beginner-friendly
- Budget-friendly
- Creative and fun
- Great for kids and families
- Perfect for gifts or decorations
- Customizable
The Heart Behind This DIY
Crafting is a wonderful way to connect with our creative selves, and making Borax crystal gems is no exception. The process encourages mindfulness, as you focus on each step, allowing your worries to melt away like sugar in warm tea. It’s an educational experience too, teaching you about crystallization and the science behind it in a fun and engaging way. You’ll find that the simple act of creating can boost your confidence and spark your imagination, making this project a perfect opportunity for family bonding or a peaceful solo activity.
A Gentle Look at the Process
Imagine yourself gathering around a warm kitchen table, ready to embark on a colorful adventure. You’ll start by mixing hot water and Borax, feeling the heat in your hands as you stir. Adding a splash of food coloring, you’ll see the water transform into a beautiful hue, setting the stage for your soon-to-be sparkling gems. As you shape your pipe cleaners or string, the anticipation builds, and when you suspend them in the solution, you know that magic is about to happen. Simply leave your creation undisturbed for a while, and soon, you’ll witness the wonder of nature as beautiful crystals form right before your eyes.
Materials You’ll Need
- 1 cup of boiling water – This will serve as the base for your crystals.
- 3 tablespoons of Borax – The magic ingredient that helps form the crystals.
- A heat-resistant container (e.g., glass jar) – Where your crystal gems will grow.
- String or pipe cleaners – To shape your gems.
- A pencil or stick (for suspending the string) – To hold your creations in place.
- Optional: food coloring – For adding a splash of color to your gems.
Step-by-Step Directions
Step 1
In a heat-resistant container, carefully mix the boiling water with the Borax until fully dissolved. You’ll notice the water becomes cloudy as the Borax dissolves, which is the first sign of the beauty to come.
Step 2
If desired, add a few drops of food coloring to the solution and stir gently. This is where your creativity shines! Imagine the vibrant colors your crystals will have, adding a personal touch to your gems.
Step 3
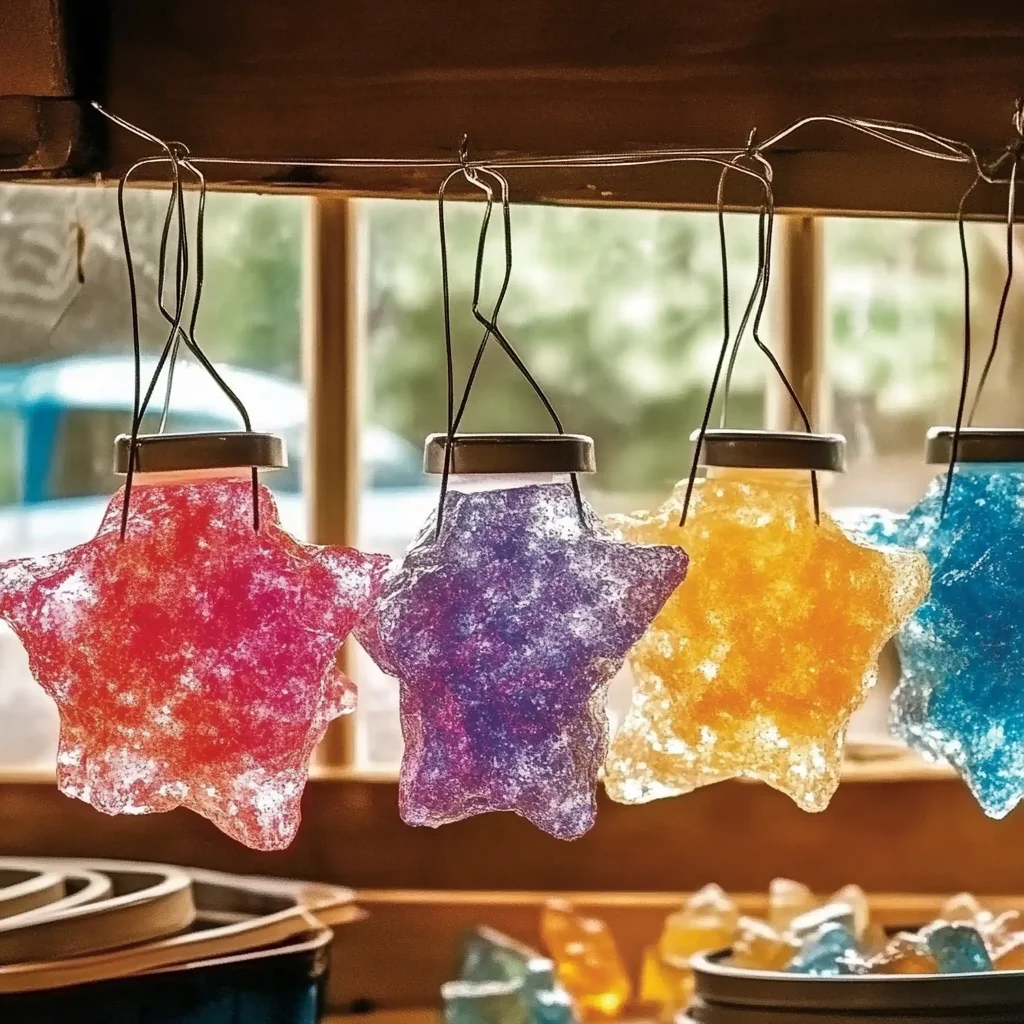
Shape the pipe cleaners into your desired gem shapes or cut string to the desired length. Whether it’s a star, heart, or abstract design, have fun with it! I like to make a few different shapes to see how they turn out.
Step 4
Attach the shaped pipe cleaners or string to the pencil or stick, allowing them to hang into the Borax solution without touching the bottom. This is where the magic happens, so be sure to position them carefully!
Step 5
Leave the container undisturbed for 6-12 hours to allow crystals to form. During this time, you can peek at your creation, building excitement for the reveal!
Step 6
Once crystals have formed, carefully remove the gems from the solution and let them dry. The moment you take them out, you will feel like a gem artist, holding your beautiful creations in your hands.
Creative Ways to Use How to Make Borax Crystal Gems
Now that you have your stunning crystals, the possibilities are endless! You can use them as beautiful decorations around your home, hang them in windows to catch the light, or even give them as thoughtful gifts. Imagine gifting a friend a unique crystal gem, created with your own hands. You can also use them as part of a science project, showcasing the beauty of crystallization. The joy of displaying your handmade creations will surely bring smiles to all who see them!
How to Store, Preserve, or Reuse How to Make Borax Crystal Gems
To keep your Borax crystal gems looking beautiful, store them in a cool, dry place away from direct sunlight. If you notice any dust accumulating, gently wipe them with a soft cloth. While these gems are delicate, they can be reused in different creative projects, so don’t hesitate to experiment or re-shape them if you wish.
Creative Variations and Customizations
- Color variations – Try different colors for each gem or create a rainbow effect.
- Theme ideas – Make gems for specific holidays or occasions.
- Seasonal adaptations – Create winter-themed crystals in icy blues or vibrant summer gems.
- Kid-friendly modifications – Use simple shapes and colors for younger crafters.
- Advanced creative upgrades – Experiment with different shapes or larger containers for bigger crystals.
Tips for Success
- Common mistakes to avoid – Ensure the Borax is fully dissolved before suspending your shapes.
- Safety tips if applicable – Be careful with boiling water; use oven mitts if needed.
- Preparation suggestions – Gather all materials before starting to keep the process smooth.
- Cleanup recommendations – Clean your workspace immediately after to avoid mess.
- Expert crafting tips – Don’t rush the process; let the crystals grow undisturbed for the best results.
FAQs About How to Make Borax Crystal Gems
Can beginners make this?
Absolutely! This project is beginner-friendly and perfect for all ages.
Can children participate?
Yes, children can participate, but adult supervision is recommended, especially when handling boiling water.
How long does it last?
With proper care, your crystal gems can last for a long time, making them beautiful decorations.
Can I customize it?
Definitely! Feel free to experiment with colors, shapes, and sizes to make them uniquely yours.
A Final Creative Note
As you wrap up your crafting session, take a moment to appreciate the joy of creating something beautiful with your own hands. Each crystal gem is a reflection of your creativity and a reminder that you can bring a little sparkle into the world. So, gather your materials, unleash your inner artist, and let your imagination shine! For more delicious recipes, check out Blueberry Cheesecake Swirl Rolls or Easy Puff Pastry Cream Cheese Danish for treats you will love!
For more DIY inspiration, be sure to follow Pinterest for exciting ideas and projects!