
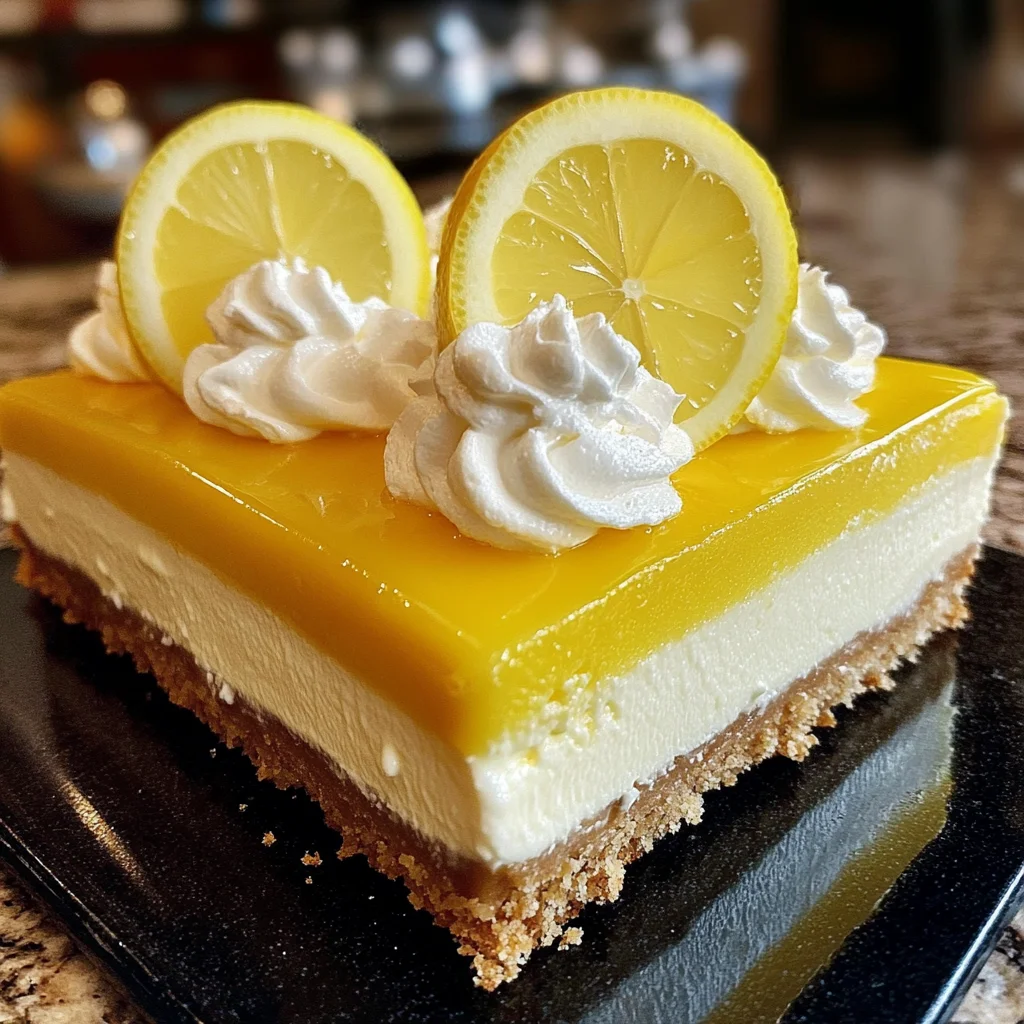
There’s something magical about desserts that make you feel warm and cozy inside. This Lemon Bliss Cheesecake Mousse Cake is one of those creations that takes me back to sunny days and joyful gatherings. With its light and airy mousse atop a creamy cheesecake layer, it’s the perfect way to bring a little sunshine to your day. Plus, it’s incredibly easy to whip up, making it a memorable treat for any occasion.
Why You’ll Love Lemon Bliss Cheesecake Mousse Cake
- Fast: You can have the main components prepped and in the fridge in just about 30 minutes.
- Easy: It’s a straightforward recipe that even beginner cooks can master with ease.
- Giftable: This beautiful cake is perfect for sharing at potlucks or as a sweet surprise for someone special.
- Crowd-pleasing: This delightful dessert is sure to impress, even those who claim they don’t like cheesecake!
Ingredients
Here’s what you’ll need to create this delicious dessert:
- For the Crust:
- 1 cup graham cracker crumbs
- 1/4 cup granulated sugar
- 1/2 cup unsalted butter, melted
- For the Cheesecake Layer:
- 16 oz cream cheese, softened
- 1 cup powdered sugar
- 1/2 cup sour cream
- 1/4 cup lemon juice
- Zest of 1 lemon
- 1 teaspoon vanilla extract
- For the Mousse Layer:
- 1 cup heavy whipping cream
- 1/2 cup powdered sugar
- 1/4 cup lemon juice
- Zest of 1 lemon
- 1 teaspoon unflavored gelatin (optional)
- For Garnish:
- Lemon slices
- Whipped cream
- Fresh mint leaves
How to Make Lemon Bliss Cheesecake Mousse Cake
Now, let’s get started on making this delightful dessert!
- Preheat your oven to 350°F (175°C).
- In a mixing bowl, combine the graham cracker crumbs, granulated sugar, and melted butter. Mix until everything is well combined.
- Press the mixture firmly into the bottom of a springform pan to form the crust. Bake for 10 minutes and then allow it to cool.
- In a large bowl, beat the softened cream cheese until smooth. Add the powdered sugar, sour cream, lemon juice, lemon zest, and vanilla extract. Mix until everything is creamy and well combined.
- Spread the cheesecake mixture evenly over the cooled crust and refrigerate for at least 2 hours to set.
- In another bowl, whip the heavy cream until soft peaks form. Gradually add the powdered sugar, lemon juice, and lemon zest. If you’re using gelatin, dissolve it in a small amount of warm water and add it to the mixture.
- Gently fold the whipped cream into the cheesecake layer until fully combined.
- Spread the mousse layer over the cheesecake layer and refrigerate for an additional 2-4 hours, or until set.
- Before serving, garnish with lemon slices, whipped cream, and fresh mint leaves. Enjoy your delightful creation!
Substitutions & Additions
If you want to switch things up a bit, here are some fun ideas:
- Use a different type of cookie for the crust, like Oreos or digestive biscuits.
- Add a fruit puree, such as raspberry or strawberry, to the mousse for a fruity twist.
- For a richer flavor, consider adding some lemon extract to enhance the lemony goodness.
Tips for Success
Here are a few tips to help you avoid common pitfalls and ensure your cake turns out perfectly:
- Make sure your cream cheese is at room temperature for easy mixing.
- Be gentle when folding the whipped cream into the cheesecake mixture to keep that light and airy texture.
- You can prepare the crust and cheesecake layers a day in advance to save time on the day you plan to serve it.
How to Store Lemon Bliss Cheesecake Mousse Cake
This delicious cake can be stored in the refrigerator for up to 5 days. Just make sure it is covered well to keep it fresh. I recommend keeping it in the springform pan until you’re ready to serve to help maintain its shape.
FAQs
Can I make this cake gluten-free?
Yes! Just use gluten-free graham cracker crumbs for the crust.
Can I freeze this cake?
While it’s best enjoyed fresh, you can freeze the cheesecake layer (without the mousse) for up to 3 months. Just thaw in the fridge before serving.
How can I make this cake more tangy?
Add a bit more lemon juice or zest to the cheesecake layer for that extra zing!
I hope you enjoy making this Lemon Bliss Cheesecake Mousse Cake as much as I do! For more delicious recipes, check out Blueberry Cheesecake Swirl Rolls or Easy Key Lime Pie Cookies for treats you will love!
Don’t forget to follow us on Pinterest for more delightful recipes and inspiration!

Lemon Bliss Cheesecake Mousse Cake
Equipment
- Springform Pan
- Mixing Bowl
- whisk
Ingredients
For the Crust
- 1 cup graham cracker crumbs
- 1/4 cup granulated sugar
- 1/2 cup unsalted butter melted
For the Cheesecake Layer
- 16 oz cream cheese softened
- 1 cup powdered sugar
- 1/2 cup sour cream
- 1/4 cup lemon juice
- Zest of 1 lemon
- 1 teaspoon vanilla extract
For the Mousse Layer
- 1 cup heavy whipping cream
- 1/2 cup powdered sugar
- 1/4 cup lemon juice
- Zest of 1 lemon
- 1 teaspoon unflavored gelatin optional
For Garnish
- lemon slices
- whipped cream
- fresh mint leaves
Instructions
- Step 1: Preheat your oven to 350°F (175°C).
- Step 2: In a mixing bowl, combine the graham cracker crumbs, granulated sugar, and melted butter. Mix until everything is well combined.
- Step 3: Press the mixture firmly into the bottom of a springform pan to form the crust. Bake for 10 minutes and then allow it to cool.
- Step 4: In a large bowl, beat the softened cream cheese until smooth. Add the powdered sugar, sour cream, lemon juice, lemon zest, and vanilla extract. Mix until everything is creamy and well combined.
- Step 5: Spread the cheesecake mixture evenly over the cooled crust and refrigerate for at least 2 hours to set.
- Step 6: In another bowl, whip the heavy cream until soft peaks form. Gradually add the powdered sugar, lemon juice, and lemon zest. If you’re using gelatin, dissolve it in a small amount of warm water and add it to the mixture.
- Step 7: Gently fold the whipped cream into the cheesecake layer until fully combined.
- Step 8: Spread the mousse layer over the cheesecake layer and refrigerate for an additional 2-4 hours, or until set.
- Step 9: Before serving, garnish with lemon slices, whipped cream, and fresh mint leaves. Enjoy your delightful creation!
