
Remember those captivating science experiments you did as a kid, the ones that made your eyes light up with wonder? Well, get ready to relive that magic because today we’re diving into something truly spectacular: the Salt Volcano! This isn’t just a recipe; it’s an experience – a dazzling display of simple science that’s as fun to make as it is to watch. Whether you’re looking for a quick activity to entertain the kids, a unique science project, or just something to brighten your day, this Salt Volcano recipe is your new go-to. It’s incredibly easy, requires minimal ingredients, and the results are truly breathtaking.
Why You’ll Love Salt Volcano
- Fast: You can whip this up in minutes!
- Easy: Perfect for beginners and seasoned experimenters alike.
- Giftable: A fantastic, educational gift for curious minds.
- Crowd-pleasing: Guaranteed to captivate everyone who sees it.
Ingredients
You won’t believe how simple these ingredients are! Most of them are probably already in your kitchen.
- 1 cup room temperature water: The base of our volcano. Make sure it’s not too cold or too hot!
- 1/4 cup vegetable oil: This creates the mesmerizing layers.
- Salt (rock salt or table salt): The magic ingredient that makes the volcano erupt! Rock salt works wonderfully for a more dramatic effect, but regular table salt will do the trick too.
- Optional: food coloring: Want a colorful eruption? Add a few drops of your favorite food coloring to make your volcano truly pop!
How to Make Salt Volcano
Gather your supplies, and let’s get ready for some eruption fun! It’s almost like magic, but it’s all science.
First things first, grab a clear jar or container. A tall, slender jar works best to really show off the layers and the bubbling action. Think of it as the perfect stage for our volcanic performance!
Now, carefully pour your 1 cup of room-temperature water into the jar. This is the foundation of our eruption.
If you’re feeling extra creative and want a colorful spectacle, now’s the time to add a few drops of food coloring to the water. Gently stir it with a spoon or a clean chopstick until the color is evenly distributed. I love using red or orange for a classic lava look, but blue or green can be super fun too!
Next, it’s time to add the oil. Slowly and gently pour the 1/4 cup of vegetable oil into the jar. Watch as it floats on top of the colored water, creating beautiful, distinct layers. It’s like creating a mini ocean within your jar!
And here comes the moment of truth! Slowly, and I mean slowly, start sprinkling salt onto the oil layer. You can use a tablespoon or even just your fingers to sprinkle it in. Don’t dump it all at once; a gradual sprinkle is key.
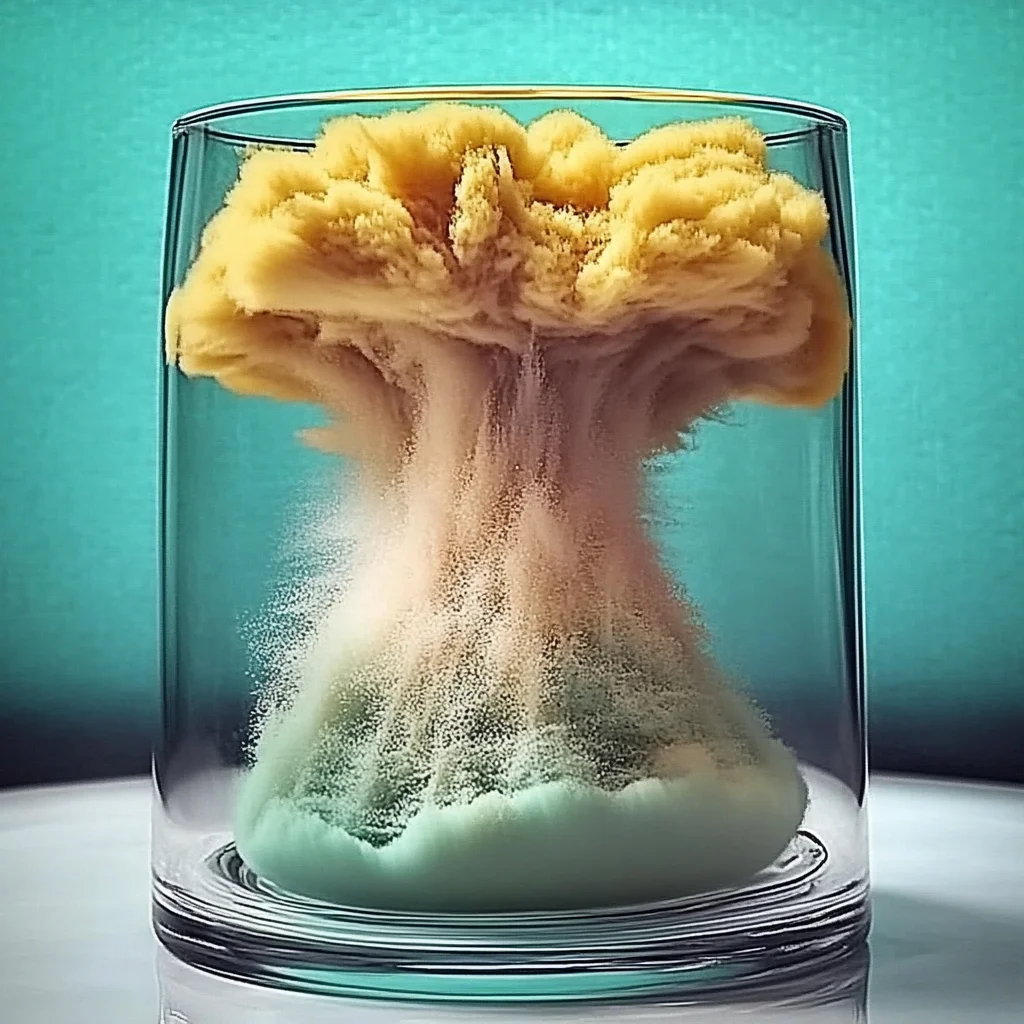
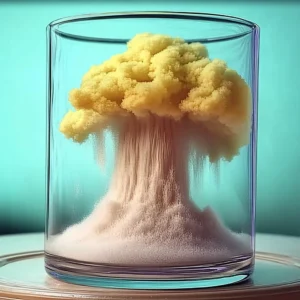
Now, hold your breath and watch the magic happen! As the salt sinks through the oil, it carries tiny bubbles of water with it. When these bubbles reach the water layer, they release the water, creating that amazing bubbling and rising effect that looks just like a miniature volcano erupting!
Substitutions & Additions
While the basic Salt Volcano is fantastic on its own, there are so many ways to customize it and make it even more exciting! You can experiment with different types of salt to see if they create different effects. Epsom salts can also be fun to try.
For an extra layer of visual interest, consider adding glitter to the water before the oil. Just a tiny bit will catch the light and add some sparkle to your eruption. If you’re feeling adventurous, you could even try adding a few drops of different colors of food coloring, creating a layered lava effect.
Looking for other fun science-y crafts? You might enjoy our salt painting for kids or even creating your own mini volcano in a jar.
Tips for Success
To ensure your Salt Volcano erupts perfectly every time, here are a few little pointers I’ve picked up:
- Room Temperature is Key: Make sure your water is at room temperature. If it’s too cold, the oil and water might not separate as well.
- Gentle Pouring: When adding the oil, pour it slowly down the side of the jar to prevent it from mixing too much with the water.
- Don’t Overdo the Salt: Start with a small amount of salt and add more gradually. Too much salt at once can make the eruption too short-lived.
- Clean Up: Have paper towels handy for any potential spills, especially if you’re doing this with little ones!
- Prep Ahead: You can pre-mix the colored water and have the oil ready to go, making the actual assembly super quick.
How to Store Salt Volcano
The Salt Volcano is a temporary, mesmerizing display. Once the salt has dissolved and the reaction has stopped, you can’t really “store” it in its active state. However, you can keep the jar with the colored water and oil as a visual representation. If you want to create the eruption again, simply drain the water and oil, rinse the jar, and start with fresh ingredients!
FAQs
- Can I use a different type of oil? Yes, you can experiment with other clear oils like baby oil, but vegetable oil is readily available and works great!
- Why does the salt make it erupt? Salt is denser than oil, so when you add it, it sinks. As it sinks, it carries some oil down with it in the form of tiny bubbles. When these bubbles reach the water at the bottom, they release the oil, causing the bubbly, rising effect.
- Can I reuse the water and oil? While you can keep the colored water and oil layer, the reaction is caused by the salt dissolving. To get the bubbling effect again, you’ll need to add fresh salt. For repeated eruptions with the same water/oil, you’ll need to add more salt each time.
If you enjoyed this simple science experiment, you might also like to explore other fun DIYs and recipes! Check out our easy DIY bioplastic suncatchers or get inspired with our easy clear glue suncatchers for more creative fun.
Don’t forget to follow our Pinterest for even more amazing ideas and recipes!
Salt Volcano
Equipment
- Clear jar or container (tall and slender works best)
- Spoon or chopstick
- Tablespoon or fingers for sprinkling salt
- Paper towels (for clean-up)
Ingredients
- 1 cup room temperature water The base of our volcano. Make sure it’s not too cold or too hot!
- 1/4 cup vegetable oil This creates the mesmerizing layers.
- Salt (rock salt or table salt) The magic ingredient that makes the volcano erupt! Rock salt works wonderfully for a more dramatic effect, but regular table salt will do the trick too.
- food coloring Optional: Want a colorful eruption? Add a few drops of your favorite food coloring to make your volcano truly pop!
Instructions
- First things first, grab a clear jar or container. A tall, slender jar works best to really show off the layers and the bubbling action. Think of it as the perfect stage for our volcanic performance!
- Now, carefully pour your 1 cup of room-temperature water into the jar. This is the foundation of our eruption.
- If you’re feeling extra creative and want a colorful spectacle, now’s the time to add a few drops of food coloring to the water. Gently stir it with a spoon or a clean chopstick until the color is evenly distributed. I love using red or orange for a classic lava look, but blue or green can be super fun too!
- Next, it’s time to add the oil. Slowly and gently pour the 1/4 cup of vegetable oil into the jar. Watch as it floats on top of the colored water, creating beautiful, distinct layers. It’s like creating a mini ocean within your jar!
- And here comes the moment of truth! Slowly, and I mean slowly, start sprinkling salt onto the oil layer. You can use a tablespoon or even just your fingers to sprinkle it in. Don’t dump it all at once; a gradual sprinkle is key.
- Now, hold your breath and watch the magic happen! As the salt sinks through the oil, it carries tiny bubbles of water with it. When these bubbles reach the water layer, they release the water, creating that amazing bubbling and rising effect that looks just like a miniature volcano erupting!