
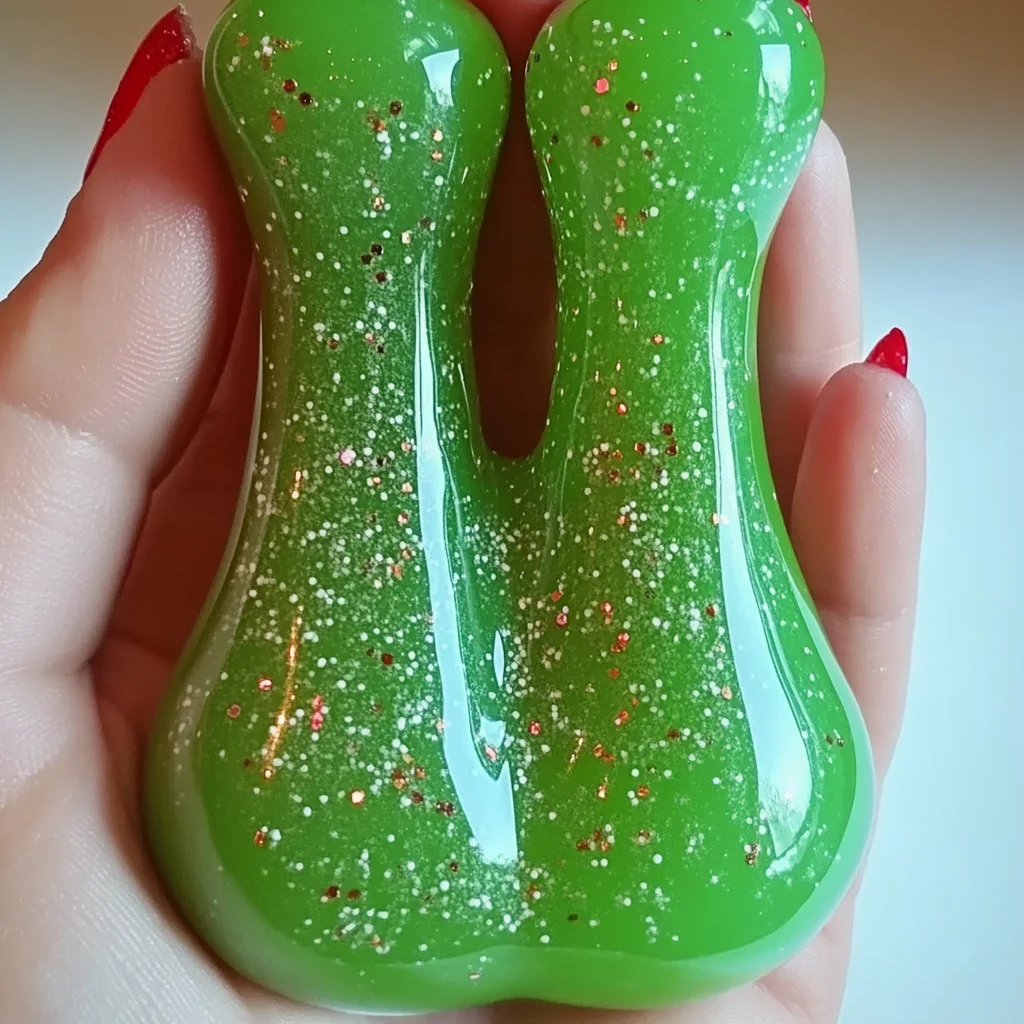
There’s something absolutely magical about the squishy, gooey delight of slime. It brings back memories of childhood play and endless creativity. Making your own Baking Soda Mean Green Slime is not just a fun project; it’s a delightful sensory experience that engages your hands and ignites your imagination. Imagine the vibrant green color, the cool, slippery texture between your fingers, and the joy of creating something entirely from scratch. With each mix and knead, you’ll find yourself in a world filled with laughter and creativity, perfect for sharing with friends or family.
Why You’ll Love Baking Soda Mean Green Slime
- Beginner-friendly
- Budget-friendly
- Creative and fun
- Great for kids and families
- Perfect for gifts or decorations
- Customizable
The Heart Behind This DIY
Crafting your own slime offers so much more than just a fun activity. It’s an opportunity to explore creativity, build confidence, and even practice mindfulness. As you mix and create, you’ll find a soothing rhythm that can be both calming and exhilarating. The sensory experience of squishing and stretching the slime helps you connect with the present moment, making it a wonderful way to unwind. Plus, it’s a fantastic way to bond with your kids or friends, sharing laughter and creativity as you experiment together.
A Gentle Look at the Process
Get ready to embark on a delightful journey! In this project, you’ll blend simple ingredients into a playful substance that can be shaped, squished, and stretched. The process is straightforward yet filled with opportunities for creativity. Start by combining glue and water, then sprinkle in some baking soda. Each step brings the mixture closer to that perfect slime consistency, and I promise, the anticipation of seeing it transform is half the fun!
Materials You’ll Need
- 1 cup white school glue – This is the base of your slime, giving it that fun, gooey texture.
- 1 cup warm water – Helps to mix the glue smoothly and makes the slime more pliable.
- 1 teaspoon baking soda – This helps to firm up the slime and gives it that delightful stretch.
- 1 tablespoon contact lens solution (containing boric acid) – This is the magical ingredient that activates the slime.
- Green food coloring (optional) – For that lovely pop of color, making your slime vibrant and fun!
Step-by-Step Directions
Step 1
In a mixing bowl, combine the white school glue and warm water. Stir gently until everything is well mixed and smooth. You’ll love the way the glue swirls and combines with the water!
Step 2
Next, add the baking soda to the glue mixture. Stir until it’s fully dissolved. The mixture will start to thicken slightly, and that’s a sign things are coming together beautifully.
Step 3
If you want to add a splash of color, now is the time! Add a few drops of green food coloring and mix until the color is uniform. Watch as the vibrant green takes shape!
Step 4
Slowly pour in the contact lens solution while stirring continuously. This is where the magic happens! You’ll notice the slime beginning to form right before your eyes. Keep stirring until it starts pulling away from the sides of the bowl.
Step 5
Once the slime reaches your desired consistency, it’s time to get hands-on! Knead it with your hands for a few minutes. Feel the textures change as you work it, and enjoy the sensory experience of slime in your fingers.
Step 6
When you’re done playing, store the slime in an airtight container. This way, it’ll be ready for your next creative adventure!
Creative Ways to Use Baking Soda Mean Green Slime
Now that you have your Baking Soda Mean Green Slime, the fun doesn’t stop! You can use it for sensory play, incorporate it into fun science experiments, or even gift it to friends in cute jars. Consider using it as a decoration for a party or simply enjoy the satisfying squish during a relaxing evening at home. The possibilities are endless!
How to Store, Preserve, or Reuse Baking Soda Mean Green Slime
To keep your slime fresh, always store it in an airtight container. This will prevent it from drying out and maintain its fun, stretchy texture. If it starts to feel a bit stiff, adding a few drops of water can help restore its original consistency. You can enjoy it again and again!
Creative Variations and Customizations
- Color variations – Try different food coloring for a rainbow of slimes!
- Theme ideas – Create festive slime for holidays like Halloween or Christmas.
- Seasonal adaptations – Add glitter for a winter wonderland effect.
- Kid-friendly modifications – Use scented oils for an extra sensory experience.
- Advanced creative upgrades – Incorporate small beads or foam balls for added texture.
Tips for Success
- Common mistakes to avoid – Make sure your contact lens solution contains boric acid; otherwise, it may not activate properly.
- Safety tips if applicable – Always supervise young children during the slime-making process.
- Preparation suggestions – Gather all your materials before starting for a smooth experience.
- Cleanup recommendations – Keep a damp cloth nearby for easy cleanup of any spills.
- Expert crafting tips – If the slime is too sticky, add a bit more baking soda to firm it up.
FAQs About Baking Soda Mean Green Slime
Can beginners make this?
Absolutely! This project is perfect for beginners and offers a wonderful introduction to slime-making.
Can children participate?
Yes! Kids will have a blast helping to create and play with the slime. Just be sure to supervise younger children.
How long does it last?
When stored properly in an airtight container, your slime can last for several weeks!
Can I customize it?
Yes! Feel free to experiment with colors, scents, and textures to make your slime uniquely yours.
A Final Creative Note
As you dive into the world of crafting your own Baking Soda Mean Green Slime, remember that the true joy lies in the process of creation. Celebrate the moments spent mixing, kneading, and playing. Your slime is not just a project; it’s a wonderful way to express yourself and connect with others. For more delicious recipes, check out the fluffy and zesty Blueberry Lemon Ricotta Pancakes or Kool-Aid Gummy Treats for treats you will love! Don’t forget to follow our Pinterest for more DIY inspiration!
Baking Soda Mean Green Slime
Equipment
- Mixing Bowl
- spoon
- airtight container
Ingredients
Materials
- 1 cup white school glue This is the base of your slime, giving it that fun, gooey texture.
- 1 cup warm water Helps to mix the glue smoothly and makes the slime more pliable.
- 1 teaspoon baking soda This helps to firm up the slime and gives it that delightful stretch.
- 1 tablespoon contact lens solution This is the magical ingredient that activates the slime.
- Green food coloring Optional, for that lovely pop of color.
Instructions
- Step 1: In a mixing bowl, combine the white school glue and warm water. Stir gently until everything is well mixed and smooth.
- Step 2: Add the baking soda to the glue mixture. Stir until it’s fully dissolved.
- Step 3: If you want to add a splash of color, add a few drops of green food coloring and mix until the color is uniform.
- Step 4: Slowly pour in the contact lens solution while stirring continuously until the slime begins to form.
- Step 5: Knead the slime with your hands for a few minutes until it reaches your desired consistency.
- Step 6: Store the slime in an airtight container when done.
